Working with lists
Quotes, Sales Orders, Companies, Products and the other areas of Omni all open on a list page, and those pages share the same controls. Learn them once and you can use any list.
The status bar
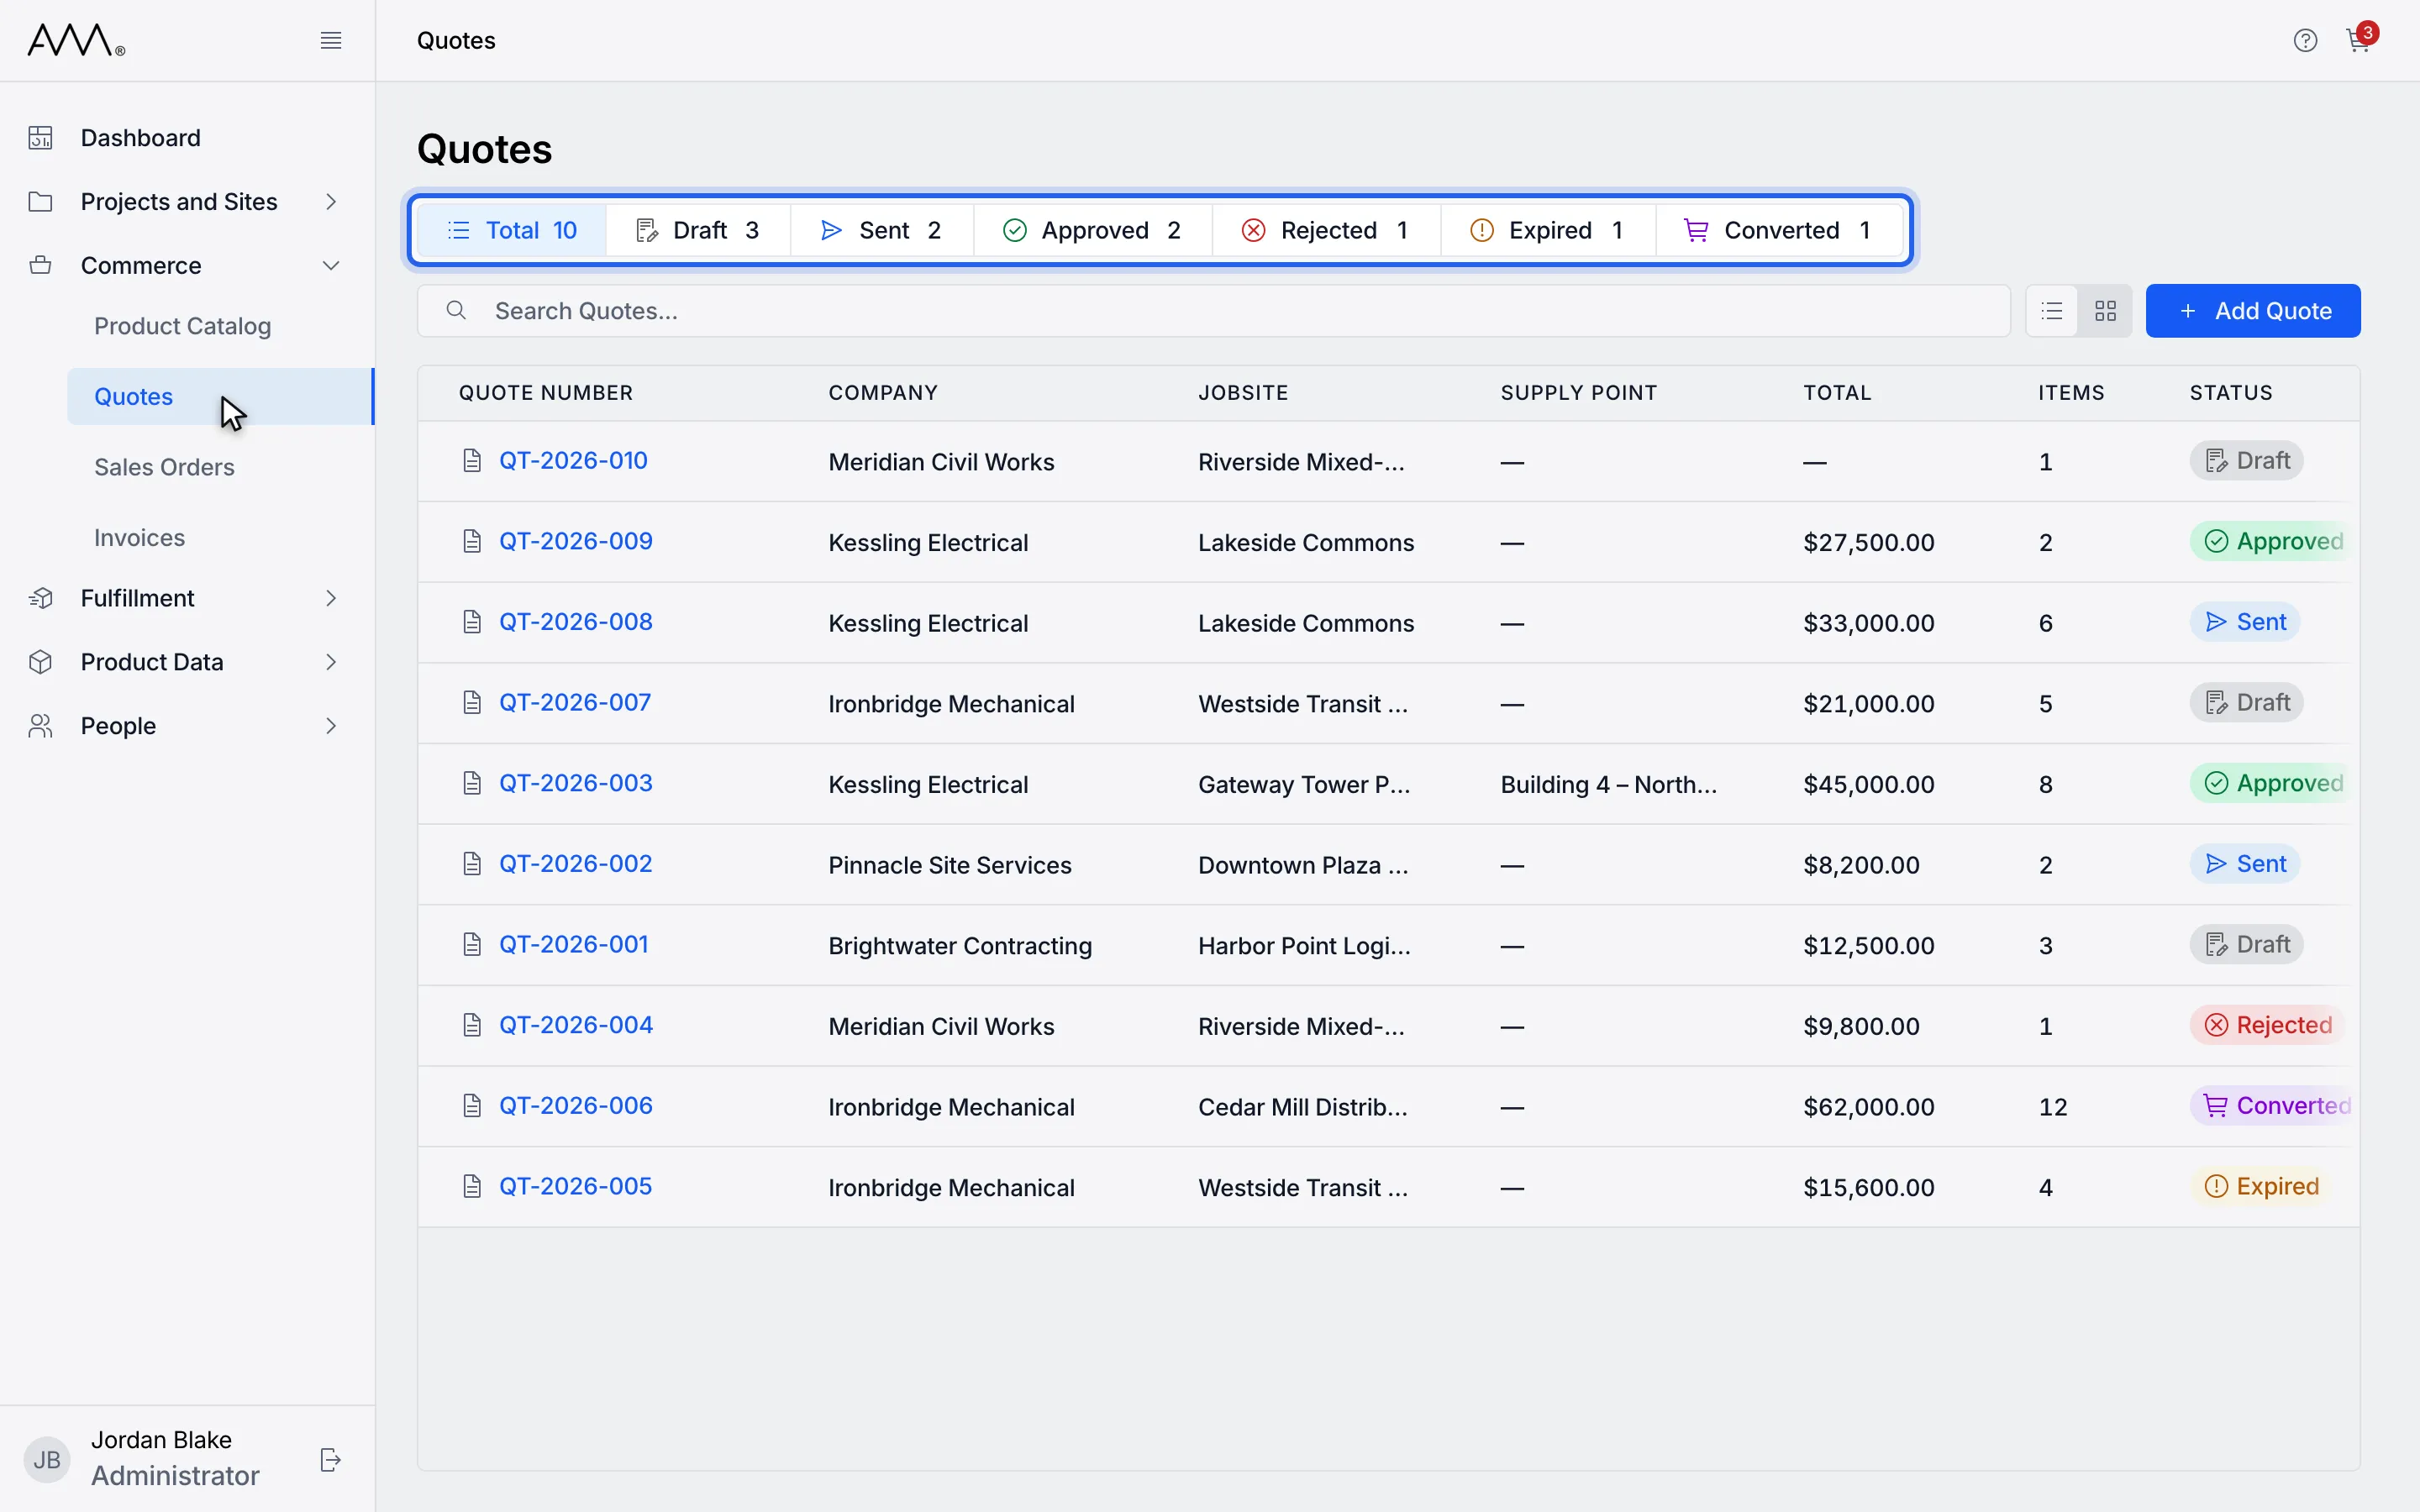
Section titled “The status bar”Lists of records that have a status show a bar of pills above the search box: Total first, then one pill per status, each with a count. The pills work the same way on every list:
- When the list opens, Total is selected and every record is shown.
- Click a status to show only records in that status. Click another status to add it; the list then shows records in any of the selected statuses. Click a selected status again to remove it.
- Click Total to clear the selection. Removing the last selected status also returns you to Total.
- A count shows - while it is still loading.
- When the bar is wider than the screen, a Scroll right or Scroll left arrow appears at its edge; click it to see the rest of the pills.
Your selection becomes part of the page address, so a link from elsewhere, such as a Dashboard row, can open a list already filtered to one or more statuses.
Search
Section titled “Search”Type in the search box at the top of the list (its placeholder names the list, for example Search Quotes…). The list narrows as you type, after a short pause. Click the × in the box to clear it. The search term becomes part of the page address, so you can bookmark or share a narrowed list, and the browser’s back button restores your earlier search.
Sorting
Section titled “Sorting”Every list opens already sorted in a sensible default order, and the sorted column shows an arrow in its header: newest first for Quotes, Sales Orders, Invoices, Fulfillment Orders and Shipments; name from A to Z for Companies, Projects, Jobsites, Supply Points, Price Lists and Roles; first name for People; serial number for Hardware; product name for the Product Catalog.
Click a column header to sort by that column, and click it again to reverse the order. A Created column sorts newest first on its first click. Your sort is kept in the page address along with your search and status selection, except the default order, which keeps the address clean.
Filters
Section titled “Filters”Where a list offers filters, click Filters to open the filter panel. Pick one or more values in a drop-down list (its placeholder reads Select…; you can type to find a value and click × to clear it), or enter a Min and Max for a range. The list updates as soon as you change a filter; there is no apply button. Values in every drop-down list are in alphabetical order; a catch-all Other value is listed last.
Some lists show each active filter as a chip above the results, with a × to remove it and a Clear Filters button to remove them all. The Product Catalog does not show chips; see Browse and search the catalog for how to clear its filters.
List view and Card view
Section titled “List view and Card view”Most lists can be shown as a table or as cards. Use the two-button toggle at the right of the search box: List view shows one row per record with columns; Card view shows one card per record. Omni remembers your choice for each list. On narrow screens Card view is used automatically and the toggle is hidden. A few pages, such as the Product Catalog and the Shopping Cart, are always tables.
Loading more as you scroll
Section titled “Loading more as you scroll”Long lists load in pages. Scroll to the bottom and the next page loads on its own; you see Loading more… while it does. If a page fails to load you see Couldn’t load more. with a Retry link. While a new search, filter or sort is being applied, the existing rows are dimmed until the fresh results arrive. When nothing matches, the list says so, for example No quotes found and Try adjusting your search or filter criteria.
Status badges
Section titled “Status badges”A status is shown as a coloured pill with an icon, for example Draft, Sent, Approved, On Hold or Delayed. The same colour always means the same kind of state, so a green Approved on a quote and a green Paid on an invoice both mean a good outcome, while red marks Rejected, Cancelled or Void. The full list is in Statuses.
Opening a record
Section titled “Opening a record”Click the record’s number or name in the first column (it is a link) to open its detail page. In Card view, click the title of the card. In a picker dialog, where you choose a record to act on, click anywhere on the row to select it; the dialog’s confirm button stays disabled until you have selected a row.
Form dialogs
Section titled “Form dialogs”Creating or editing a record usually opens a form dialog with Cancel and Save Changes buttons (and sometimes Delete when editing). Save Changes stays disabled until the form is complete and, when editing, until you have changed something. A required drop-down shows its error once you leave it empty. If you close the dialog with unsaved changes, Omni asks Discard unsaved changes? and explains Your changes will be lost if you leave without saving. Click Discard to leave or Cancel to keep editing.
Some records, such as quotes and sales orders, are edited on their own page instead. Cancel and Save Changes then sit in the page header (or in the bar at the bottom on a narrow screen). If you try to leave such a page with unsaved changes, a dialog titled Unsaved Changes says You have unsaved changes. If you leave now, you’ll lose everything you’ve entered. Click Save to keep them or Discard to leave without saving.
Forms with more than three fields are described field by field on the page for that task.
Confirmation and notice dialogs
Section titled “Confirmation and notice dialogs”Before an action that cannot be undone, Omni opens a dialog that names the action and asks you to confirm it. Click the action button to go ahead or Cancel to stop. If the action fails, the dialog stays open and shows the reason. The how-to for each such action quotes the dialog text so you recognise it. A dialog that only tells you something has a single Okay button.
Messages and Undo
Section titled “Messages and Undo”Short messages appear at the top centre of the screen for about five seconds, for example Makita 18V LXT Impact Driver added to cart. Click the × (Dismiss) to close one early. Some messages offer an action such as Undo; click it to reverse the action, for example to put a removed cart line back. If a list cannot be loaded you see the reason, or Something went wrong. Please try again.; reload the page to try again.
Editing numbers
Section titled “Editing numbers”Number fields such as quantities and prices commit when you press Enter or click away. Some have − and + buttons. If you type something the field cannot accept, such as a blank, a fraction where only whole numbers are allowed, or a value outside the allowed range, the field quietly goes back to its previous value; no message is shown. Prices are rounded to two decimals when you commit them, with halves rounded up (1.005 becomes 1.01). Clicking into a field selects its whole value, so you can type the new value straight away.
See it in action
Section titled “See it in action”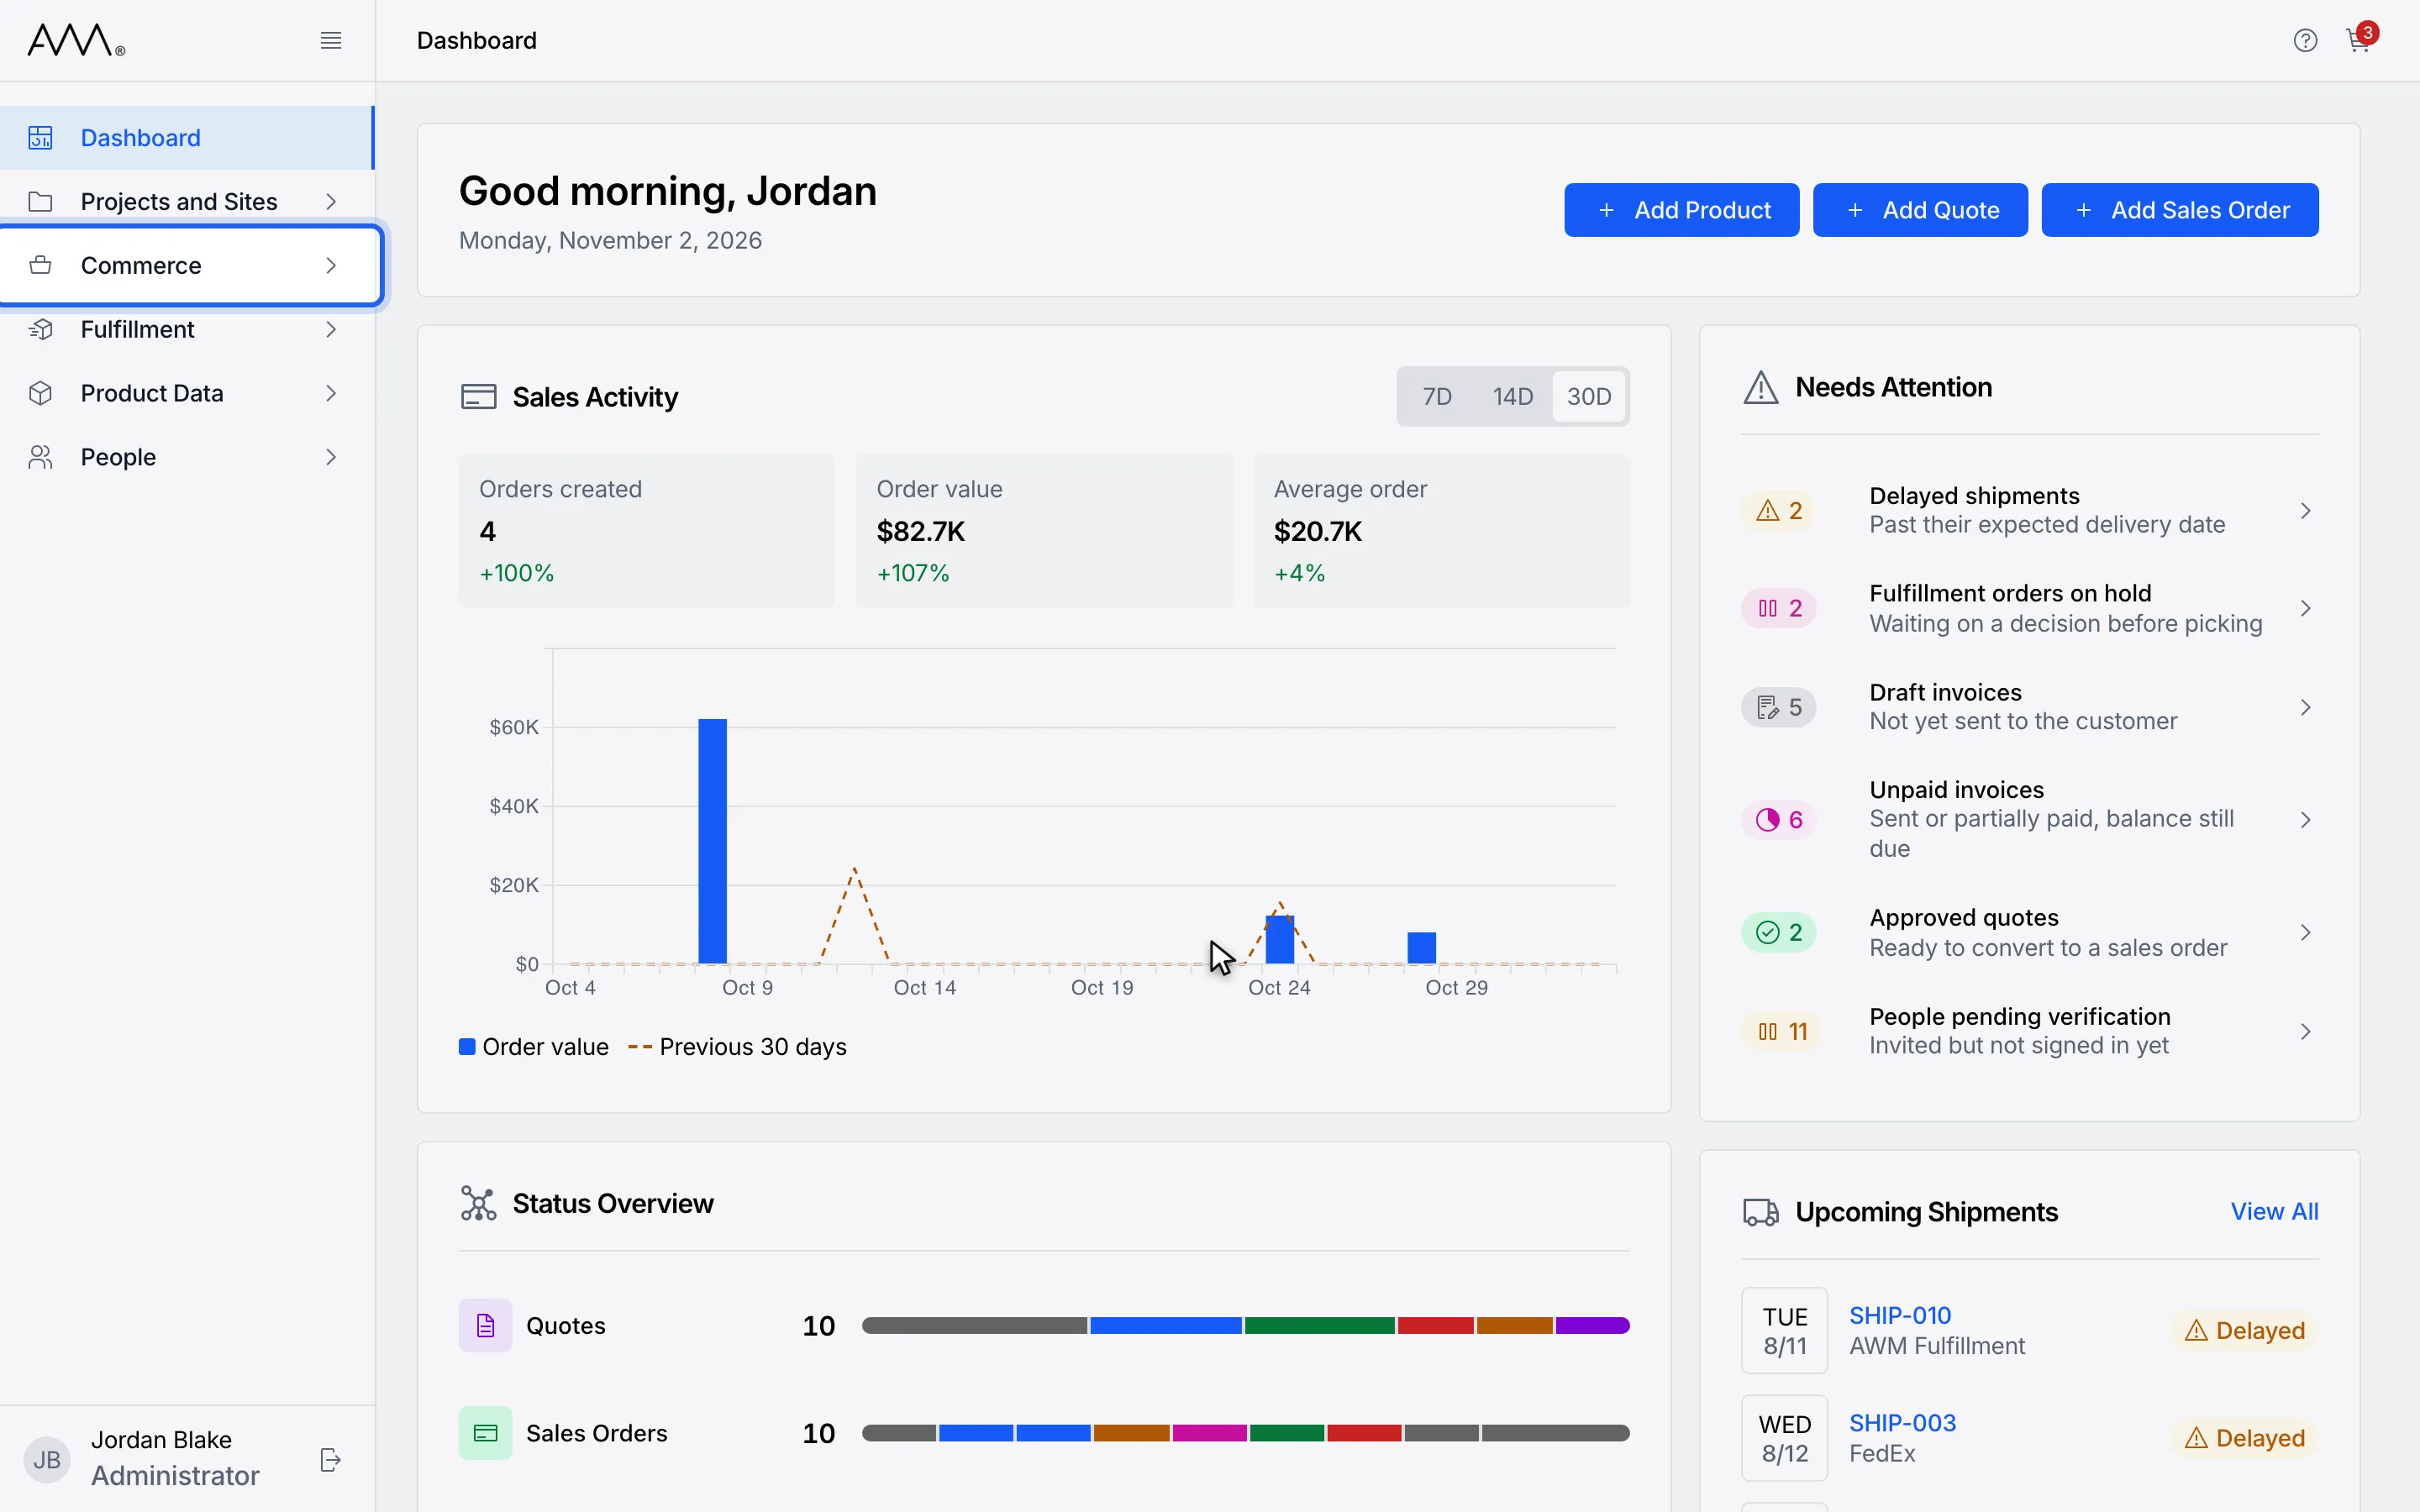
1In the sidebar, open Commerce.
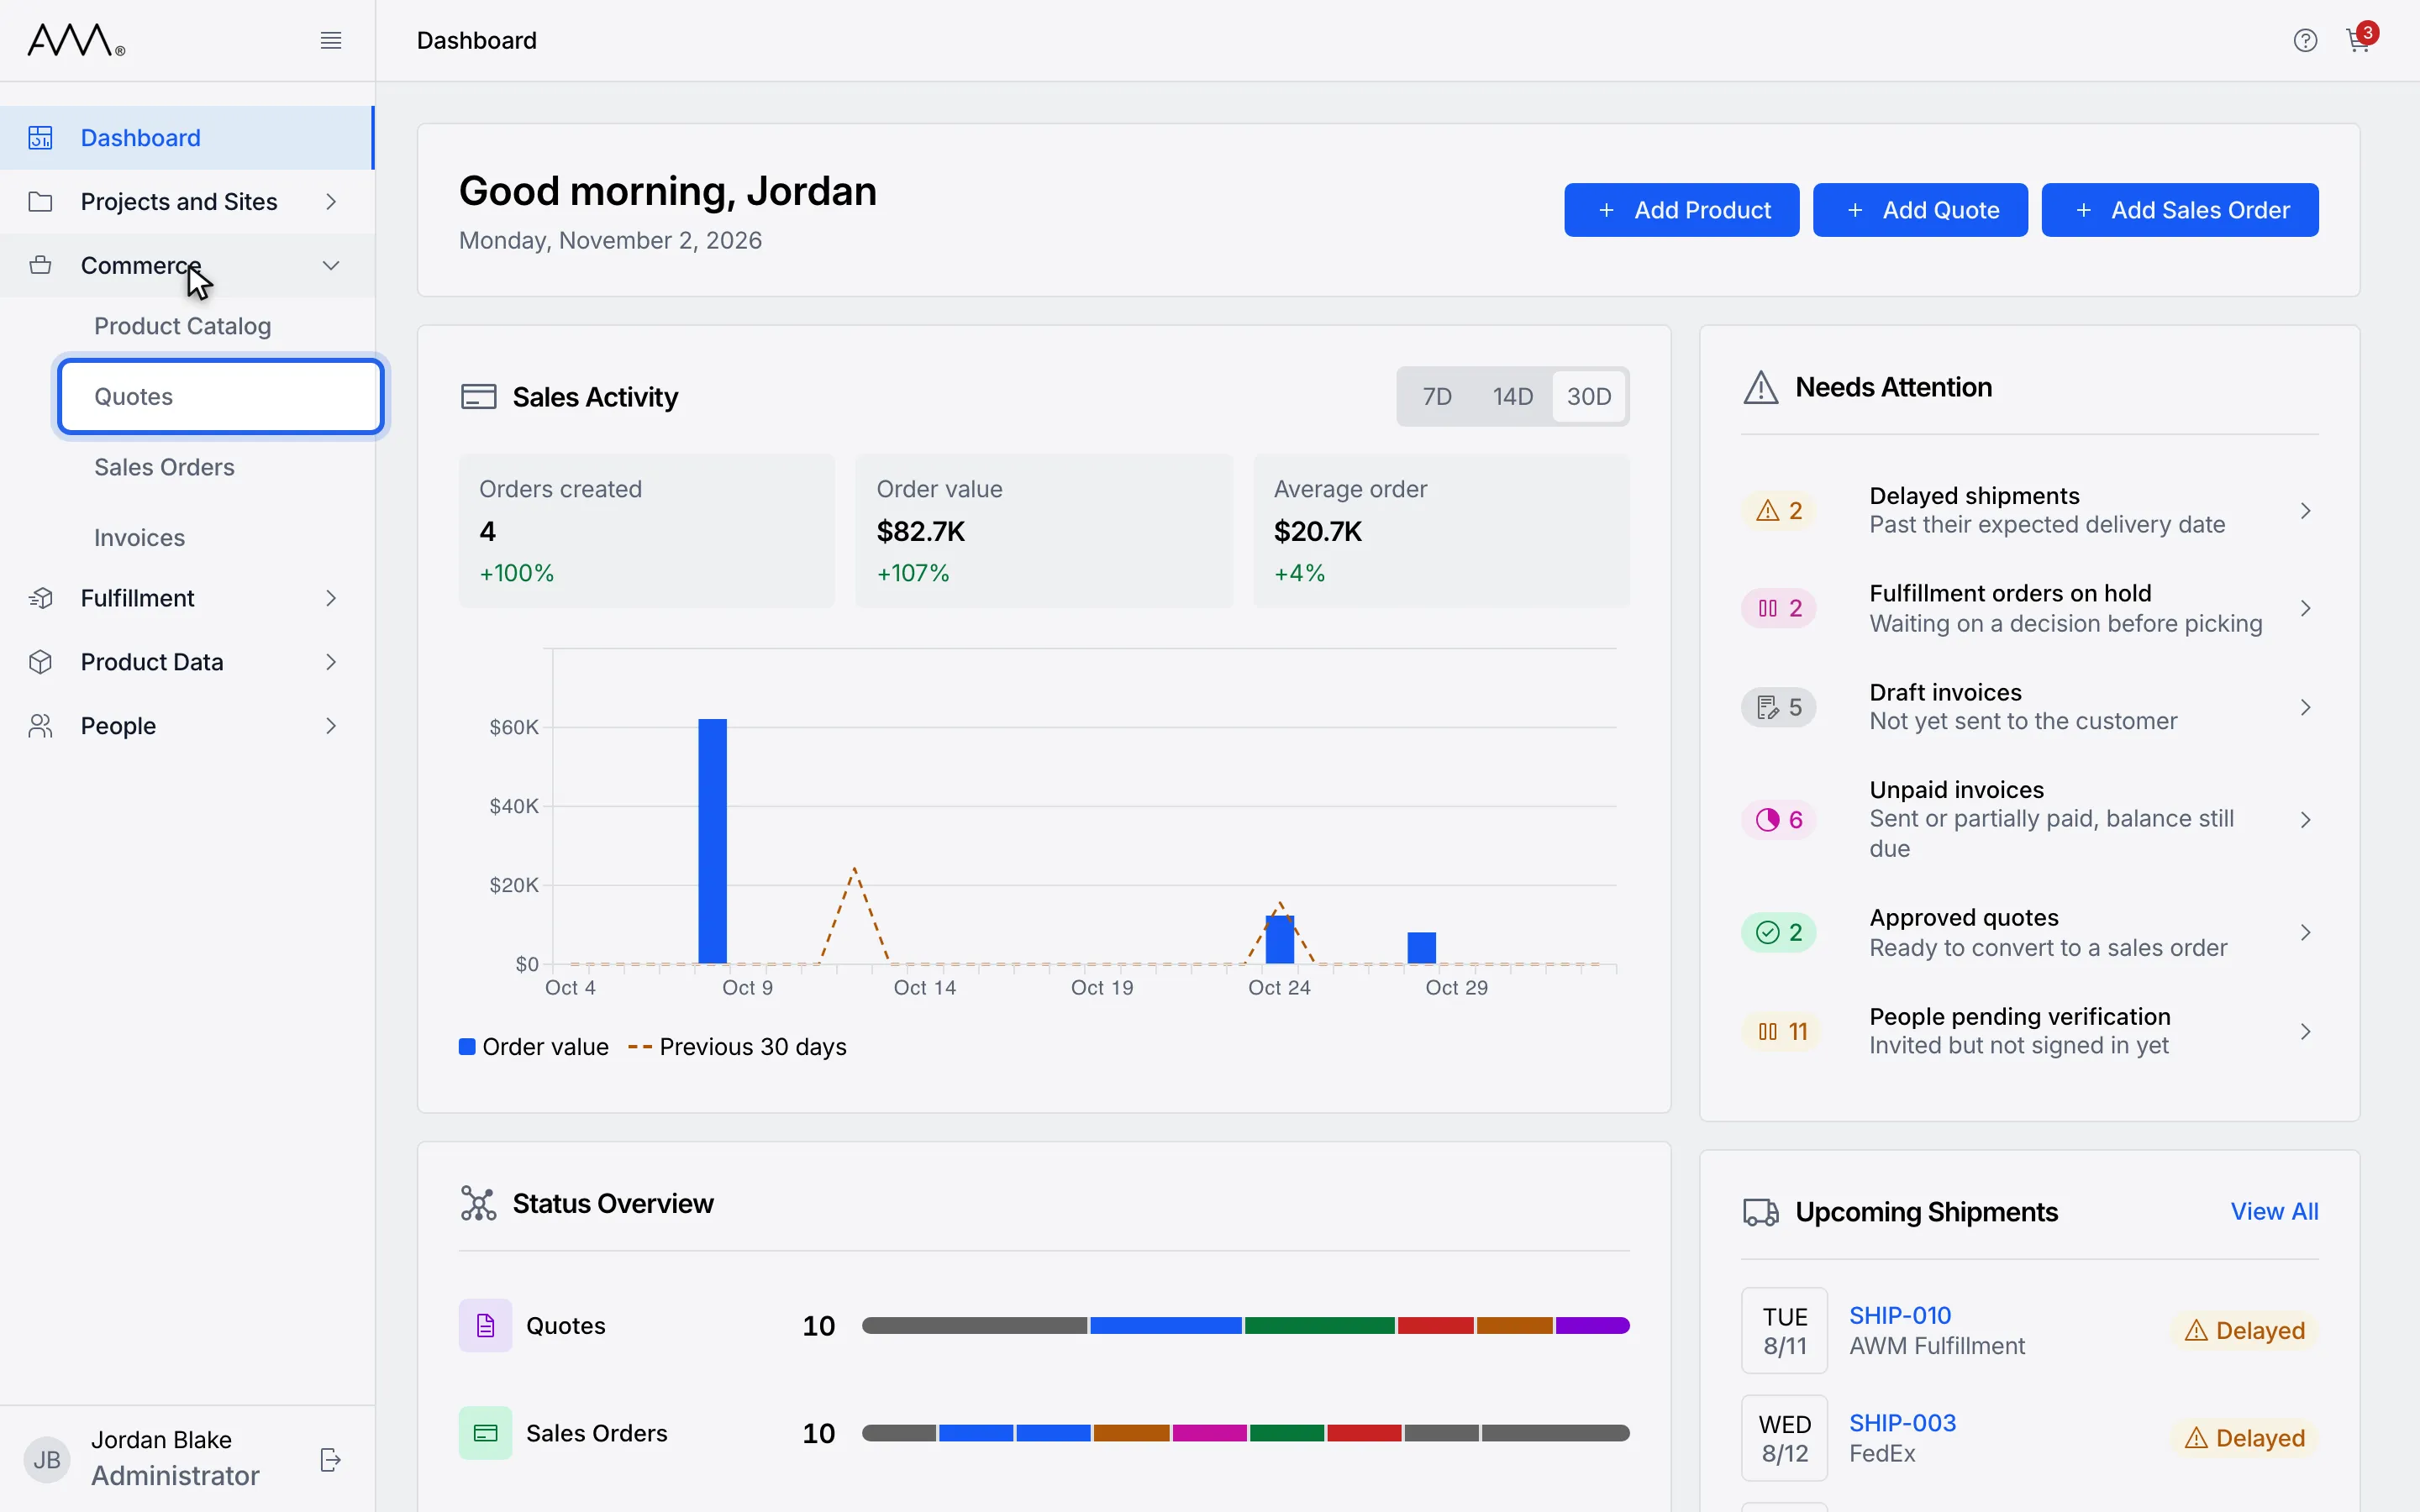
2Choose Quotes. Every list page shares the same controls.
3The status bar shows a count per status. Total is selected when a list opens.
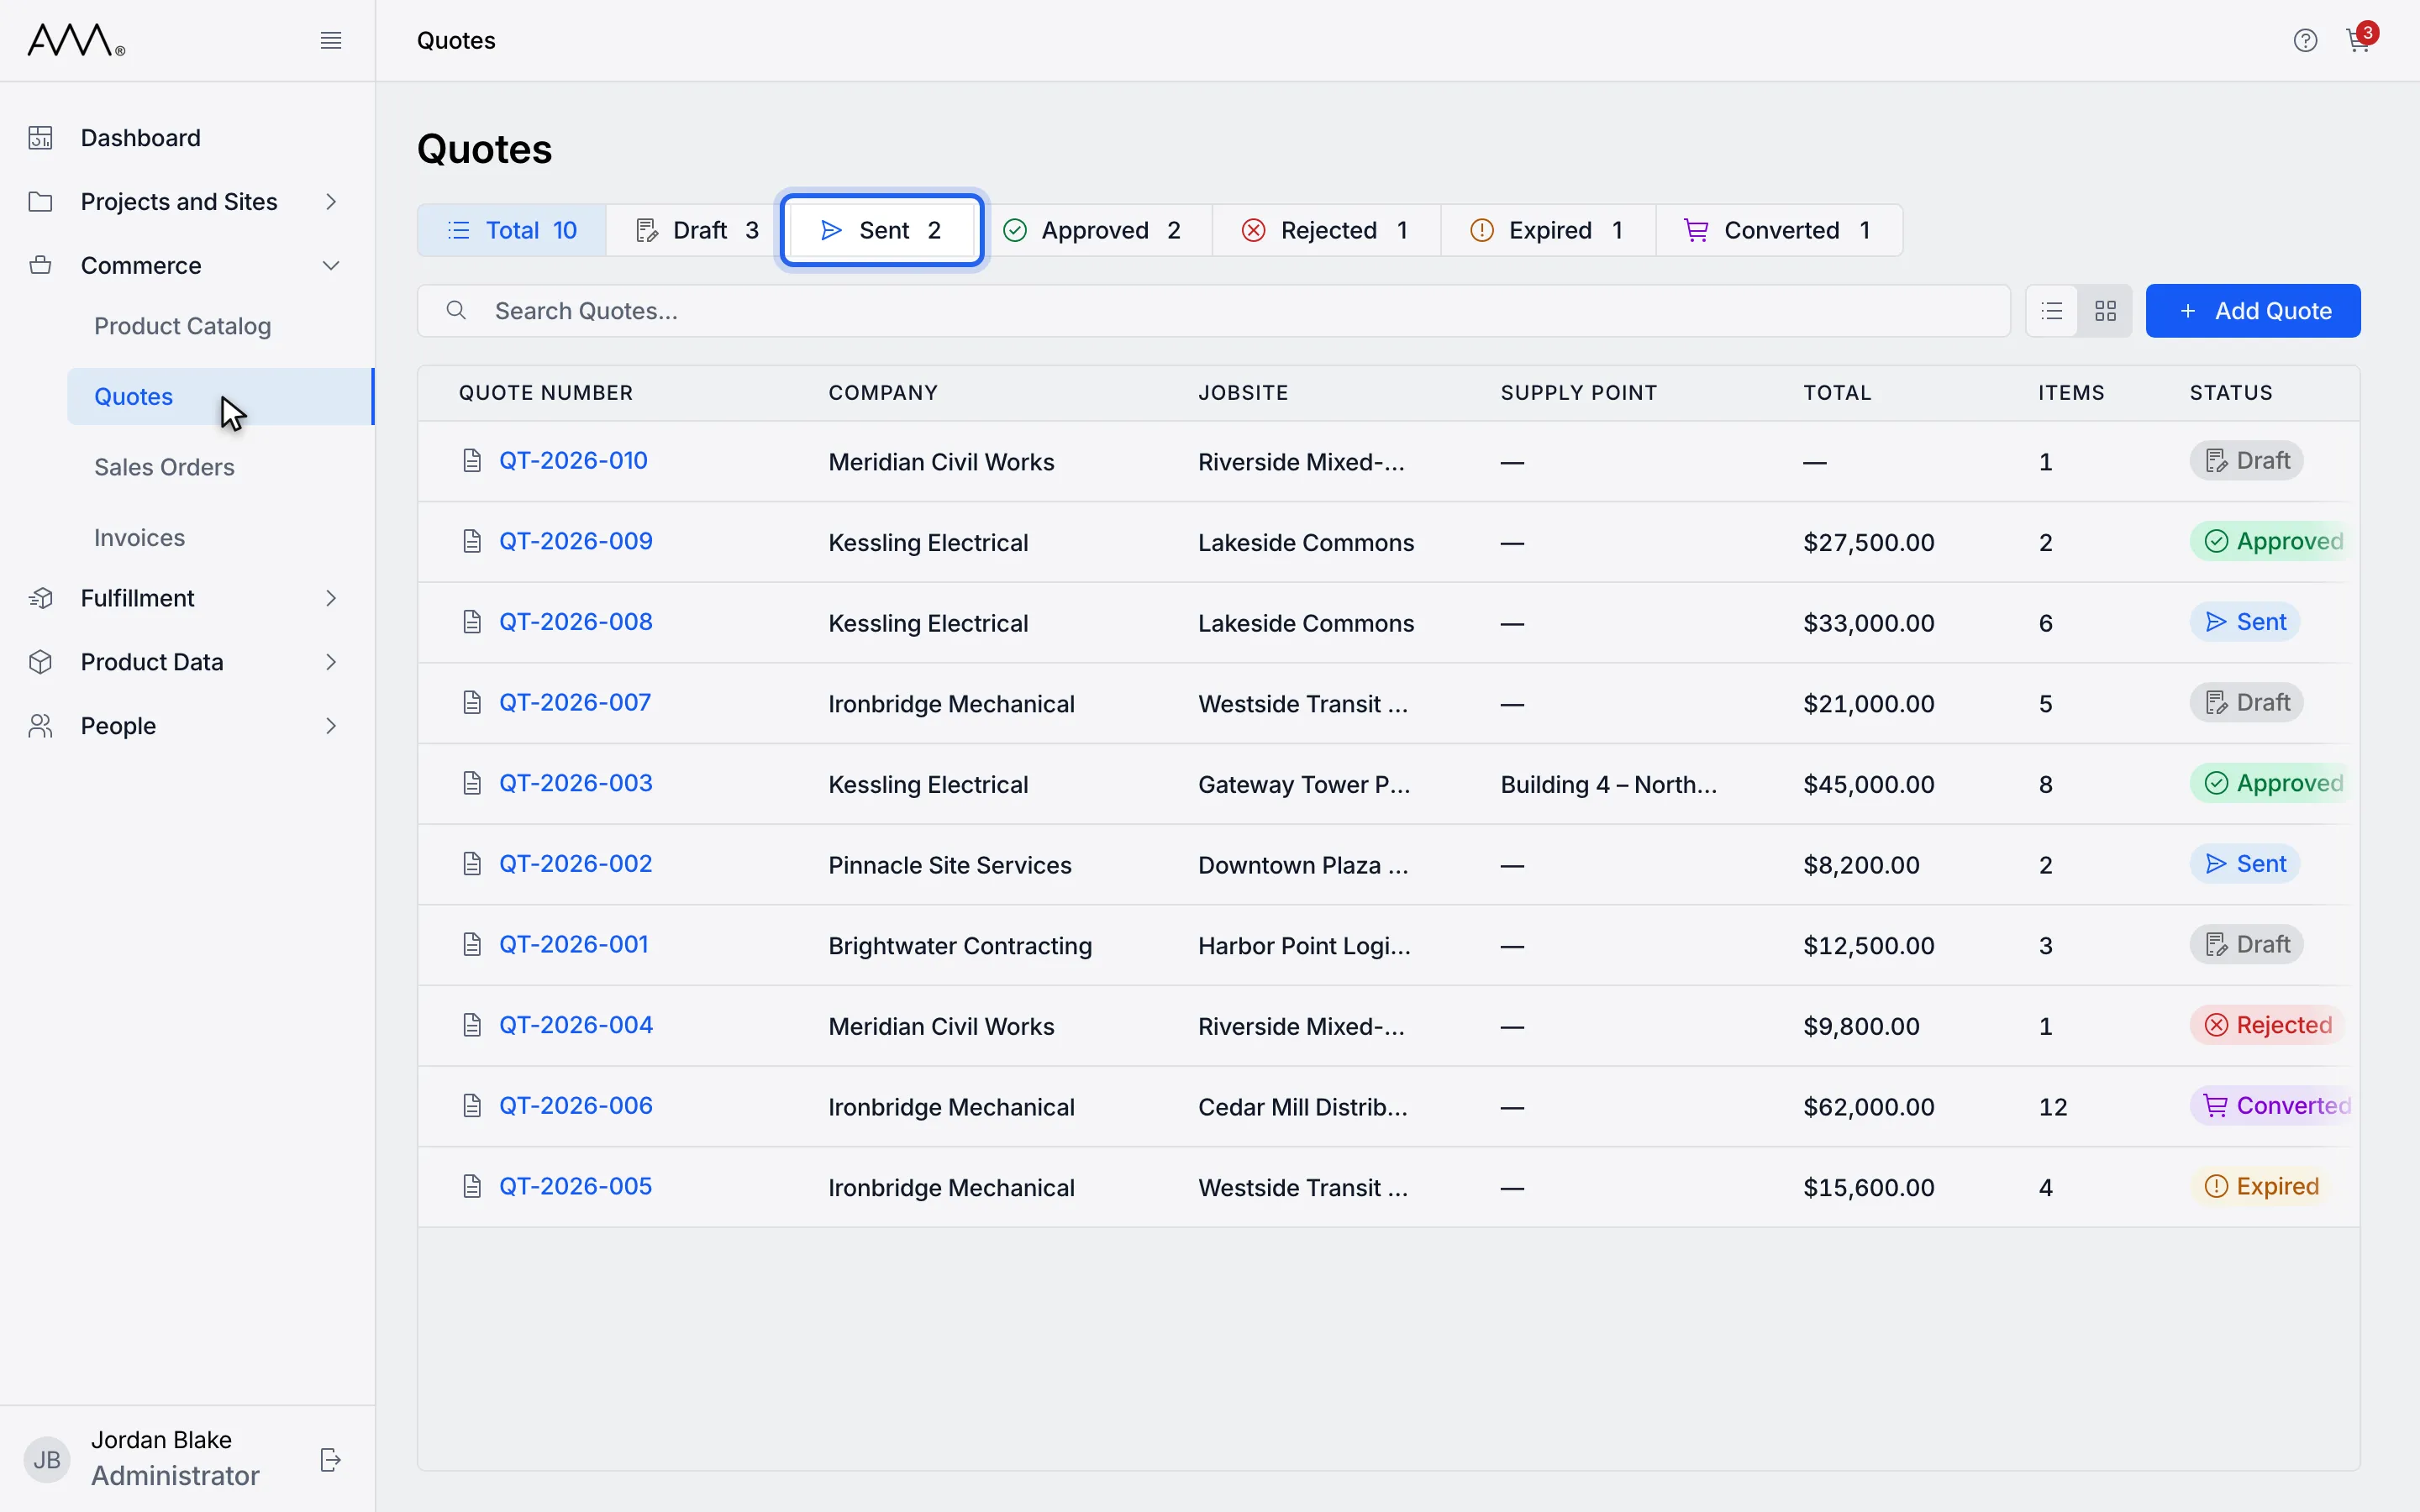
4Click a status to show only records in that status.
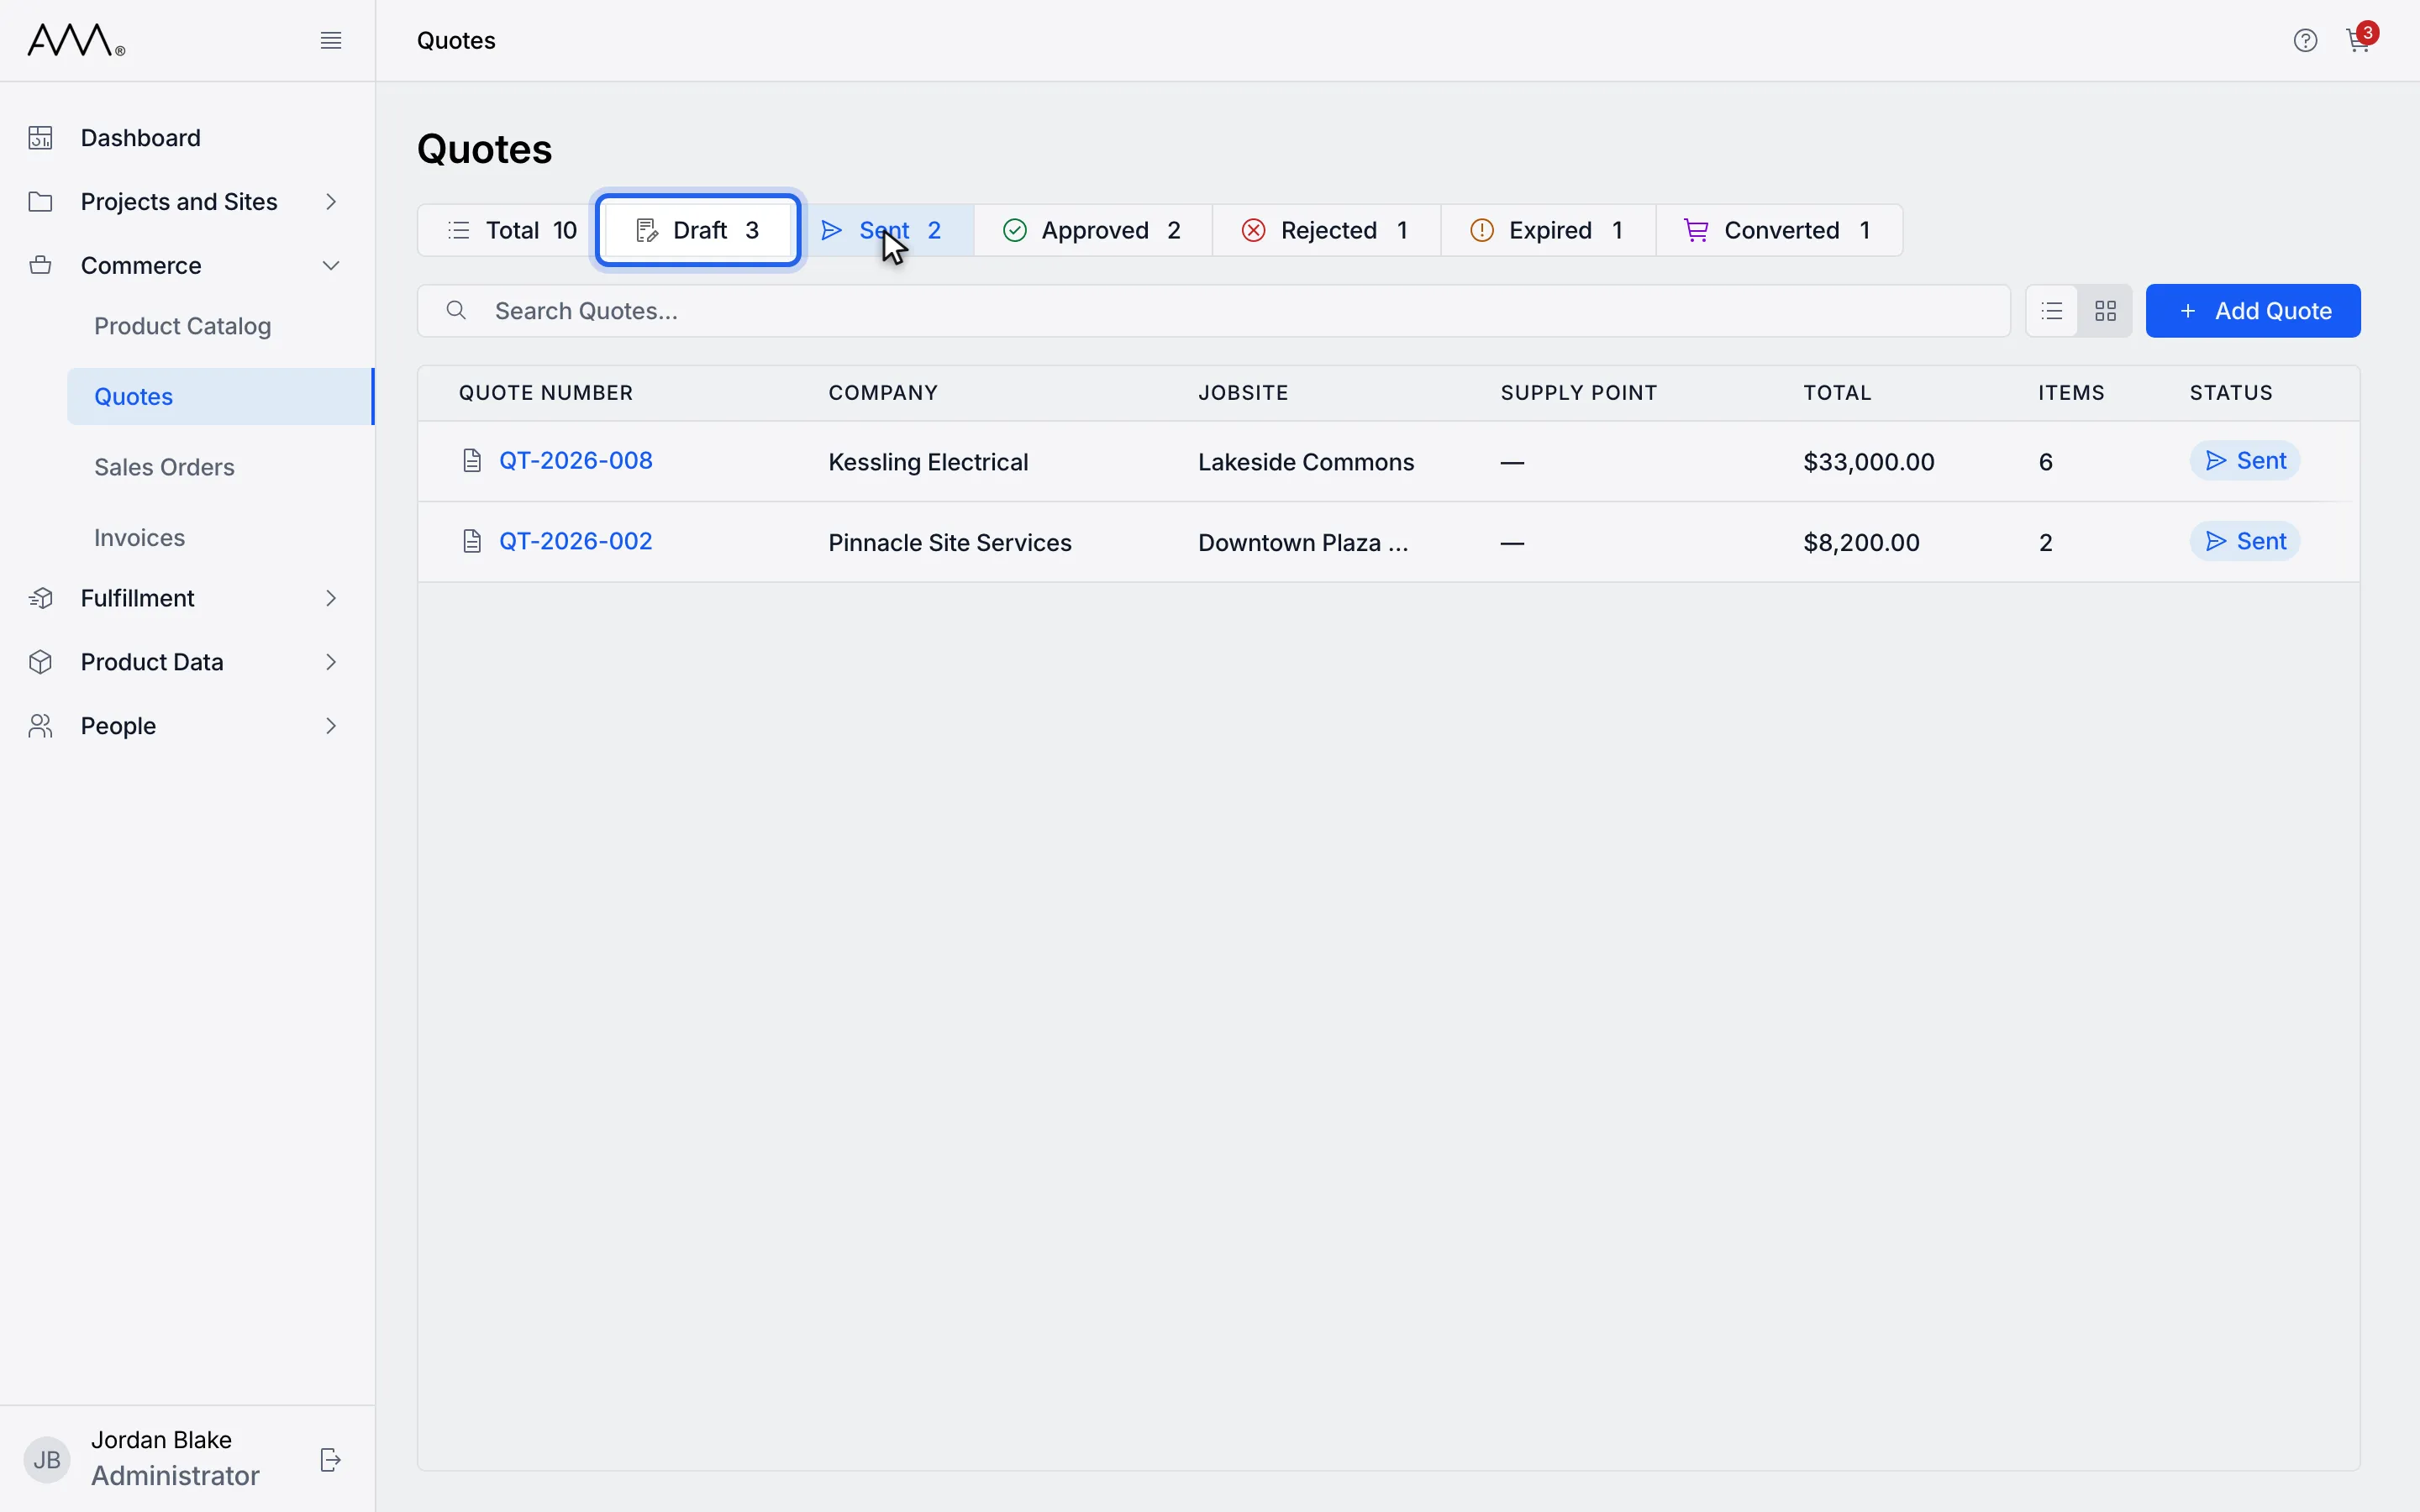
5Click another status to add it to the selection.
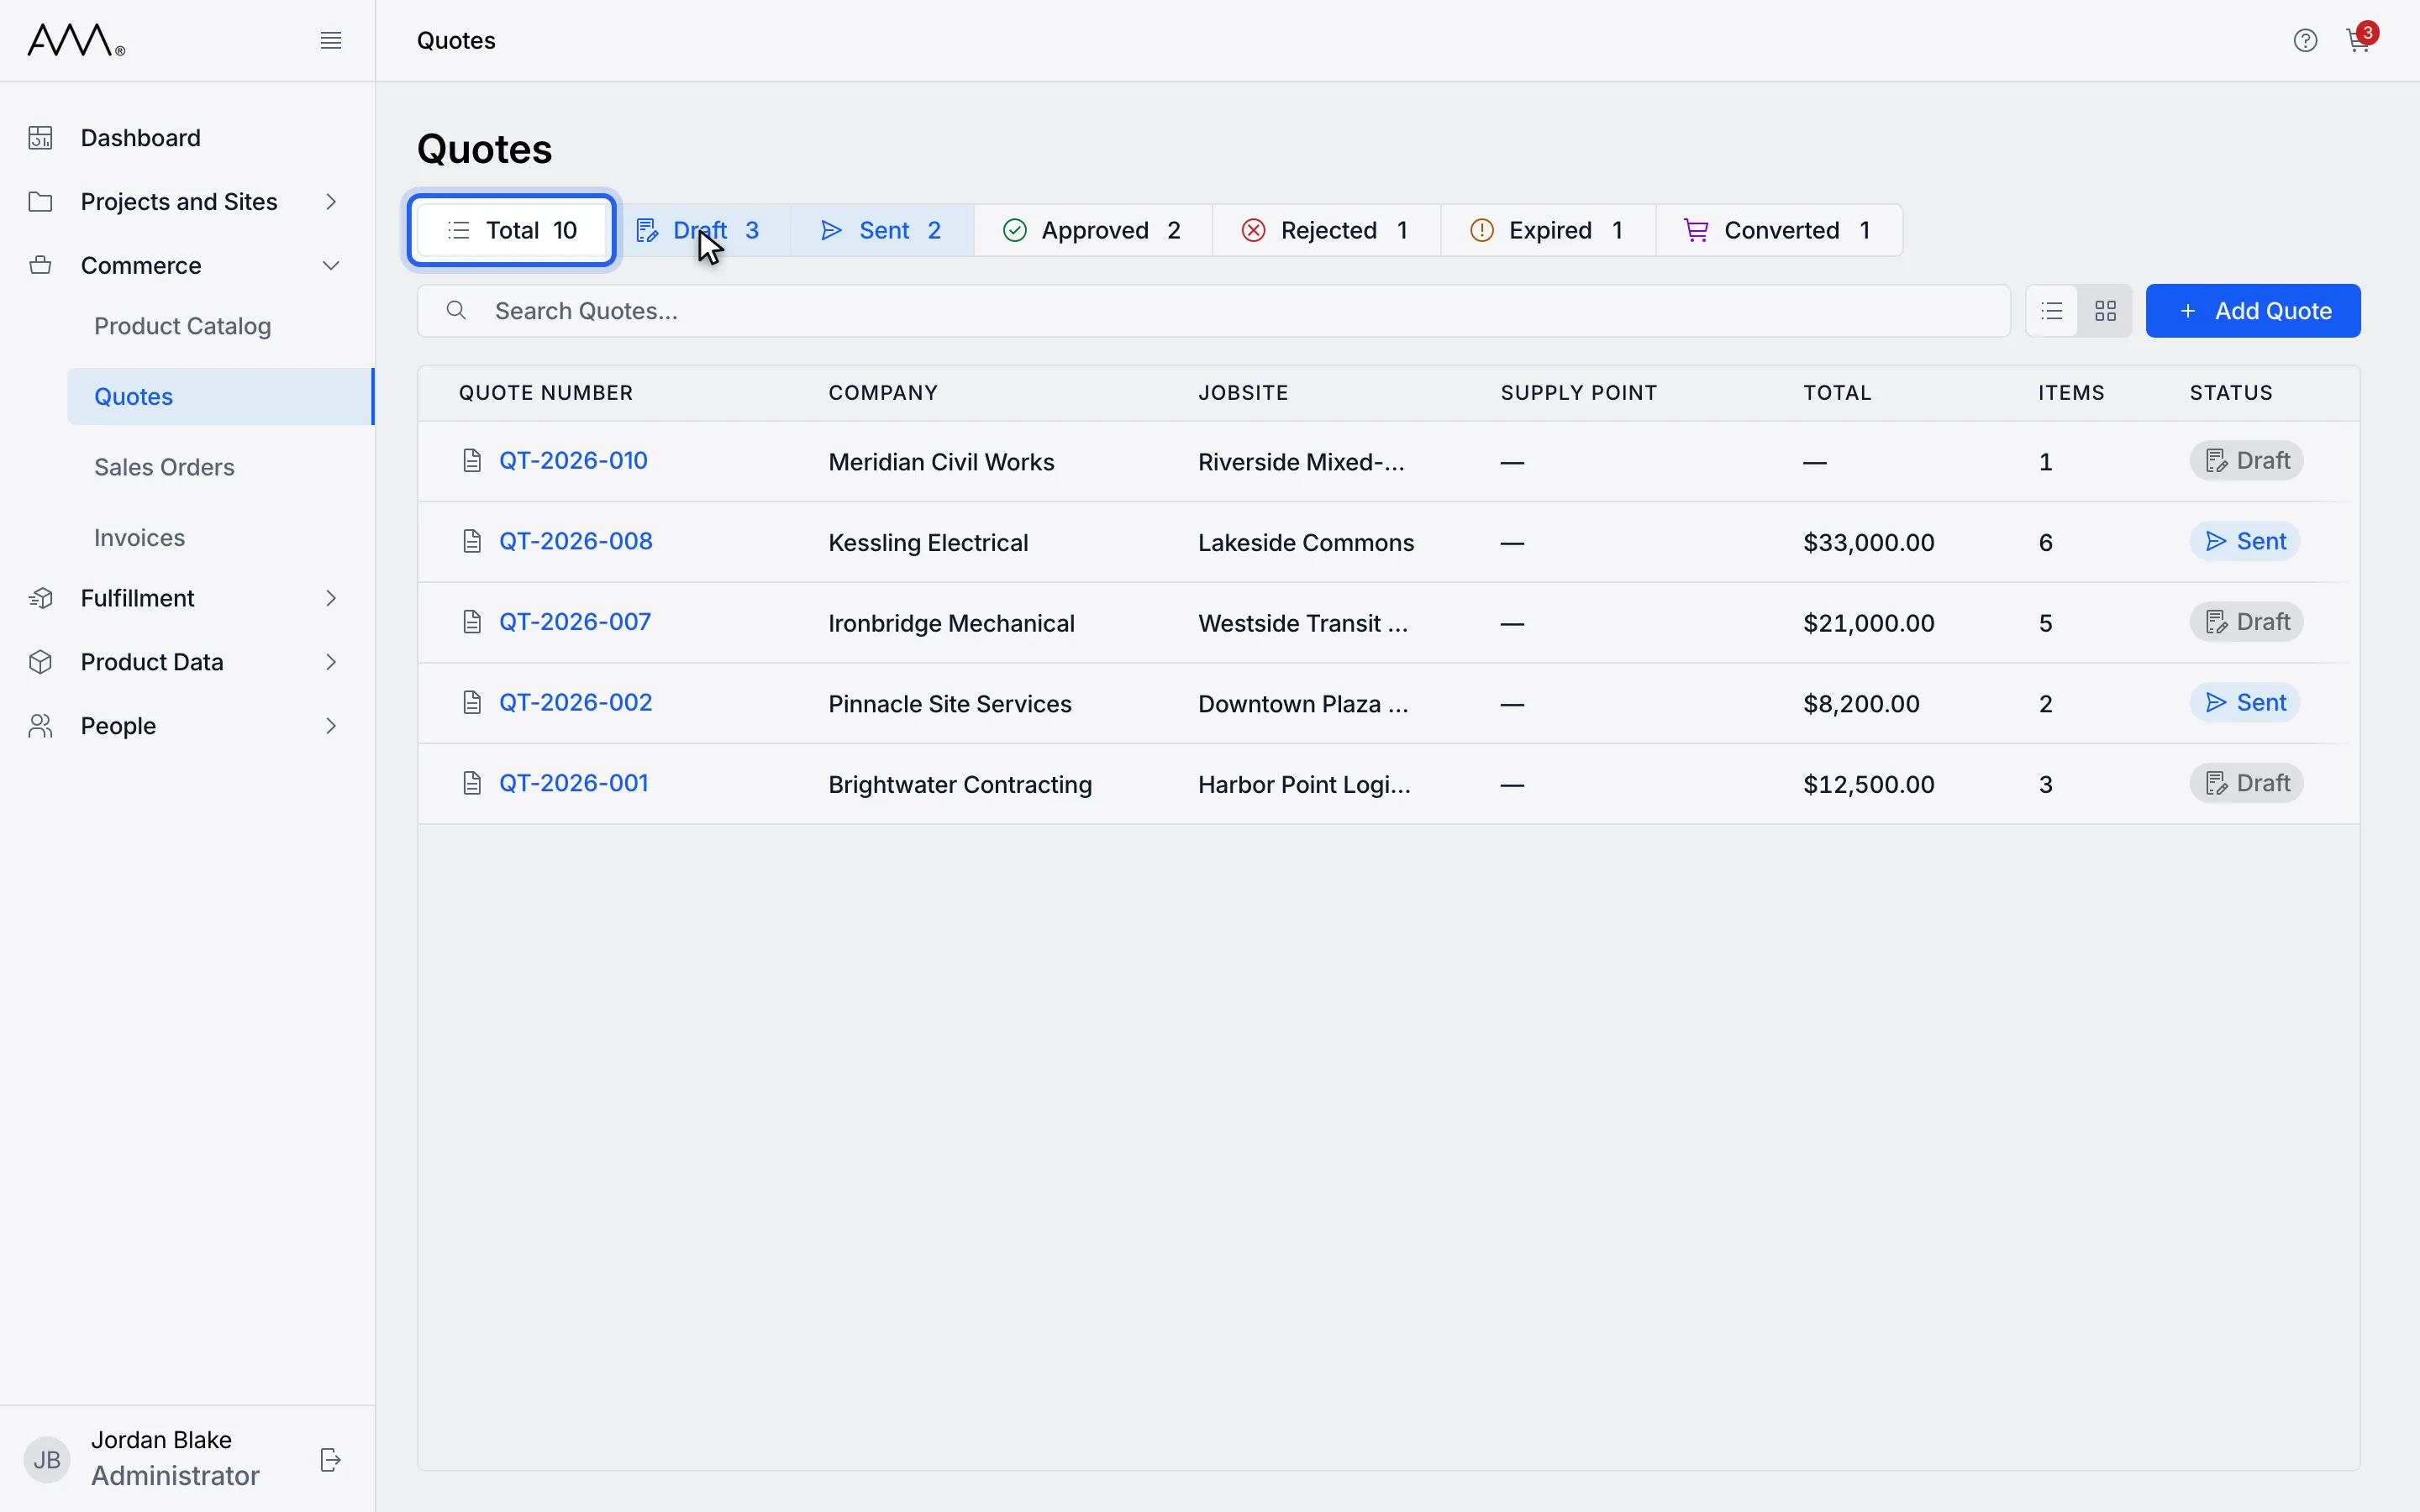
6Click Total to clear the selection and show every record.
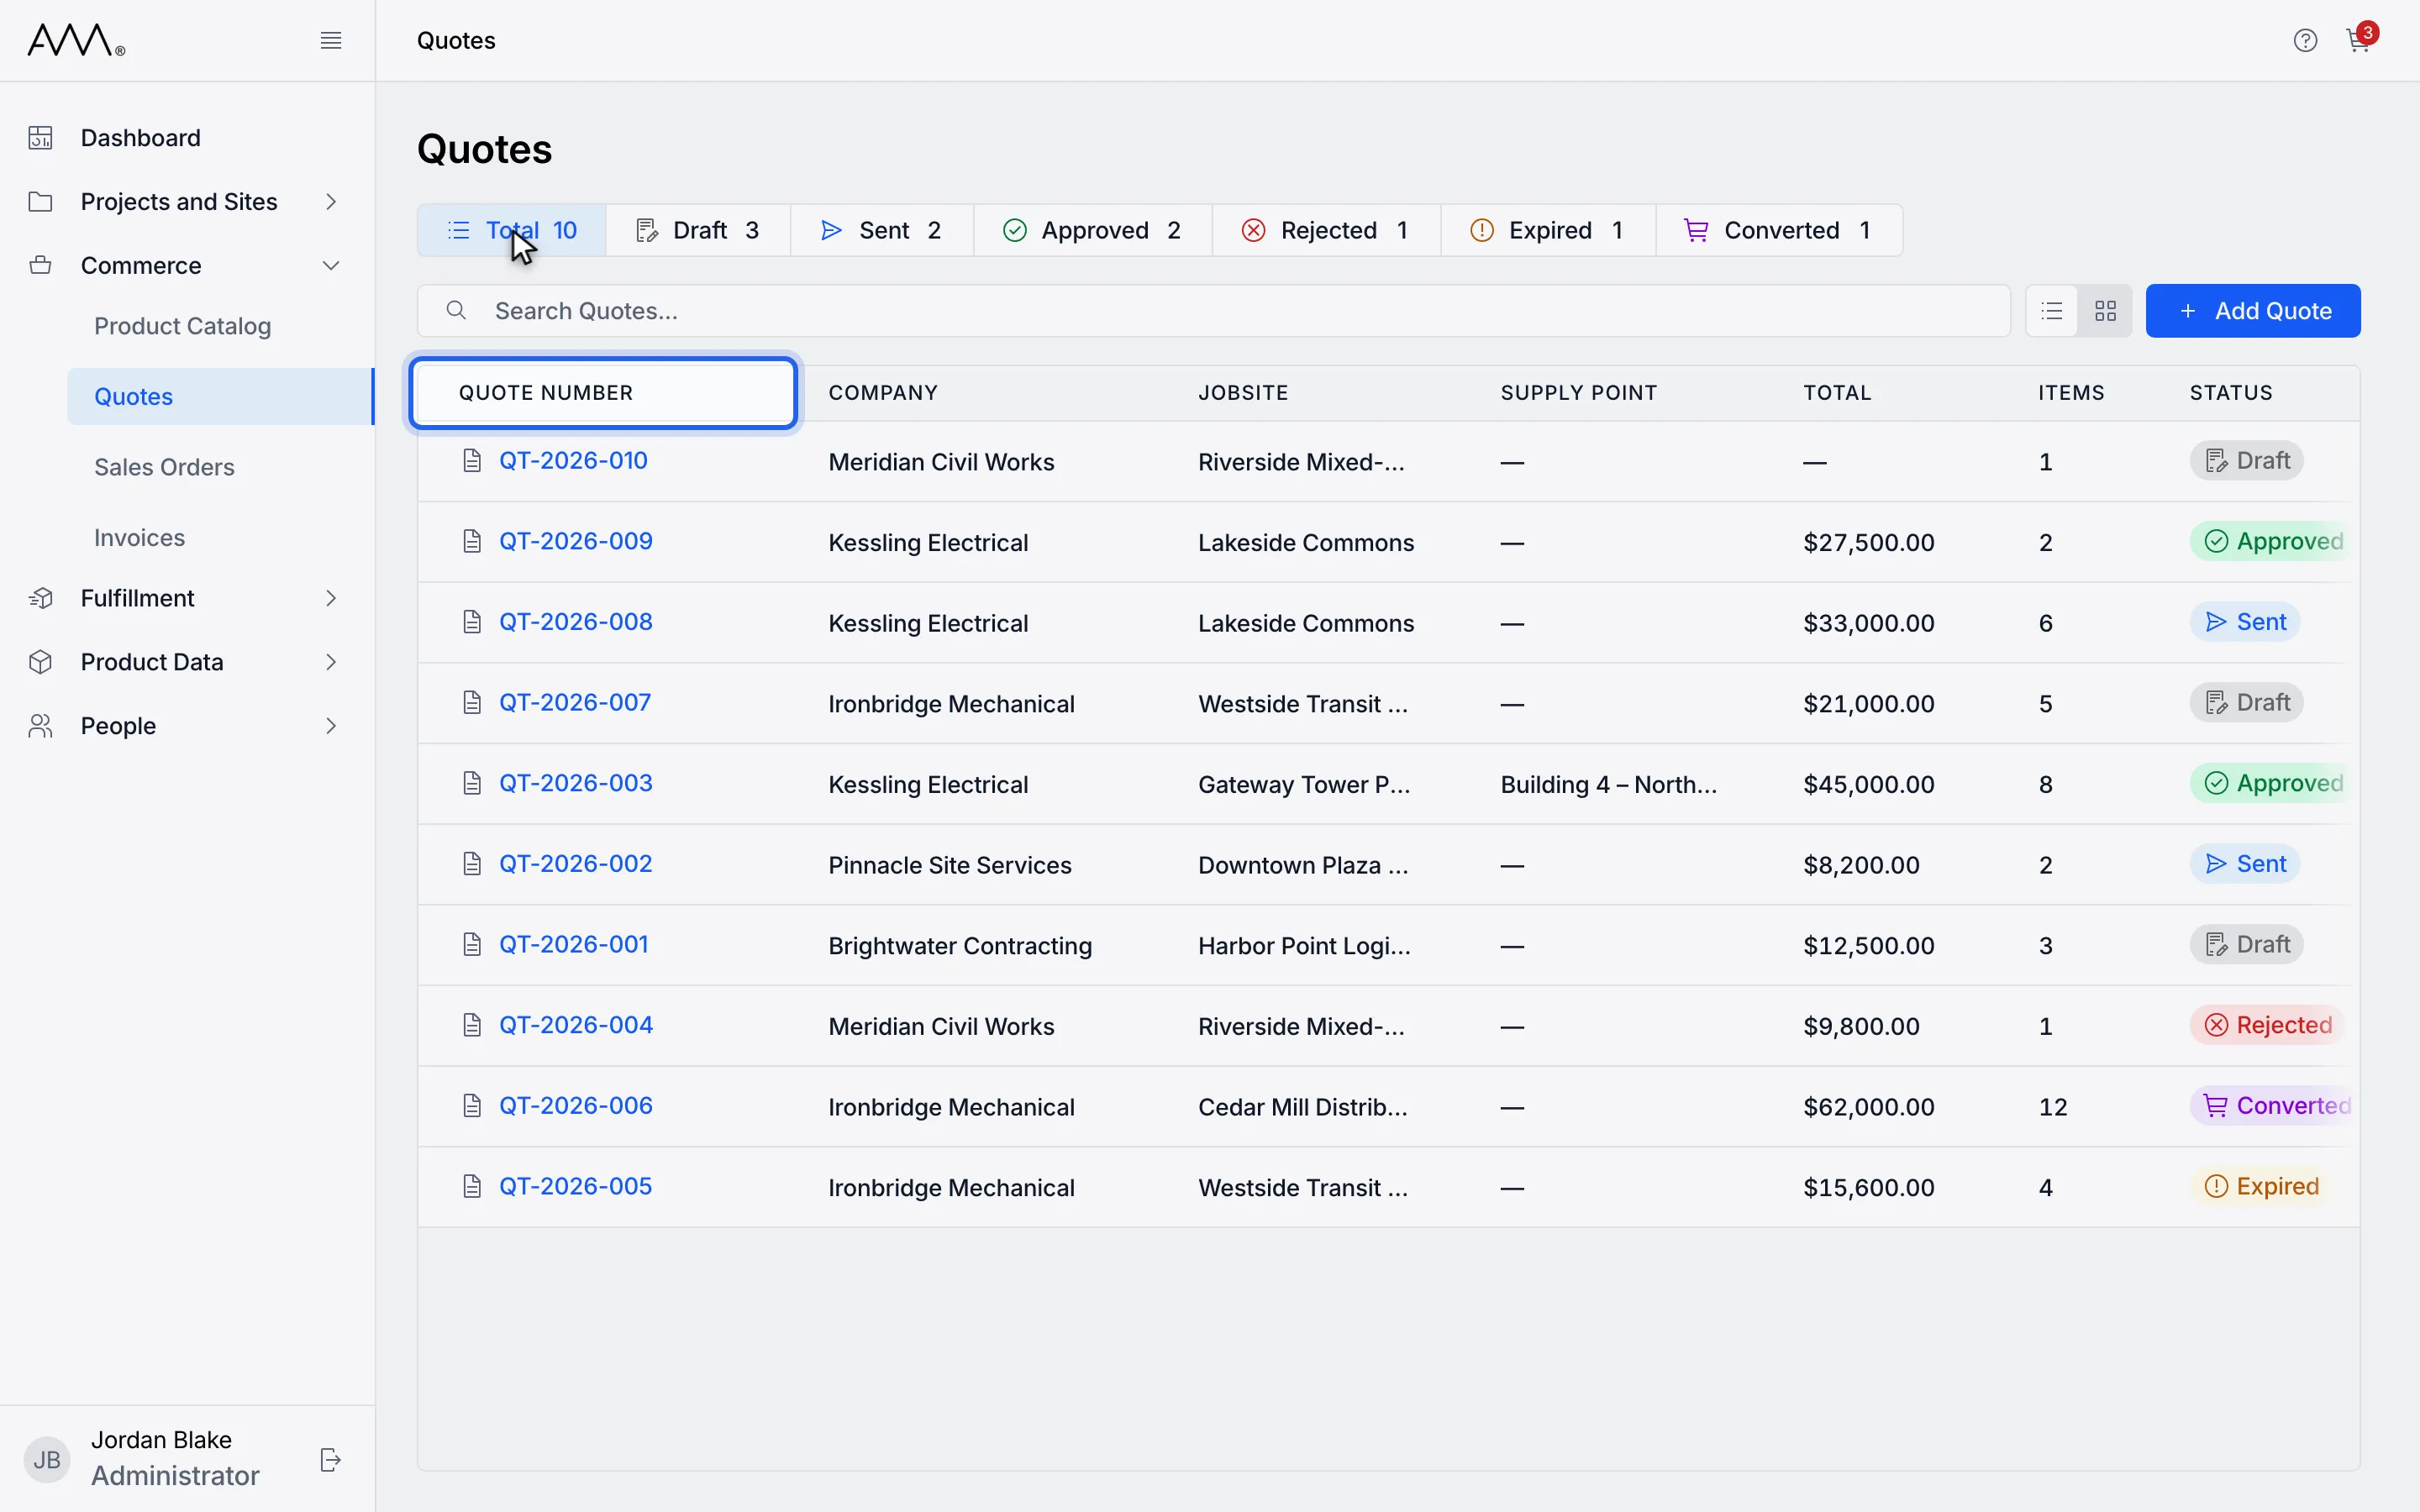
7Click a column header to sort by it. Click it again to reverse the order.
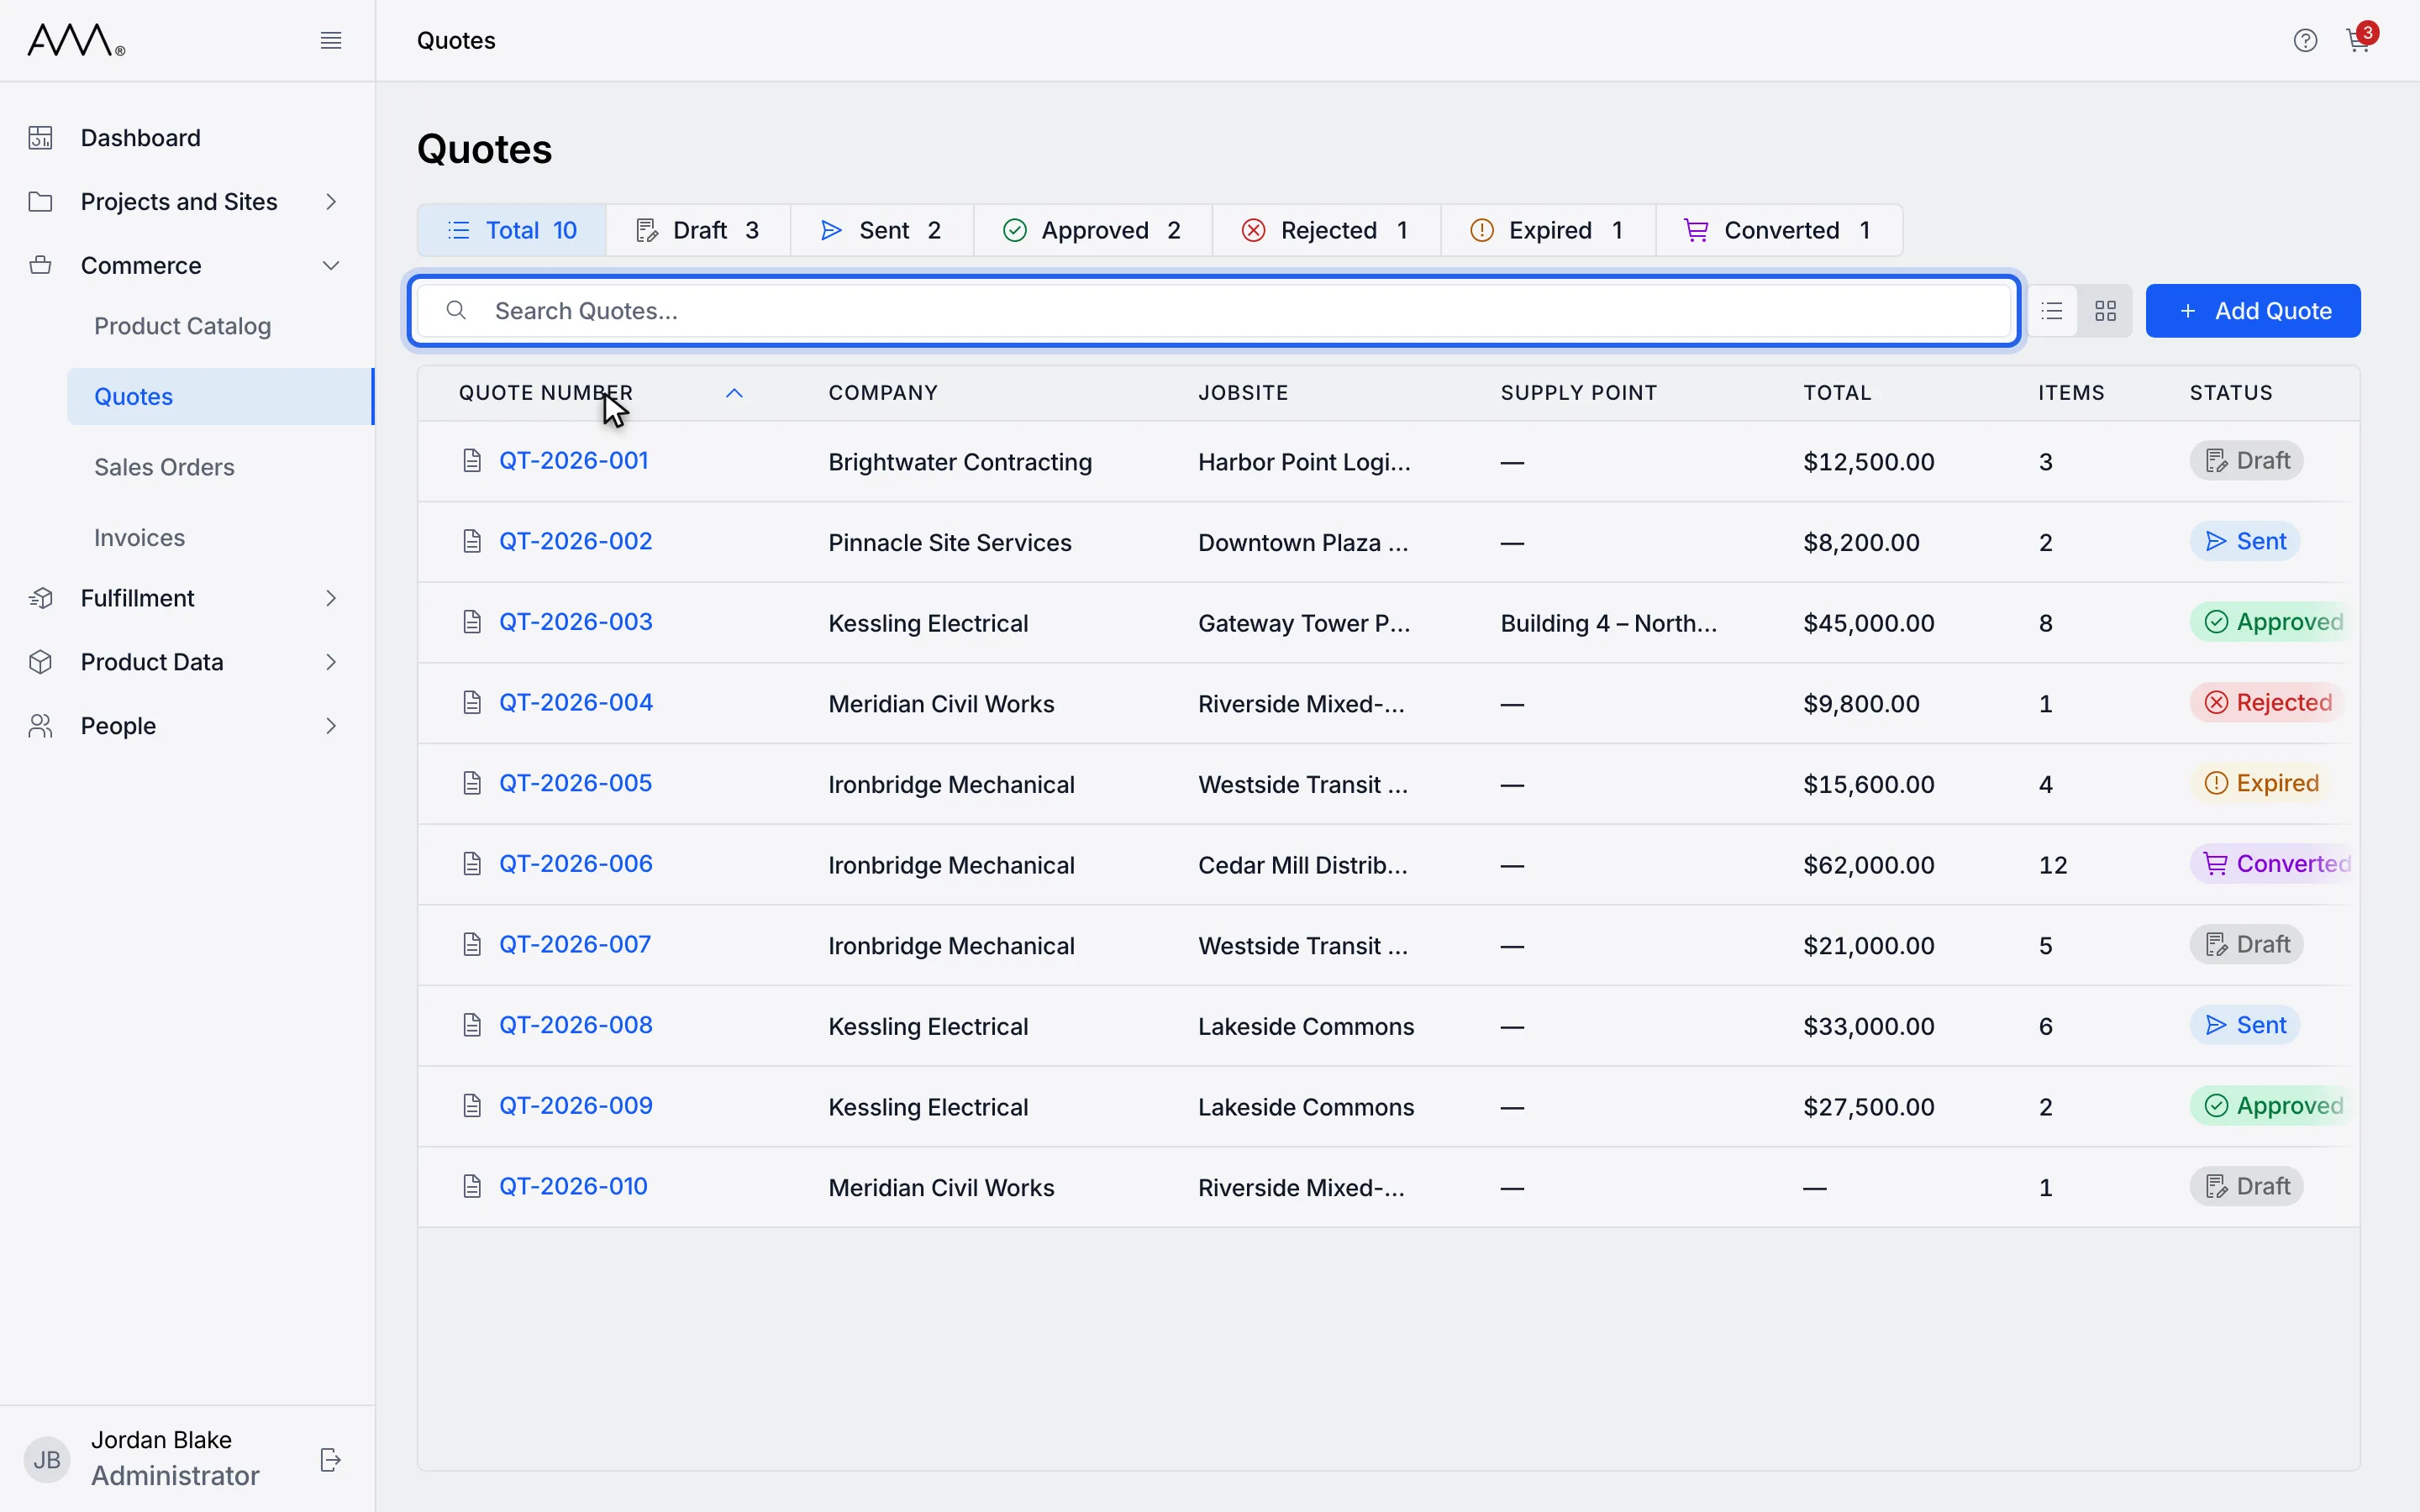
8Type in the search box. The list narrows as you type.
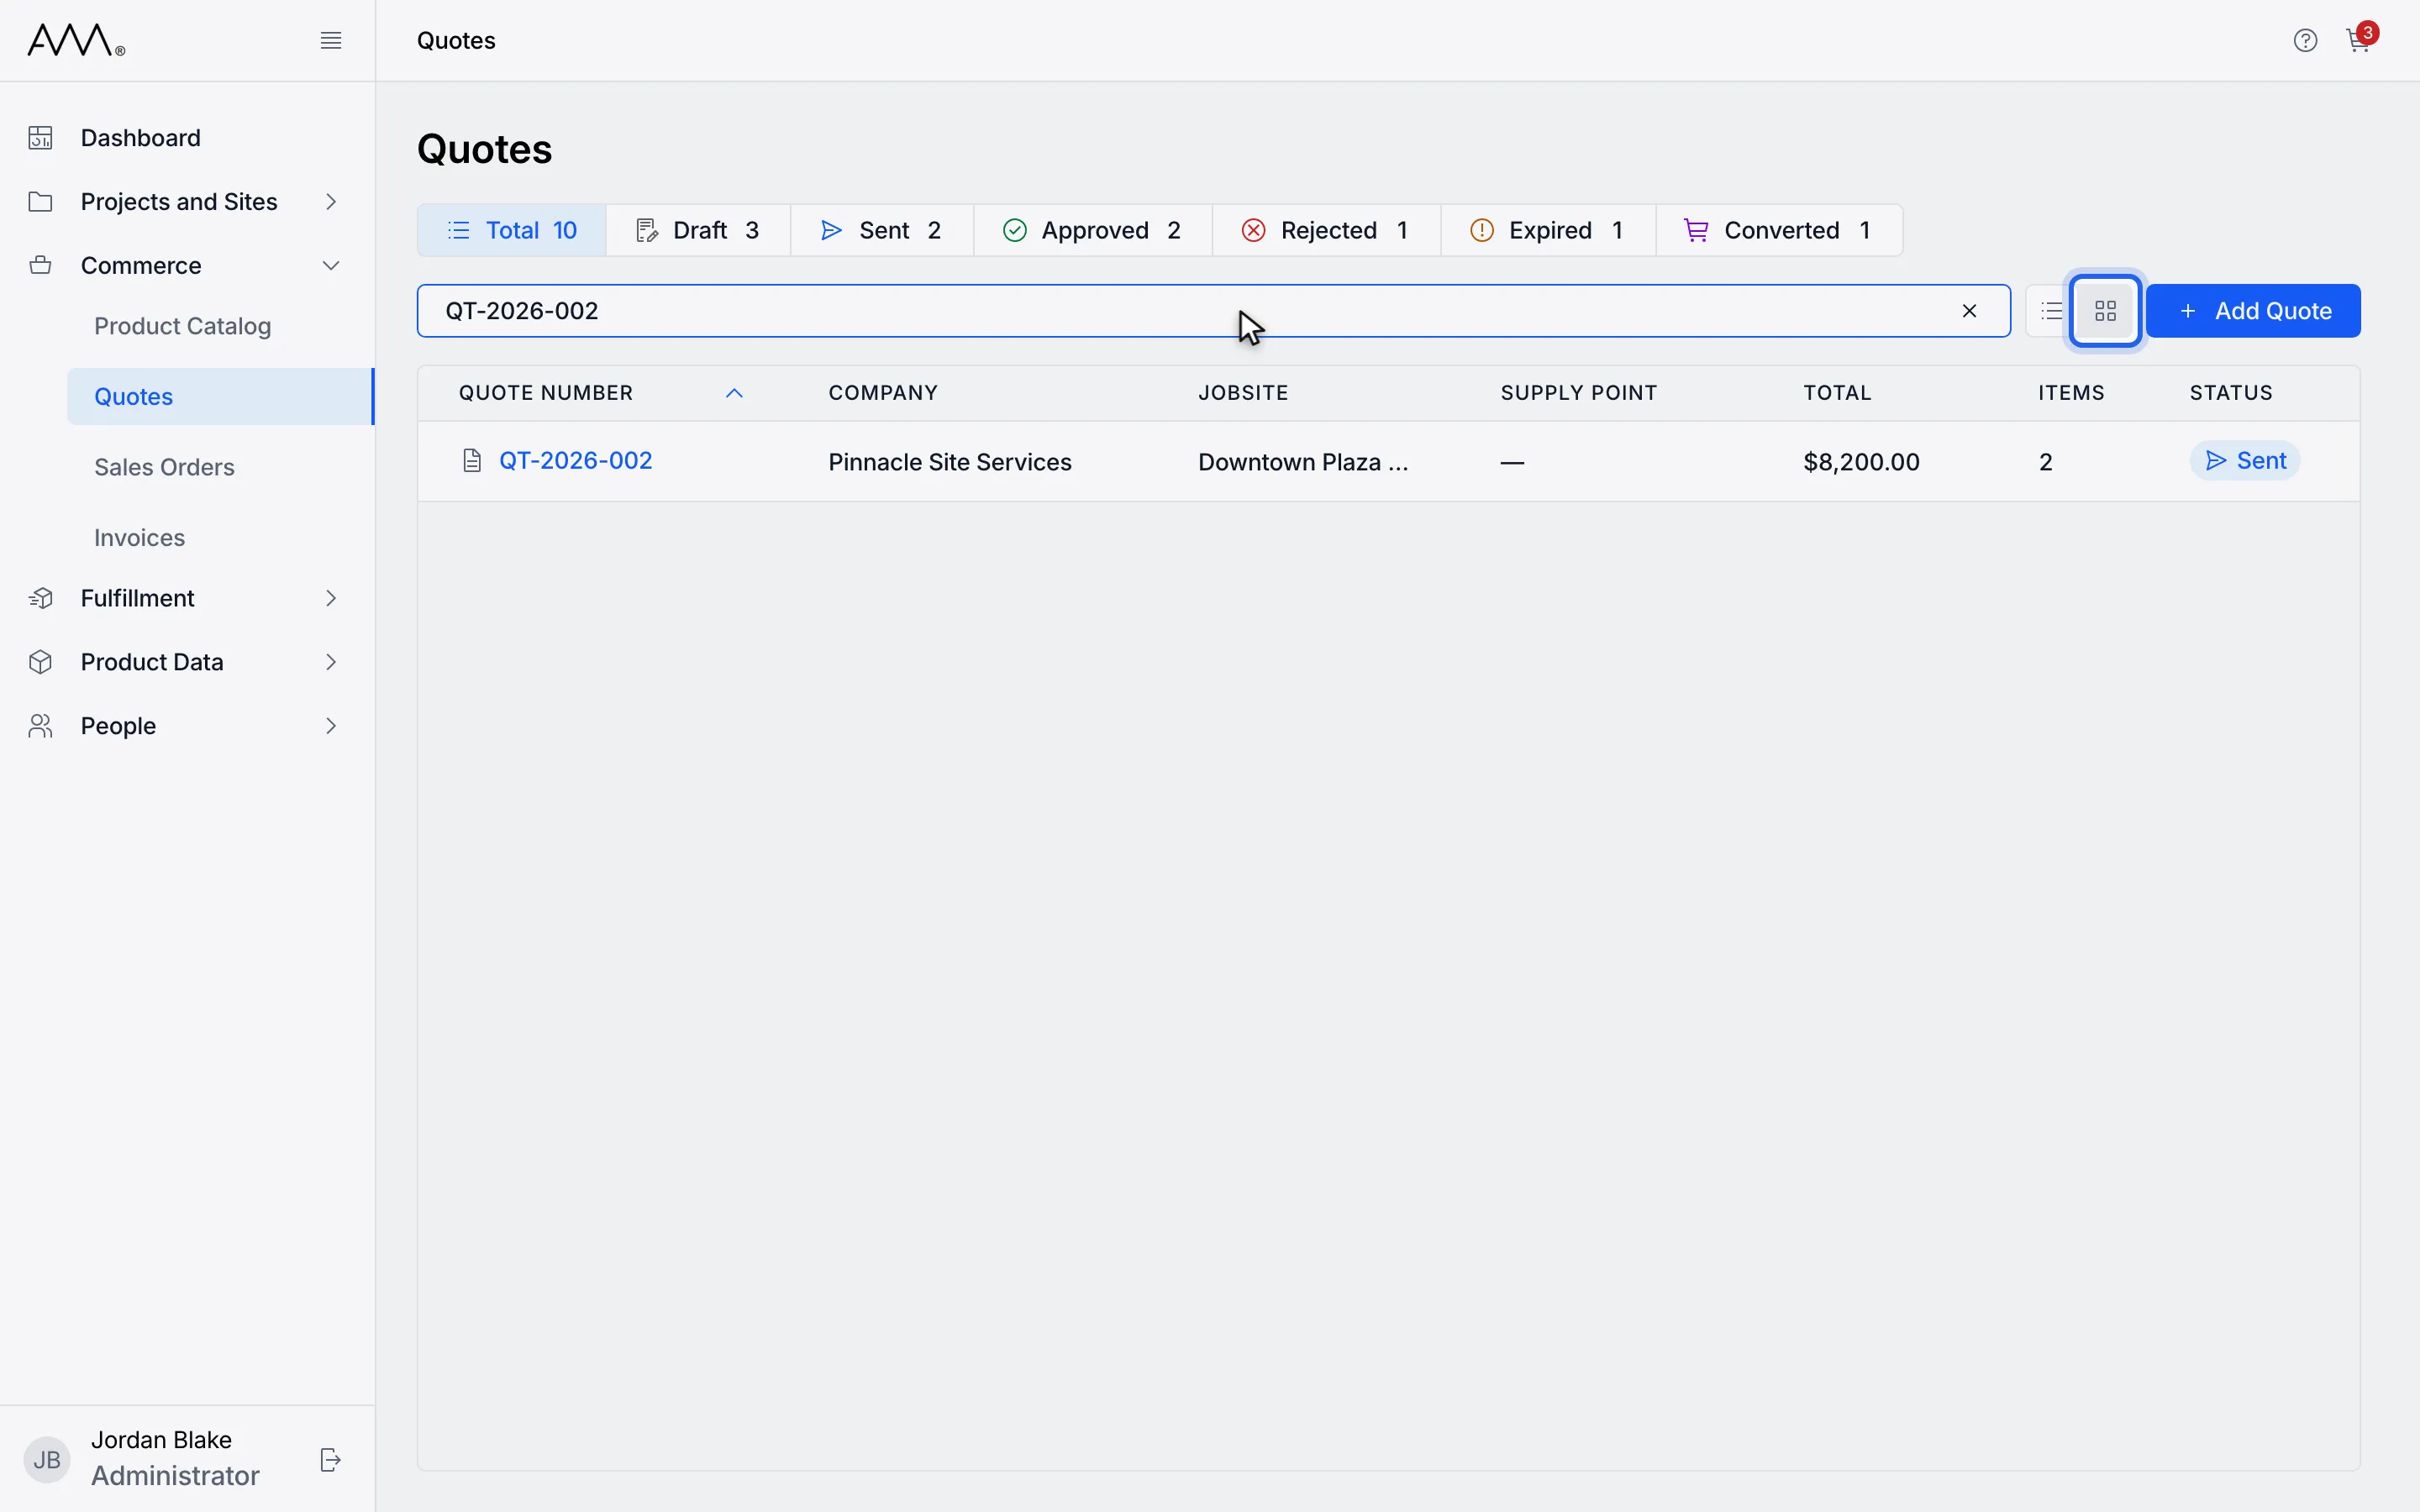
9Switch between List view and Card view with the toggle.
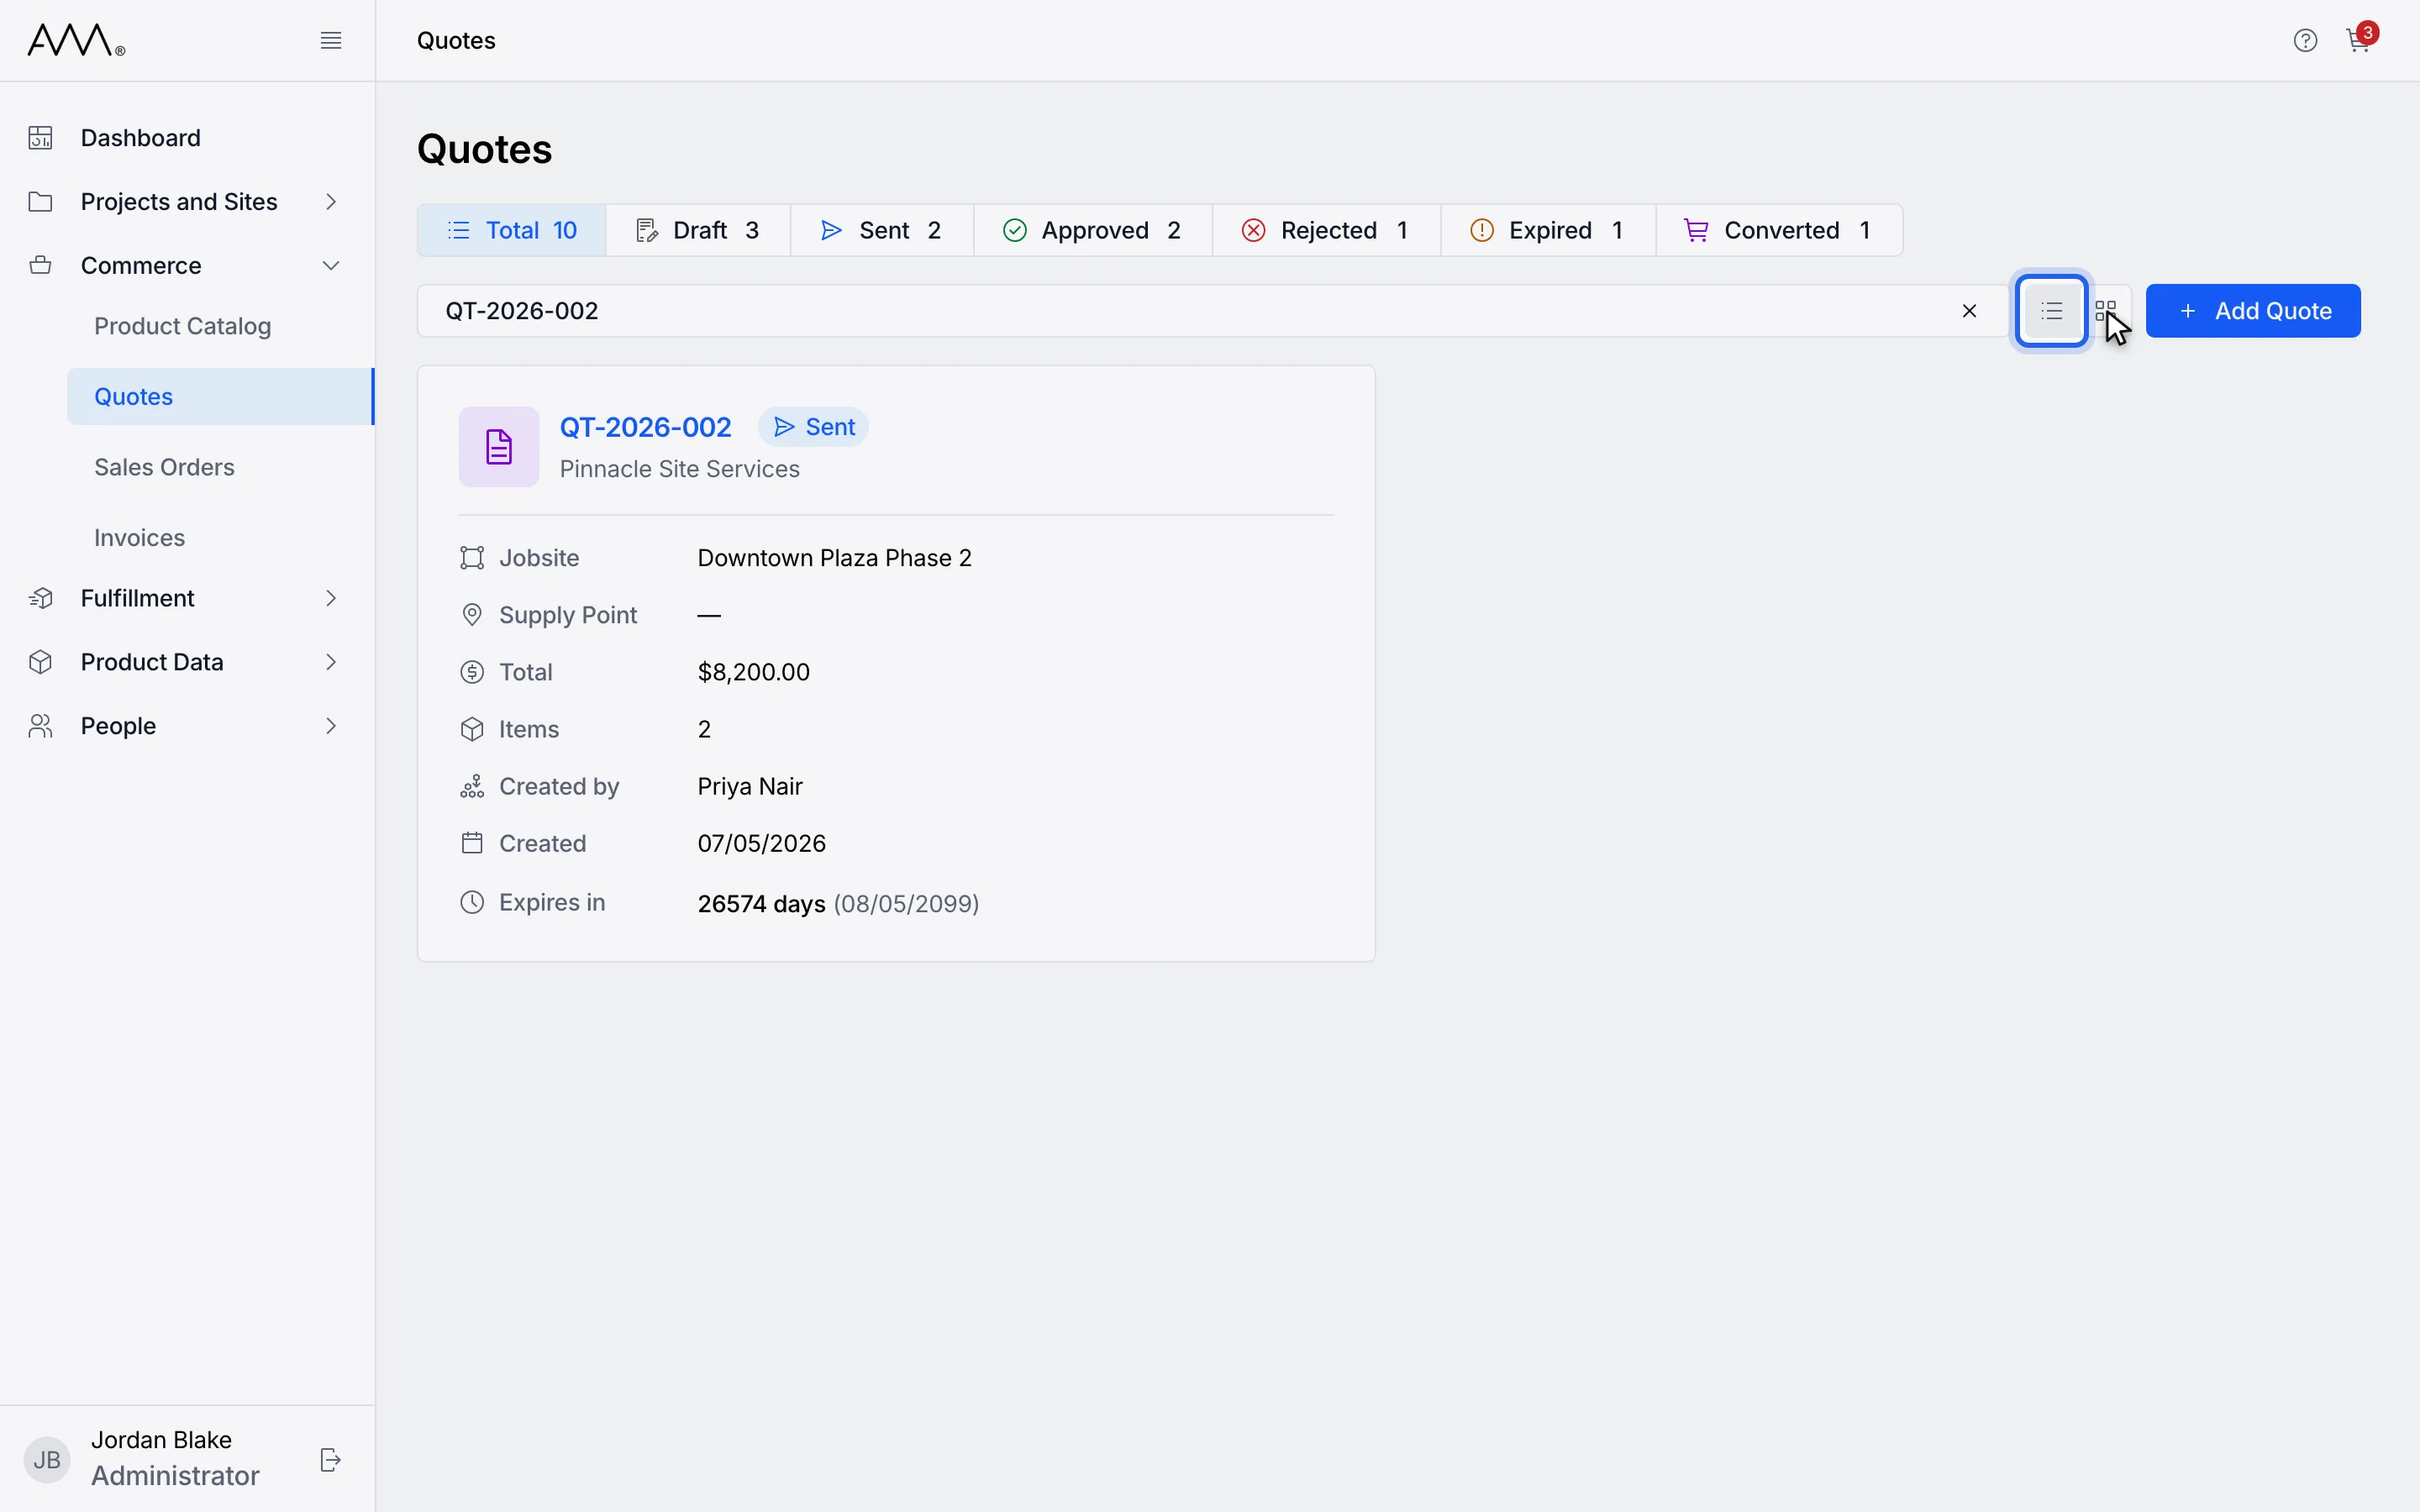
10List view shows columns. Card view shows one card per record.
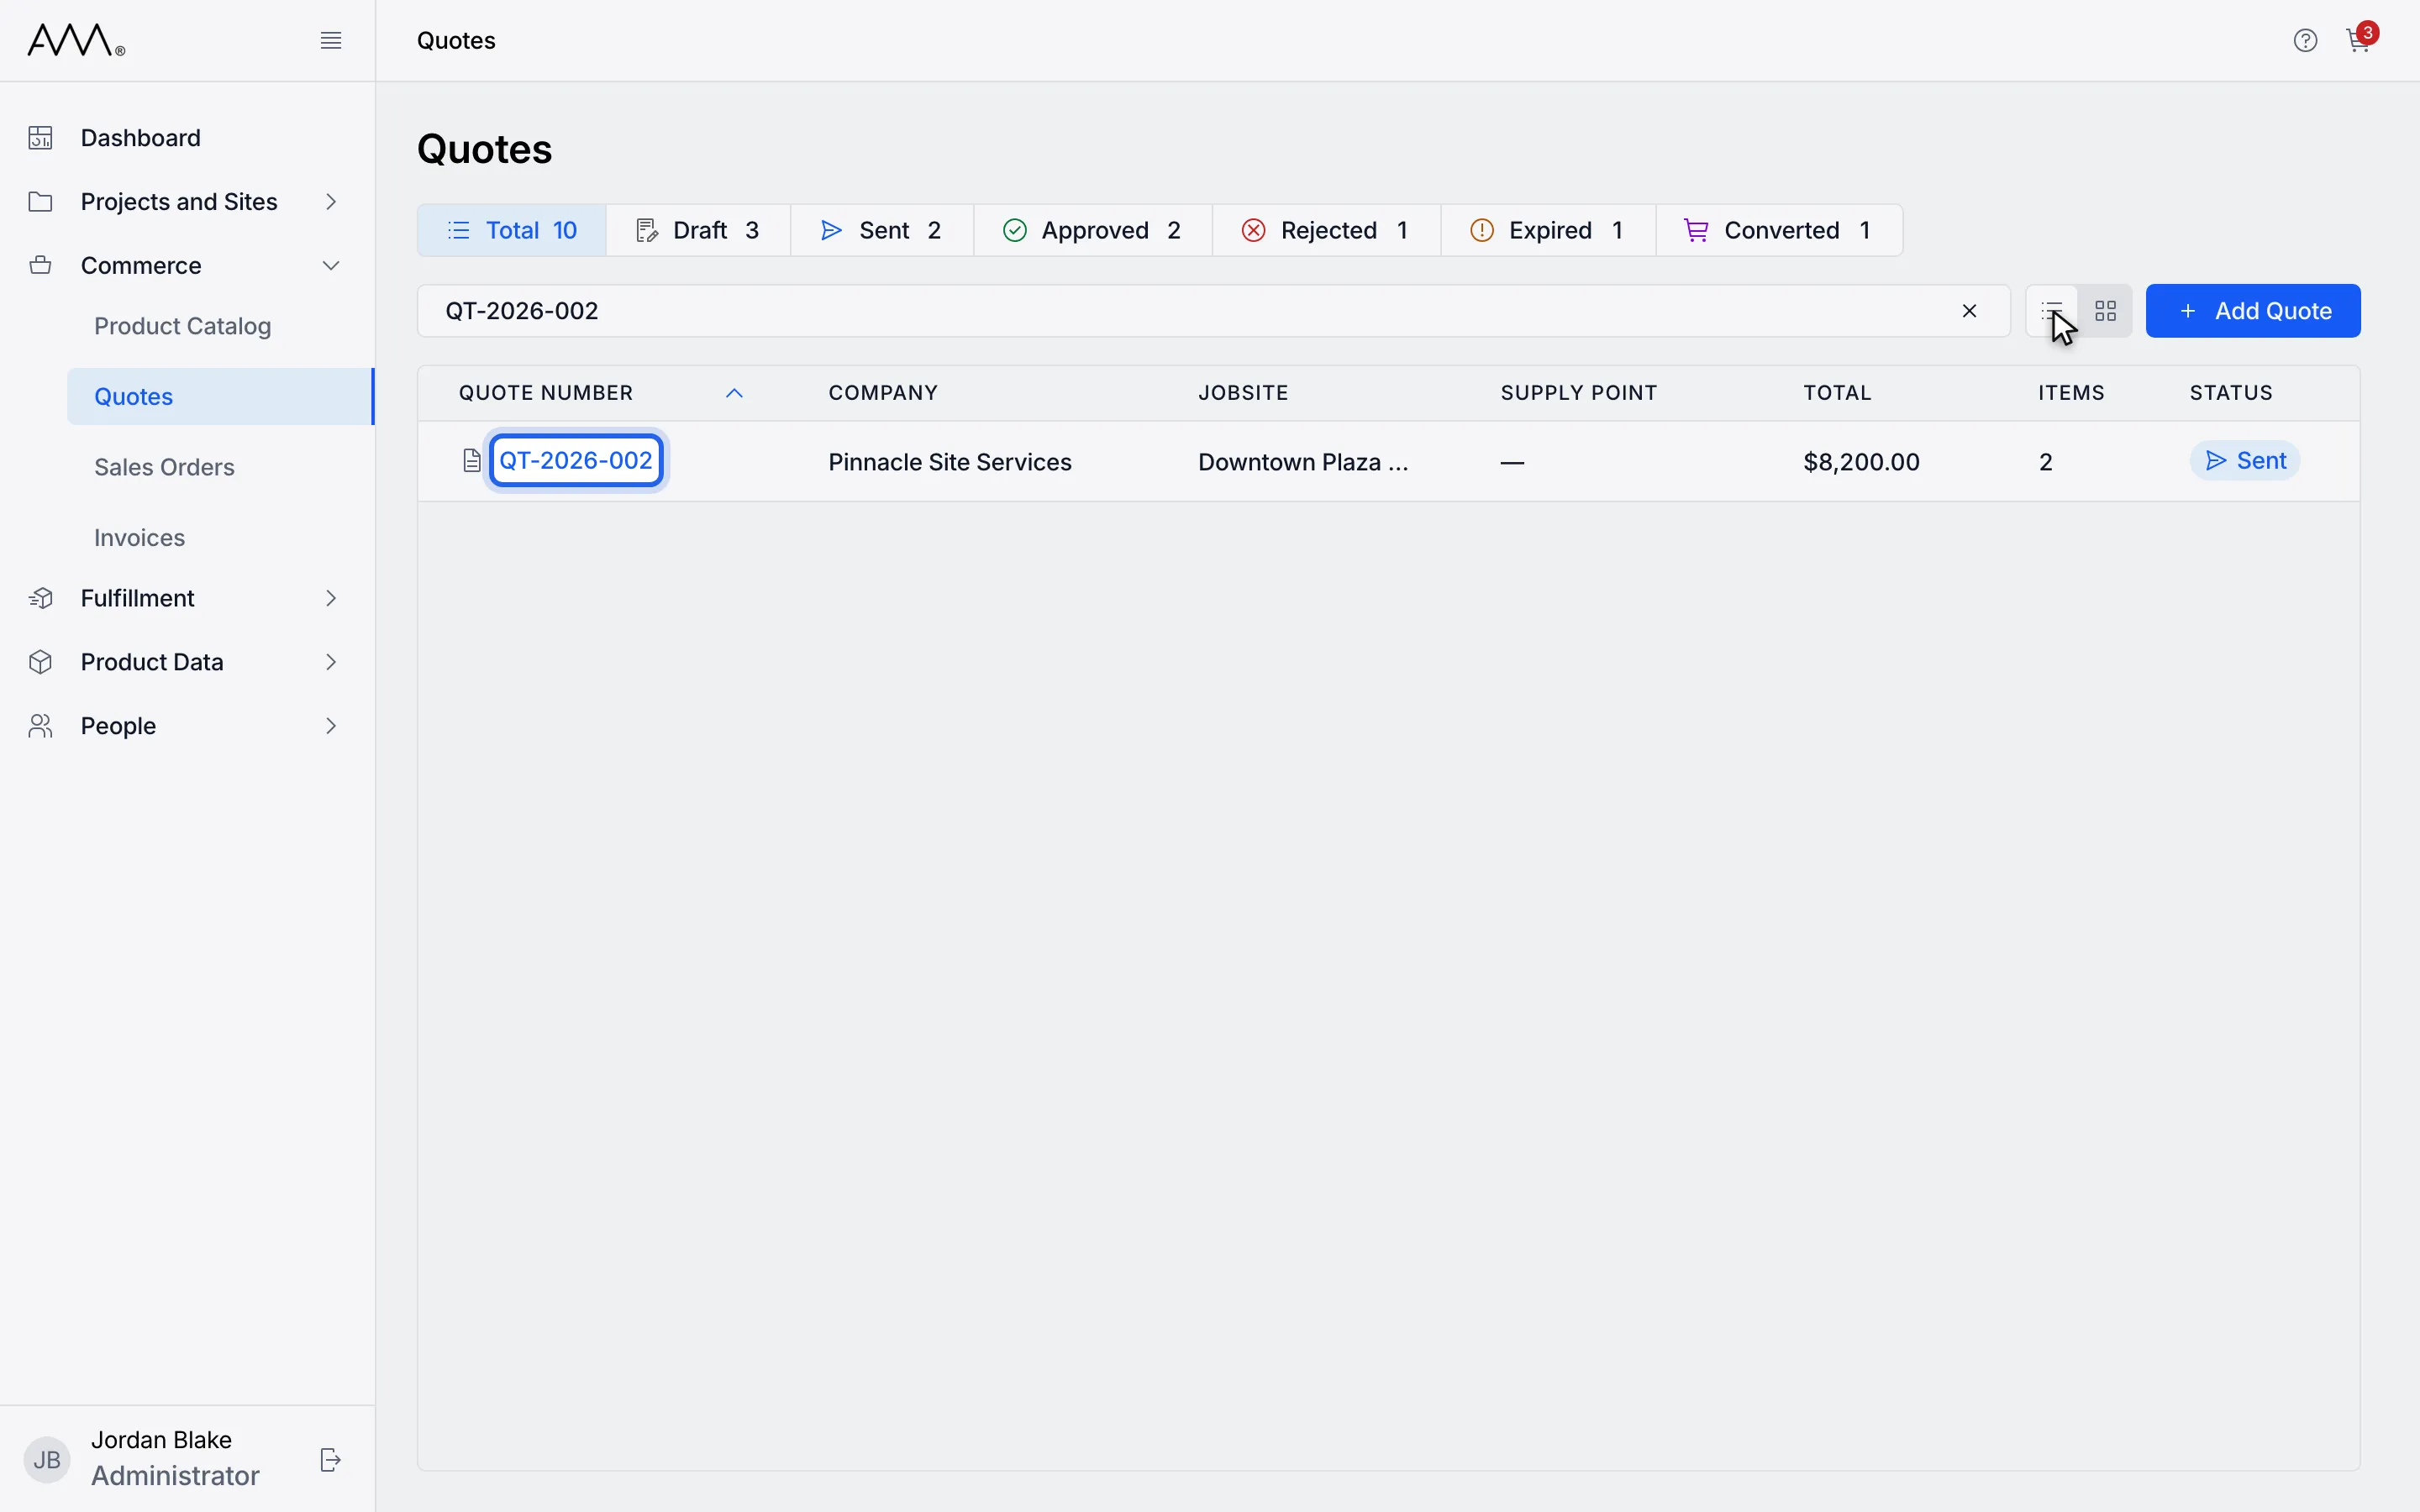
11Open a record by clicking its name or number.
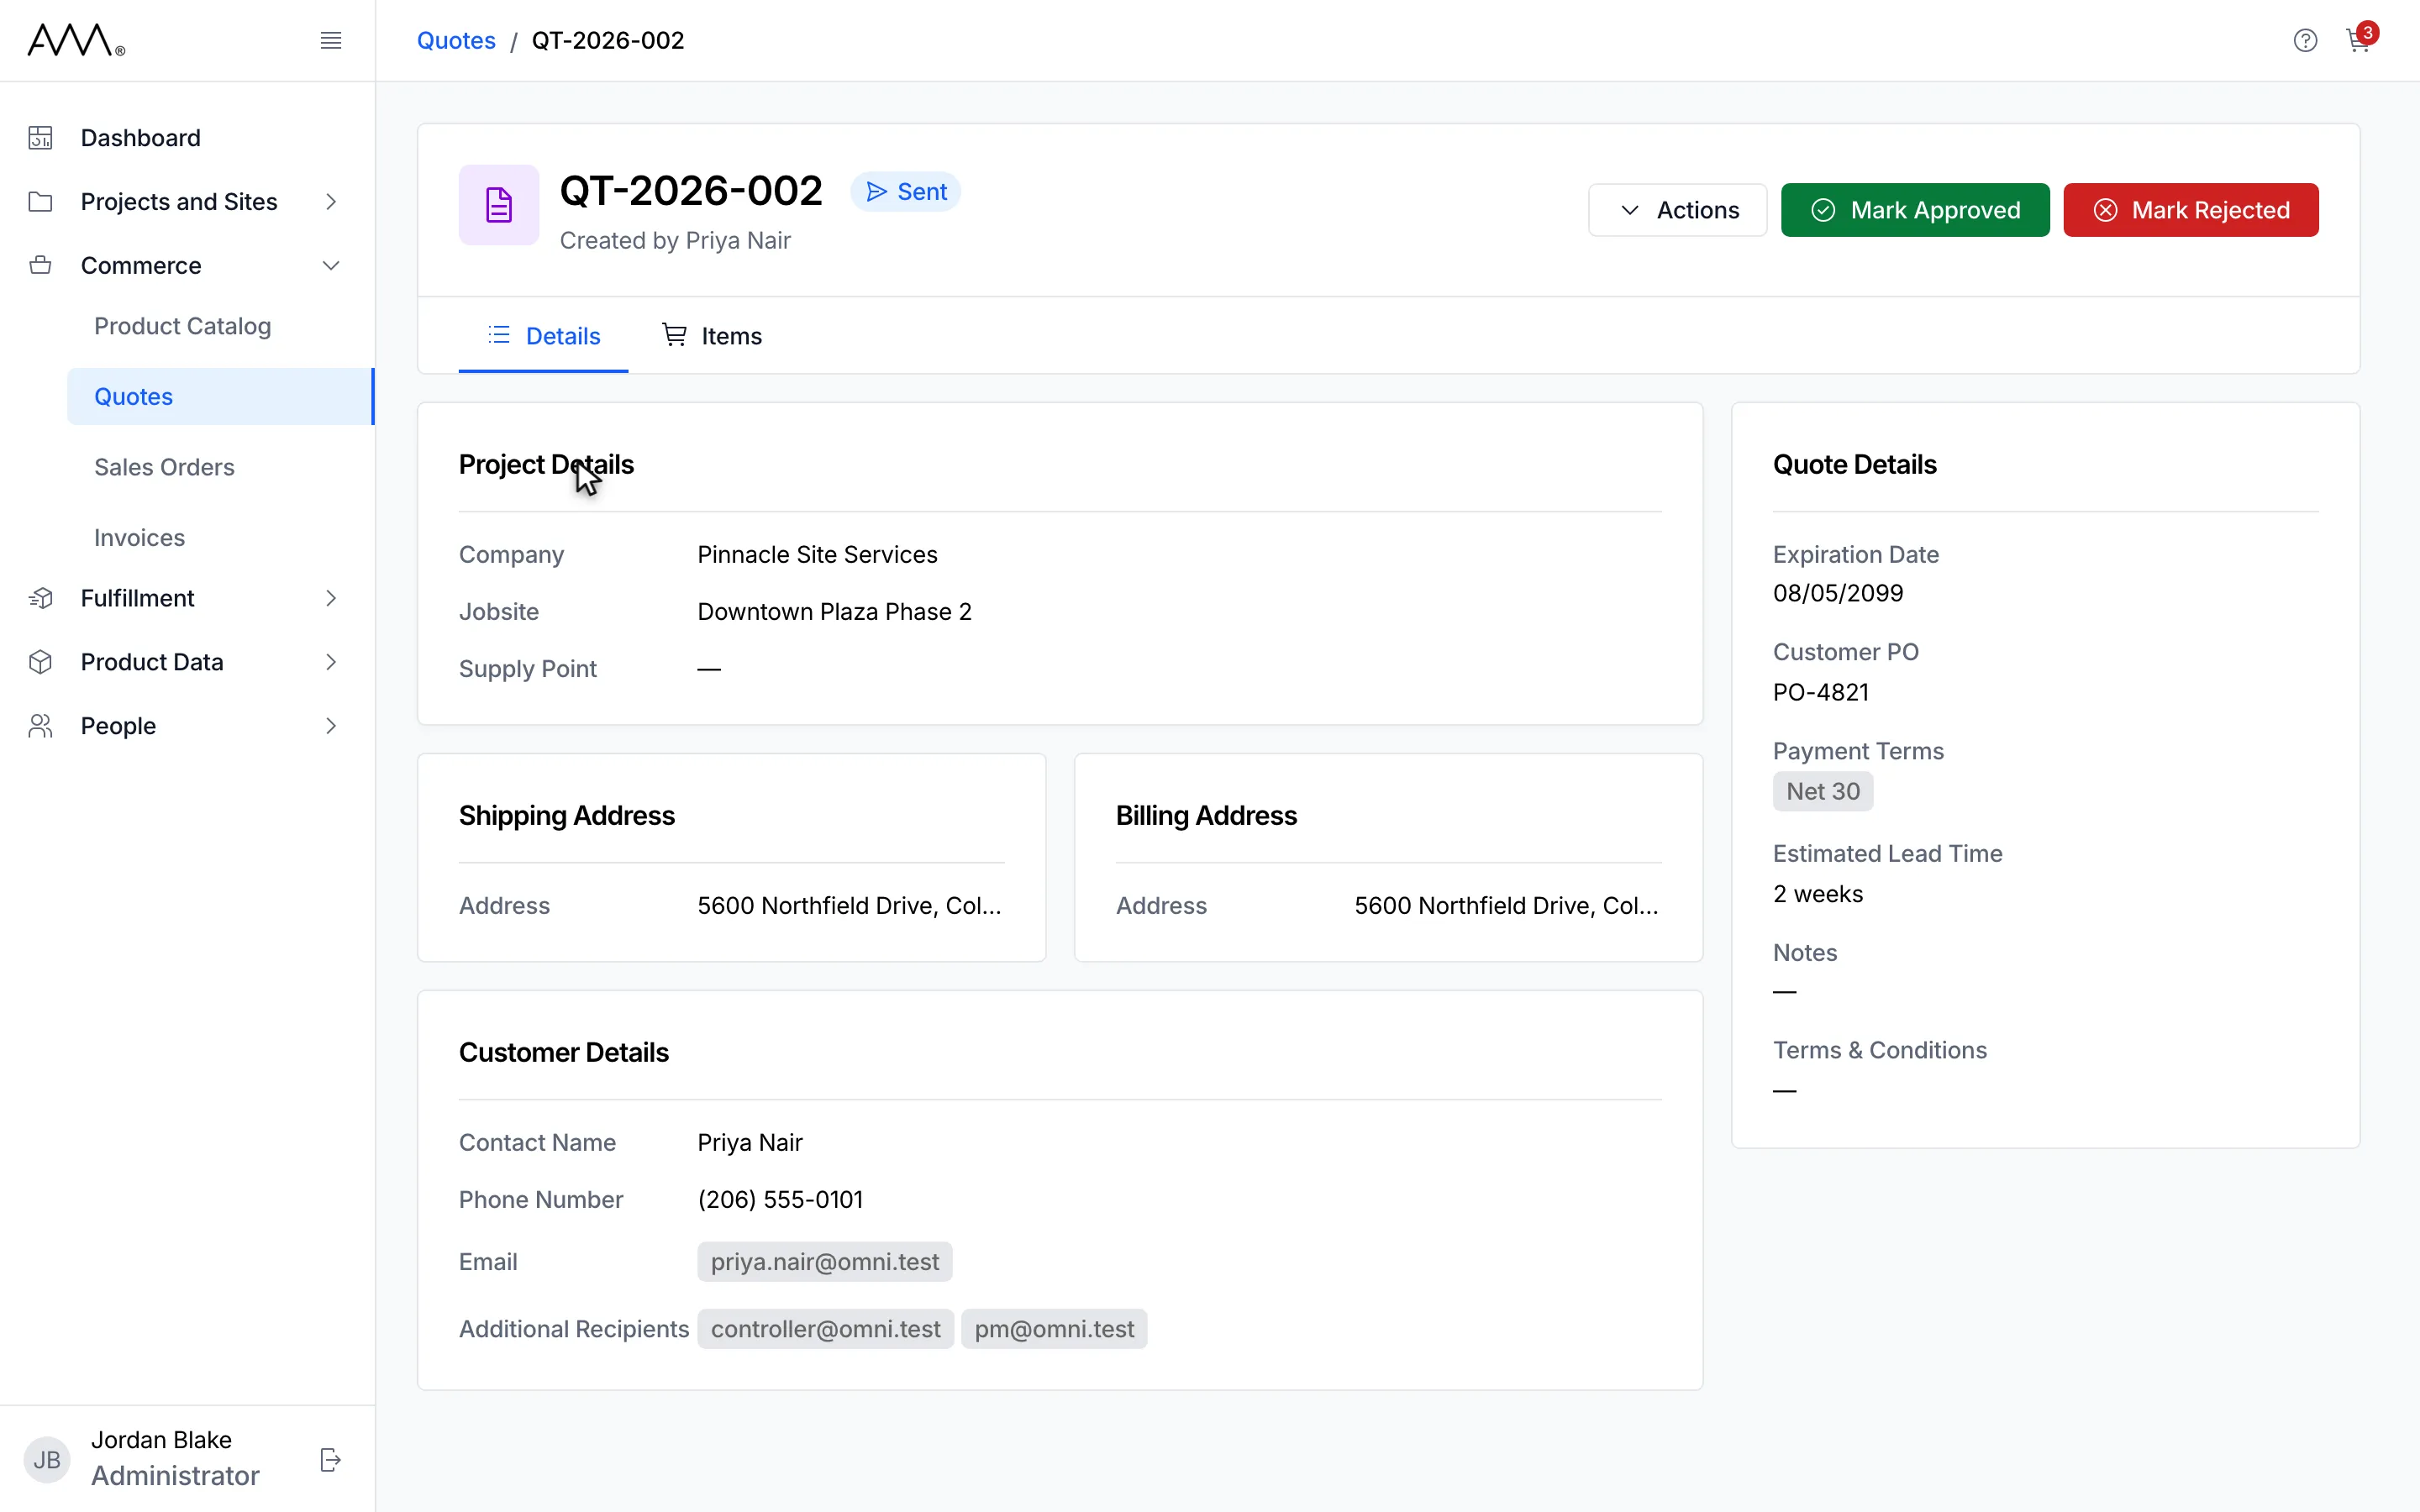
12The record opens on its detail page.