View the hardware on a supply point
A supply point’s Hardware tab shows the hardware unit installed there. Each supply point holds at most one unit. Use the tab to check what is installed before a visit, or as the starting point for assigning, replacing or unassigning hardware.
- In the sidebar, open Projects and Sites and choose Supply Points.
- Click the supply point name to open it.
- Click the Hardware tab.
- Read the card. It shows the serial number, the type, the status, the hardware ID and the Model, Jobsite, Supply Point and Owner.
- Use the view toggle to switch to List view for a table with the columns Serial, Type, Model, Jobsite, Owner, Status and Actions.
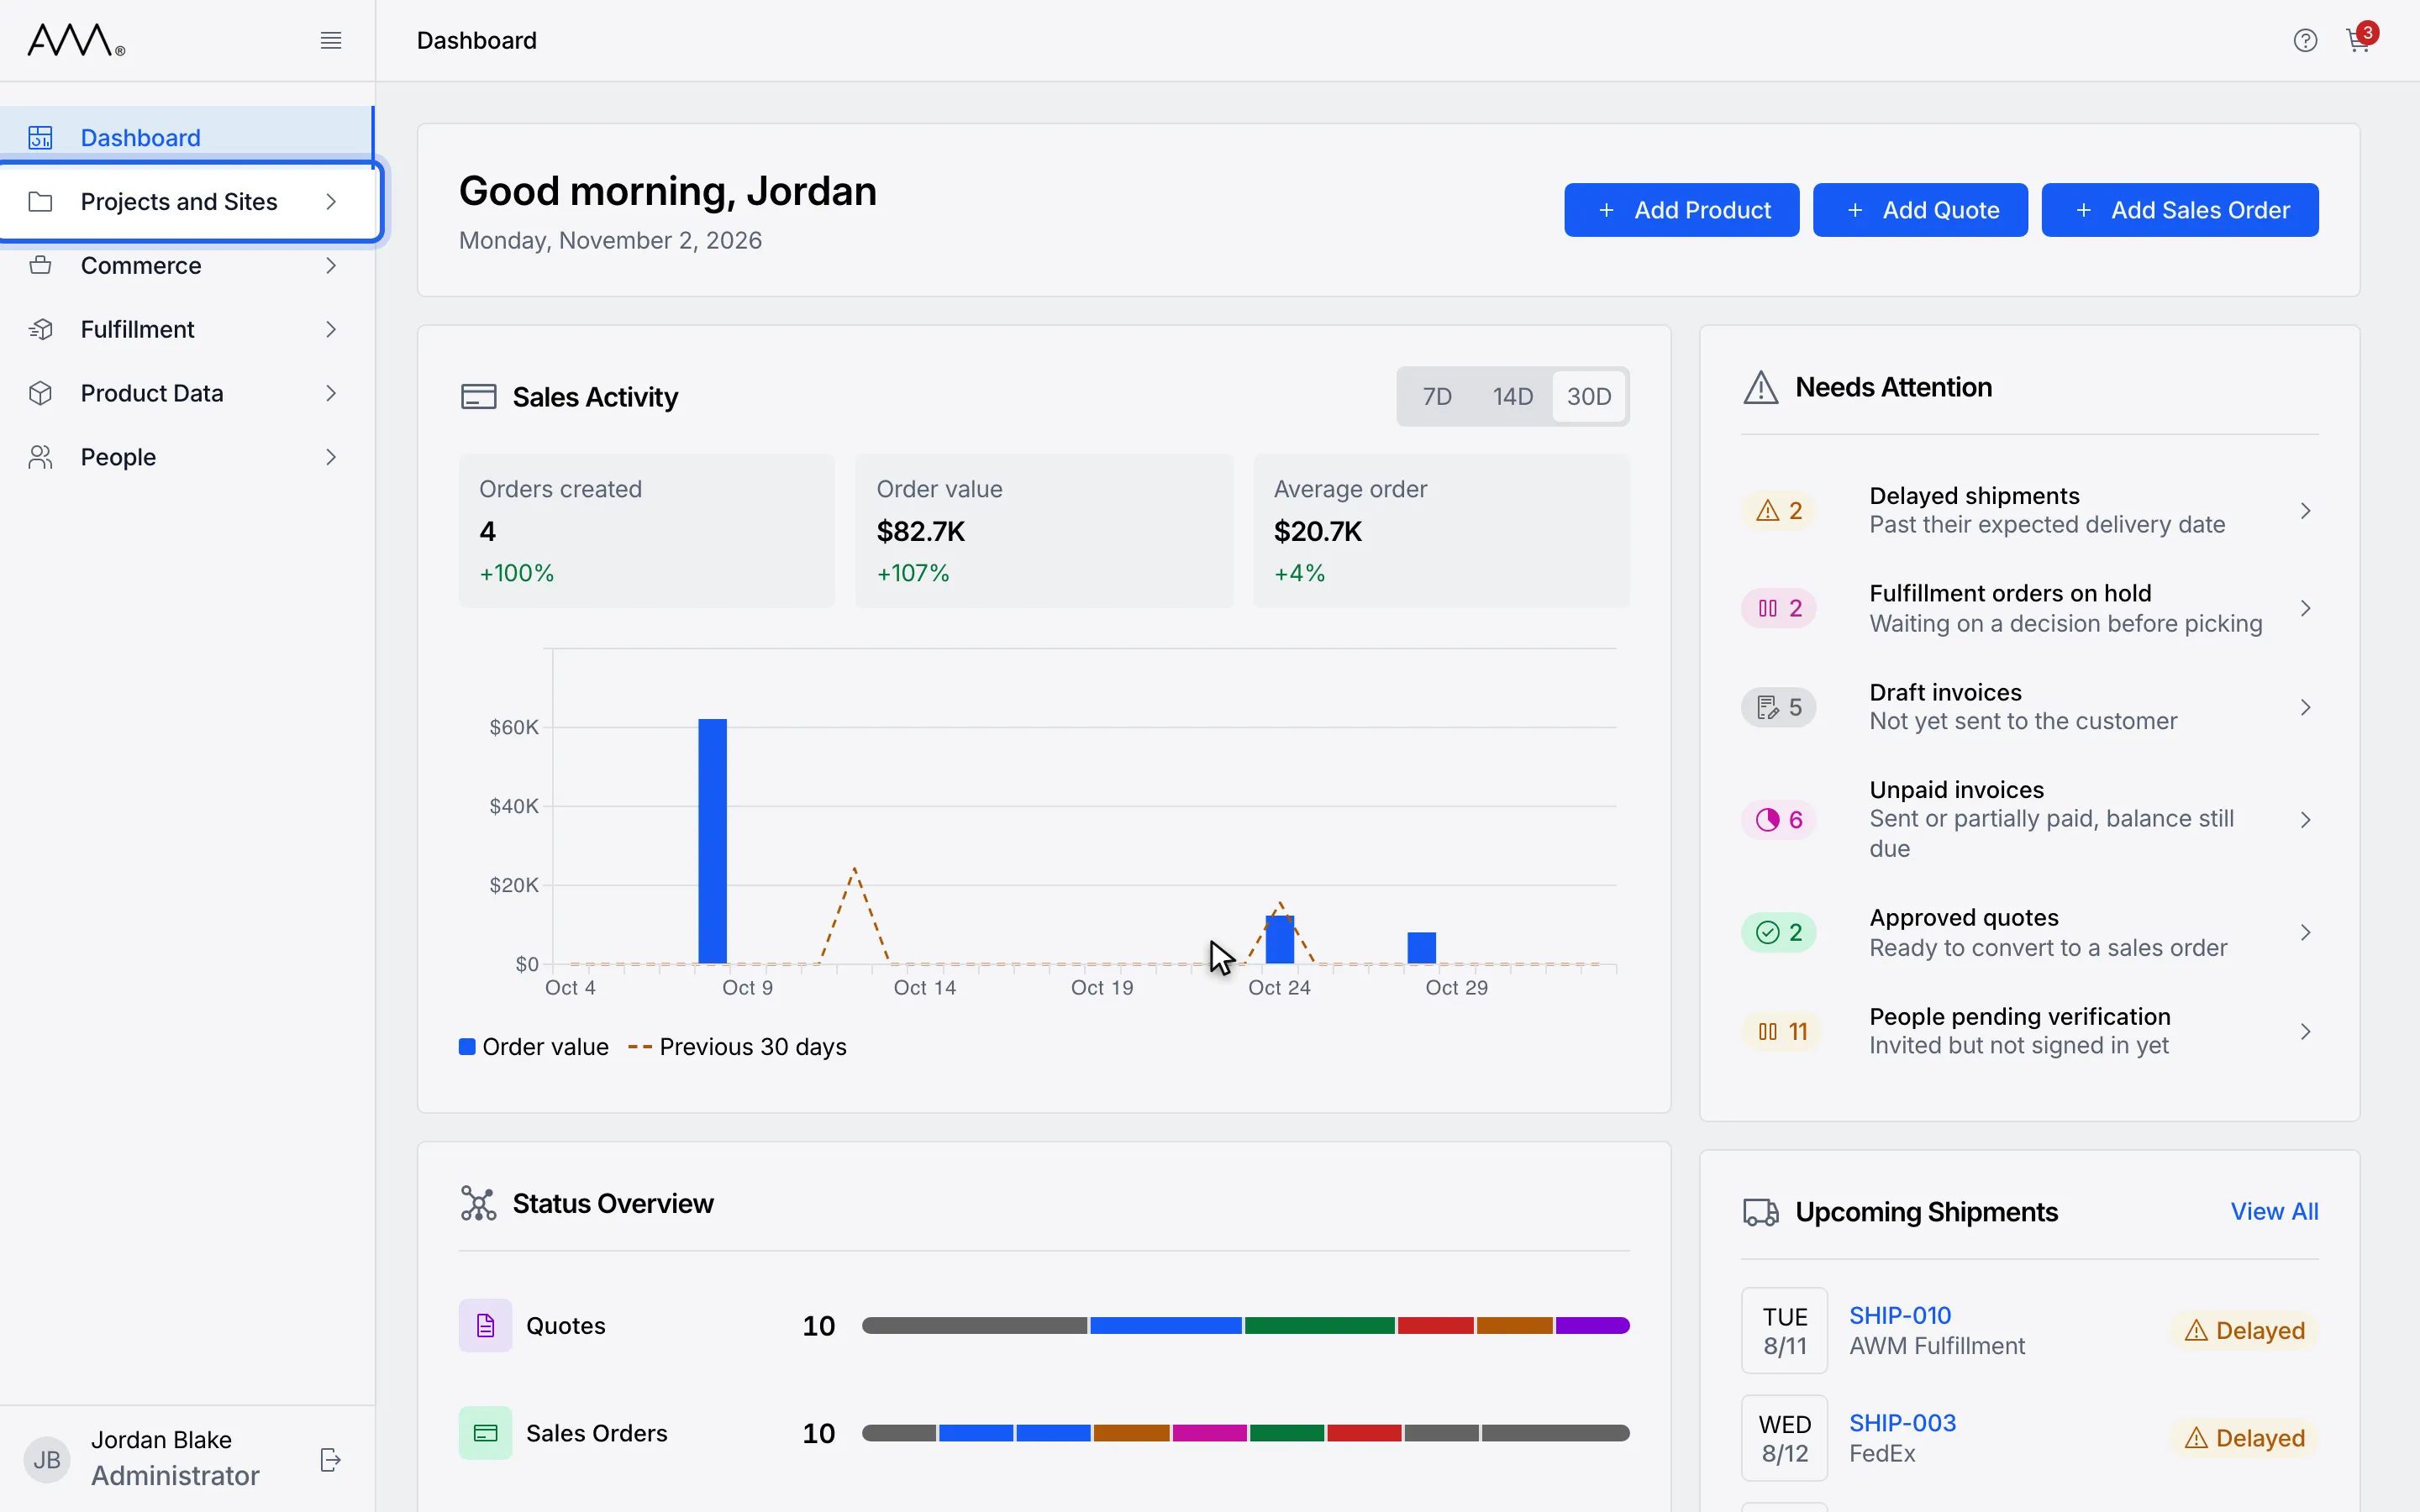
1In the sidebar, open Projects and Sites.
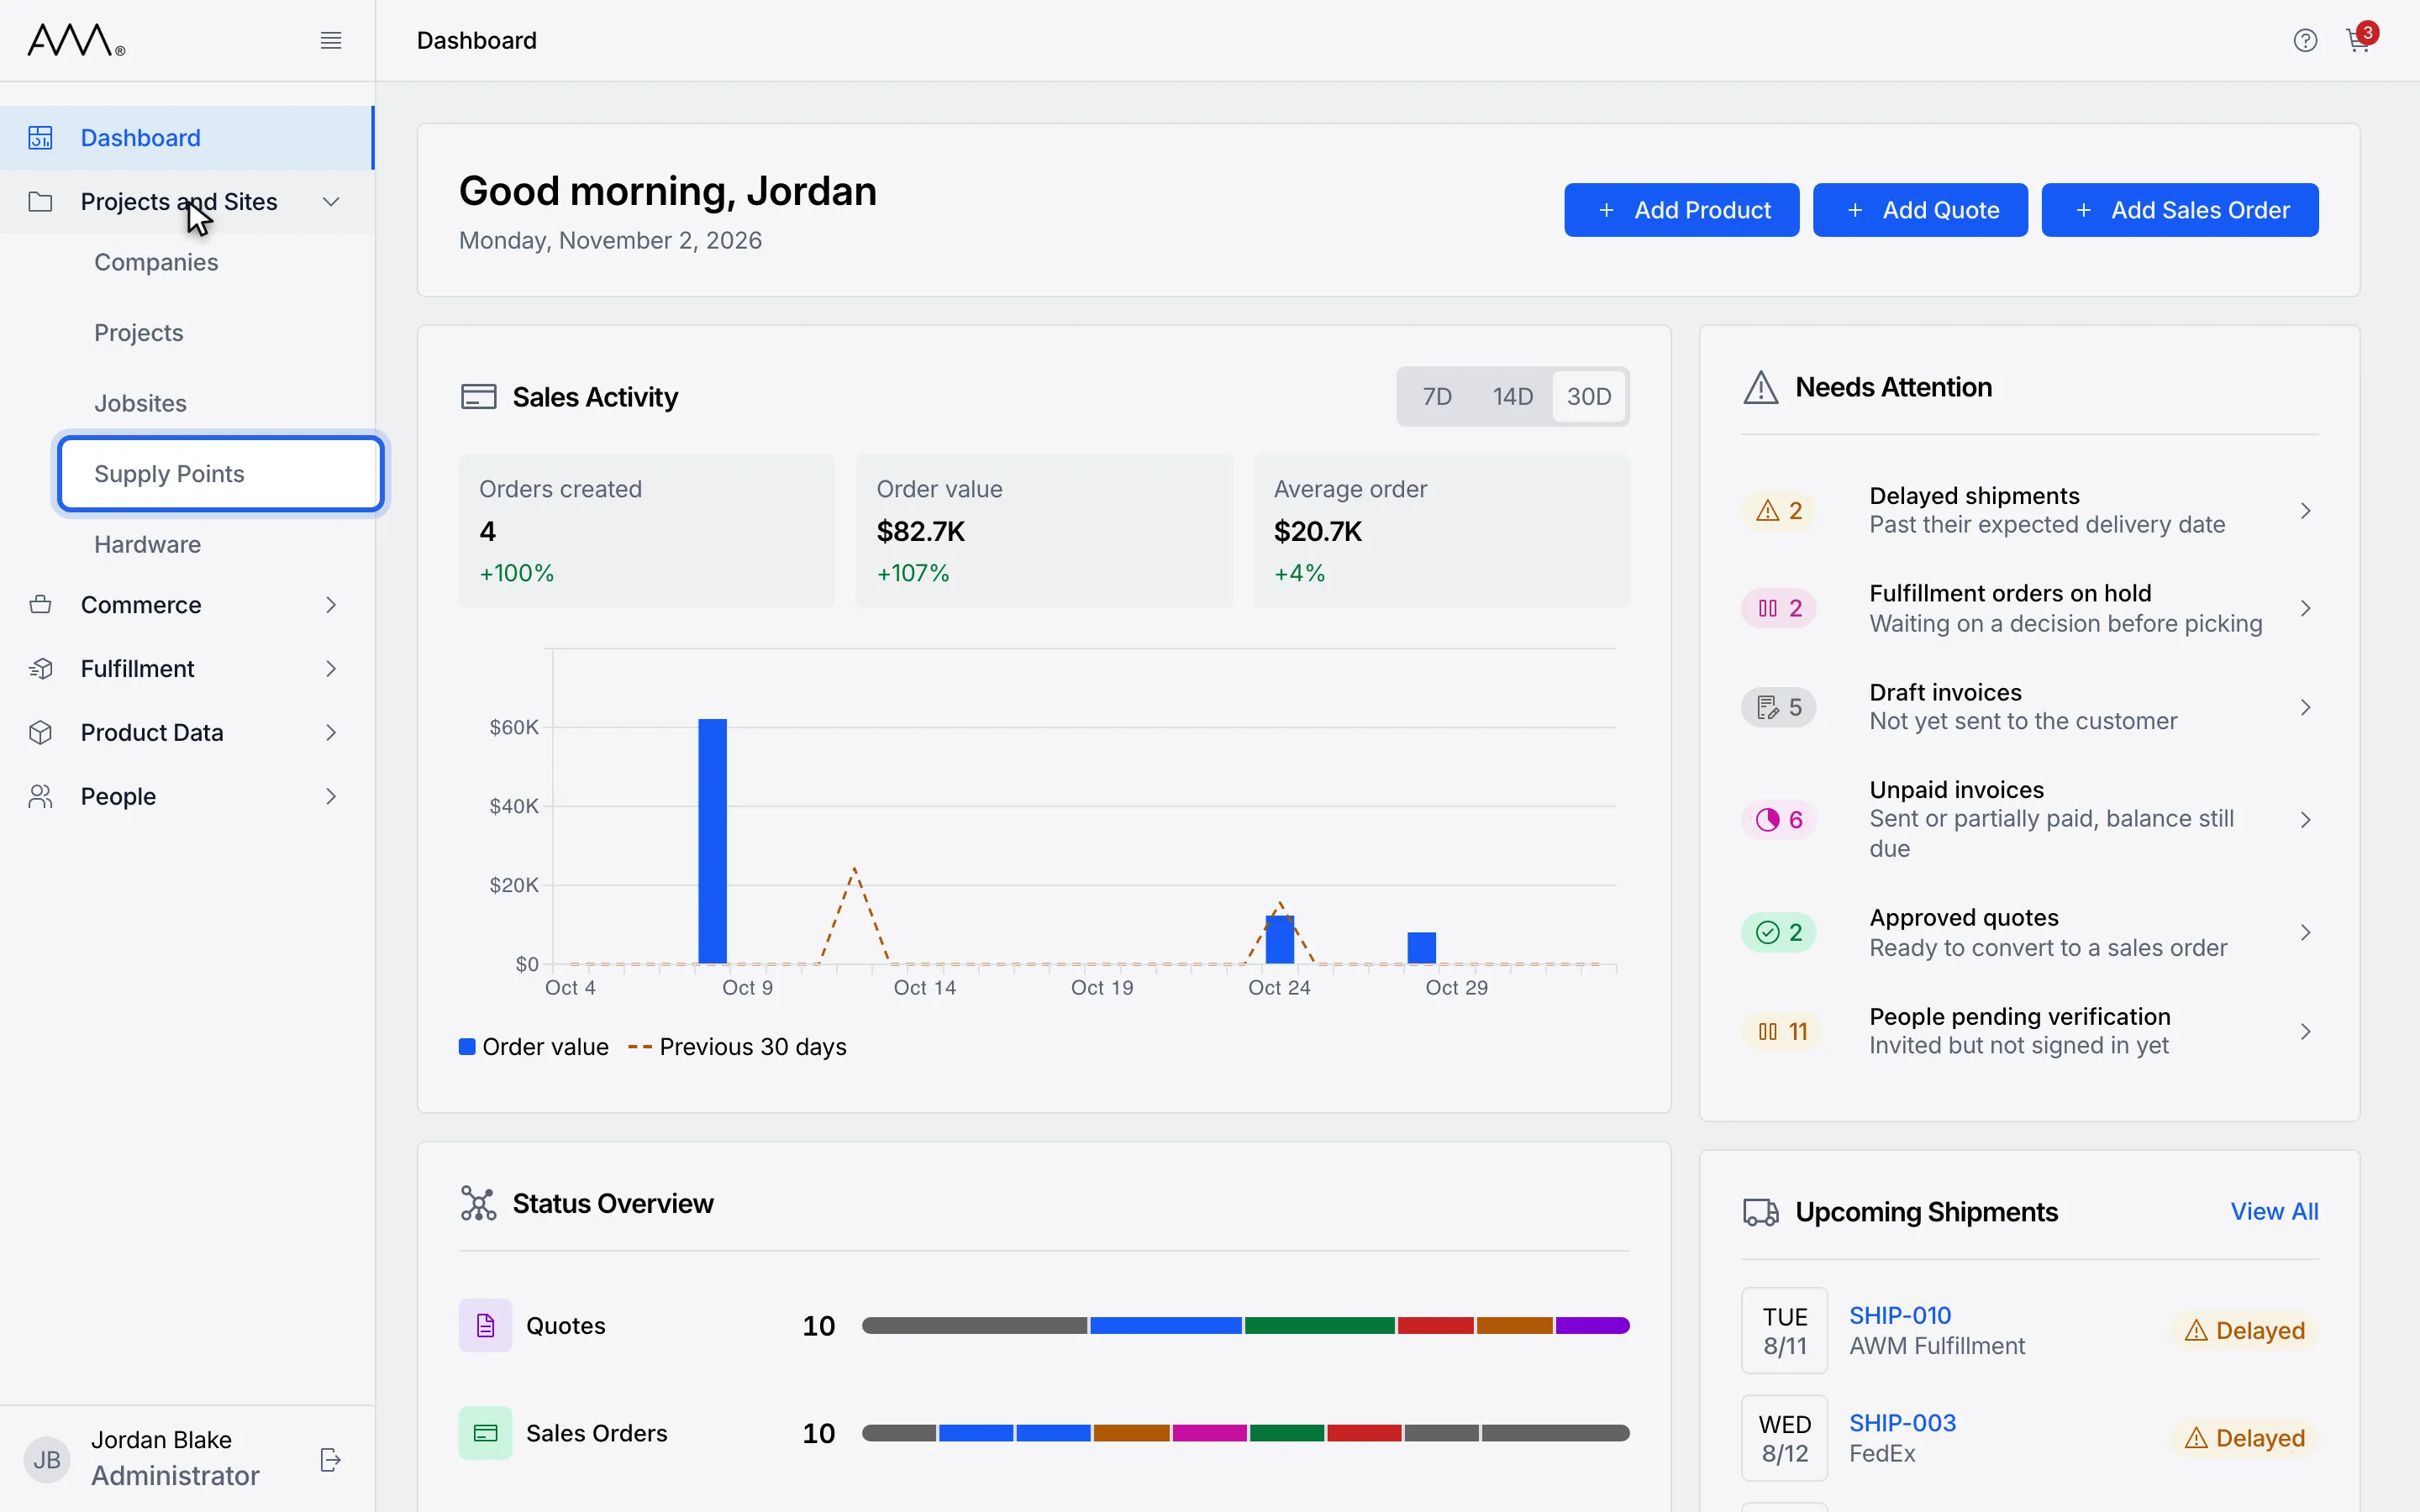
2Choose Supply Points.
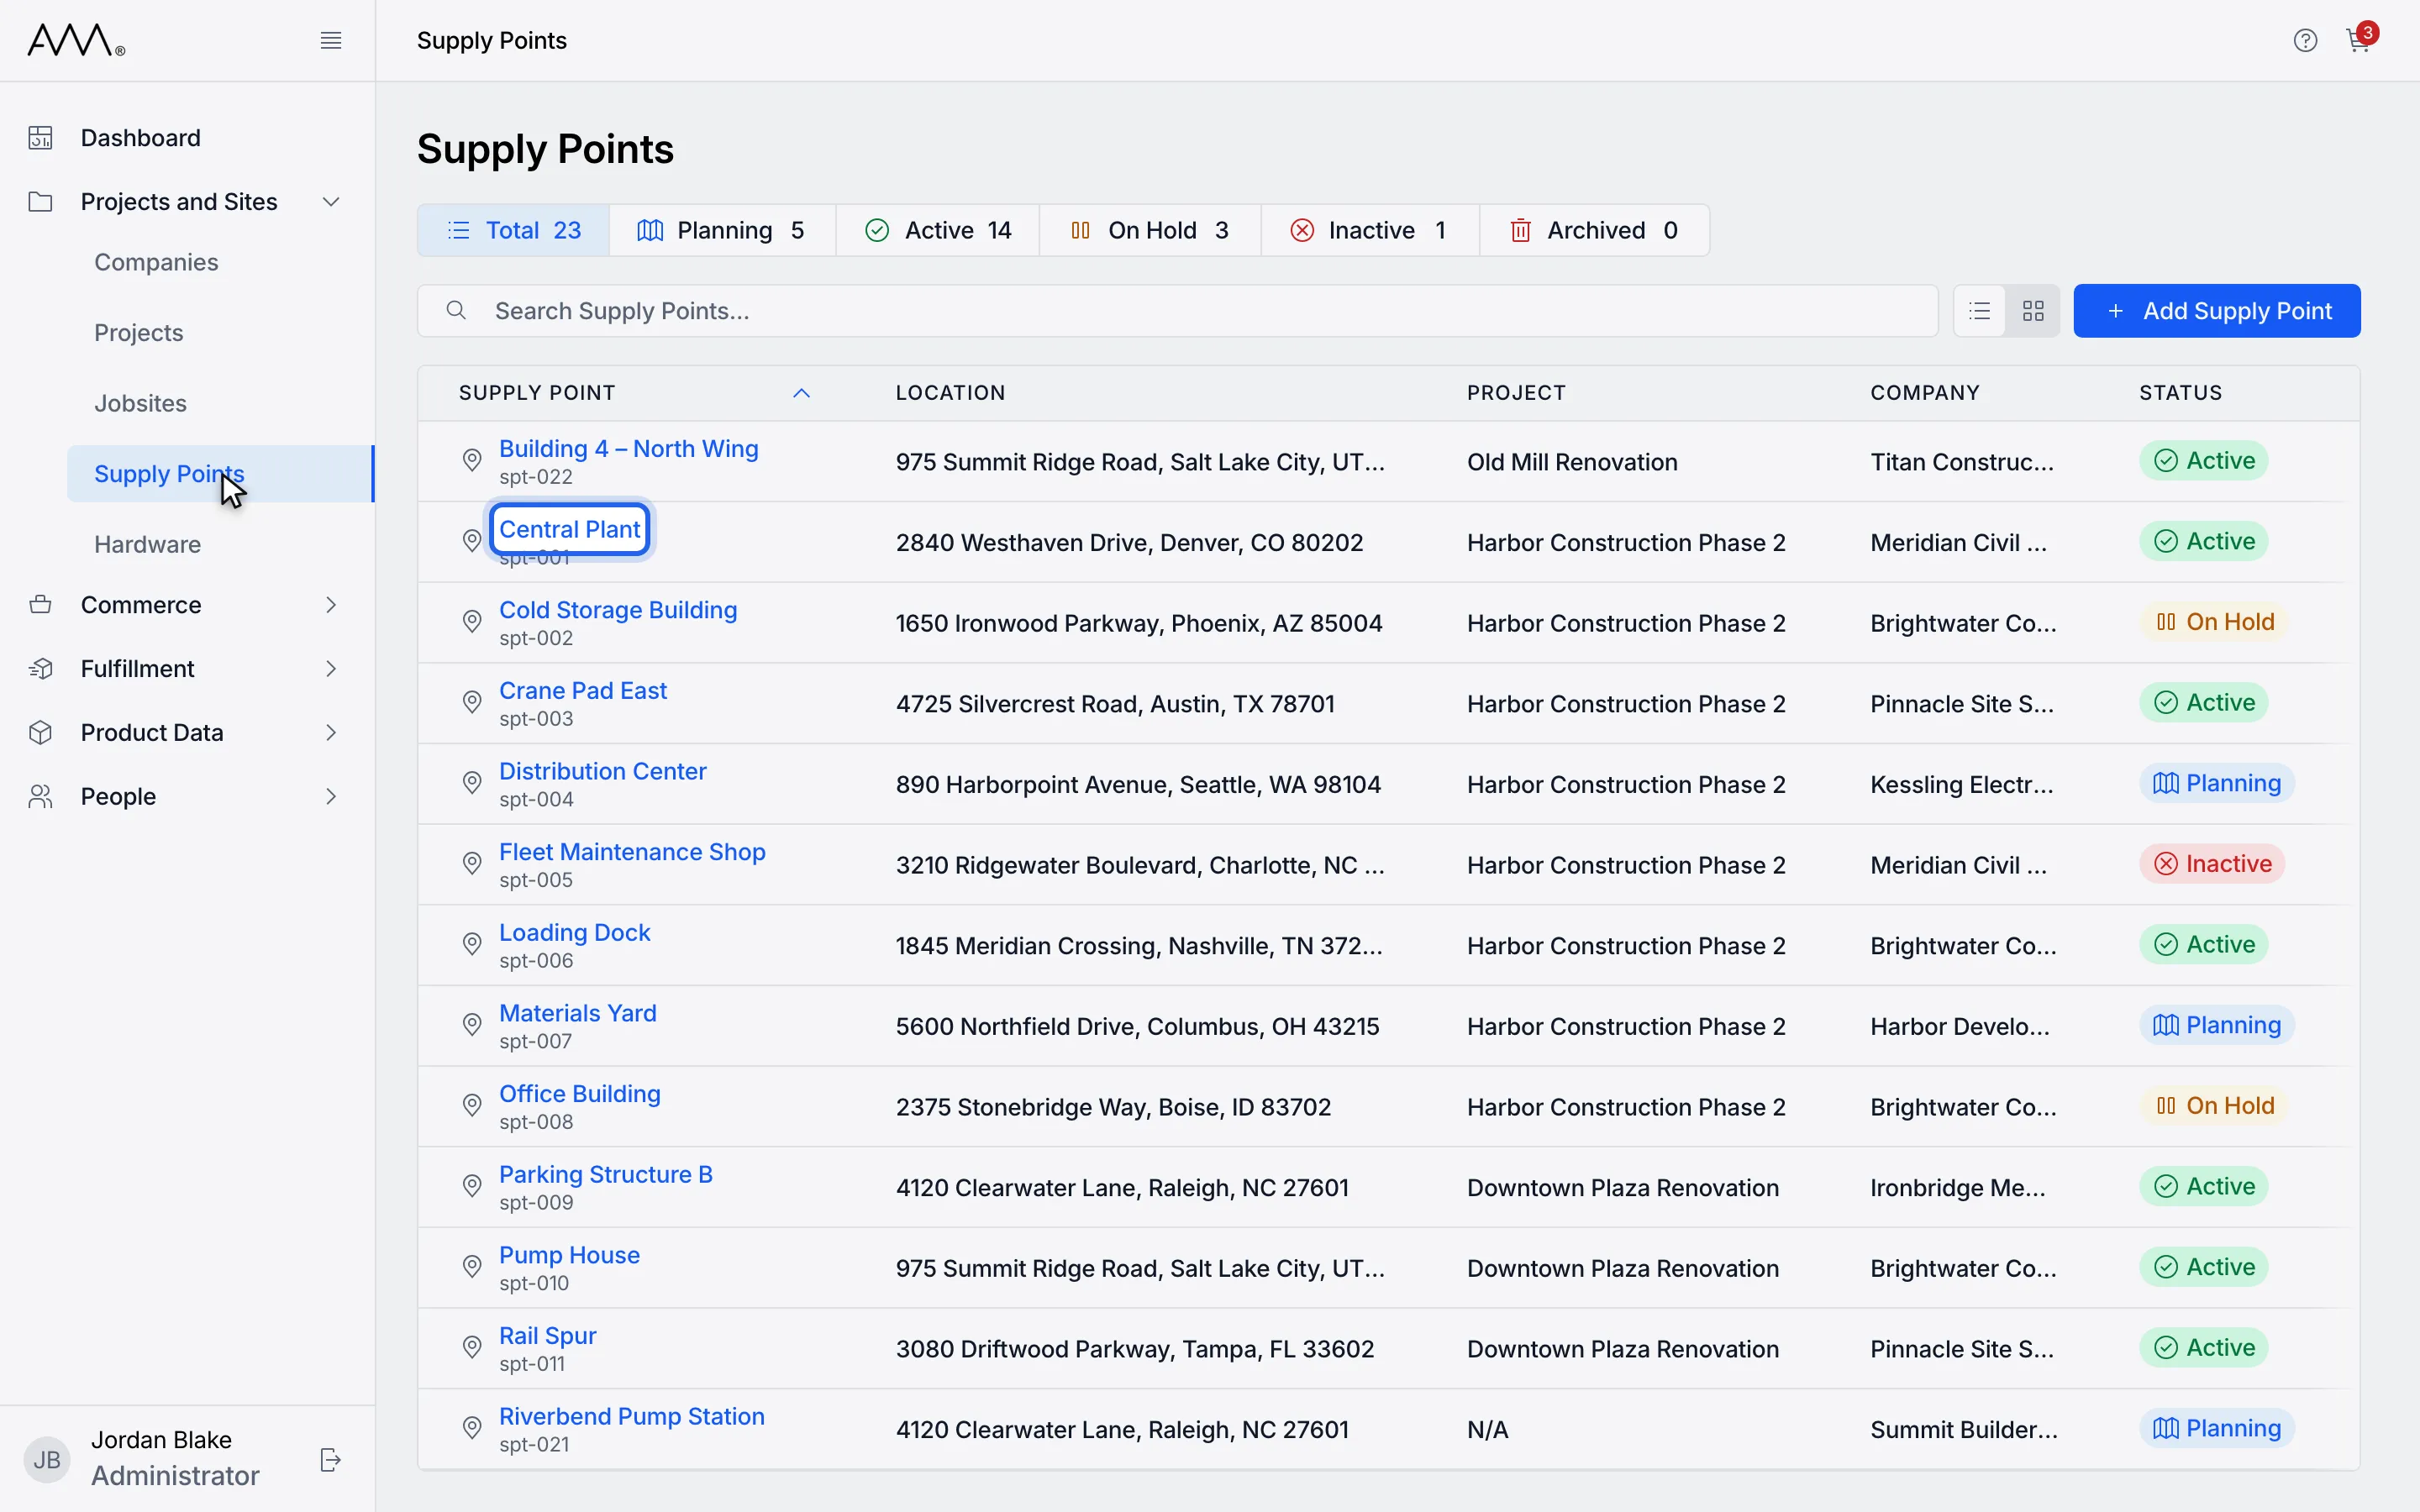
3Open the supply point.
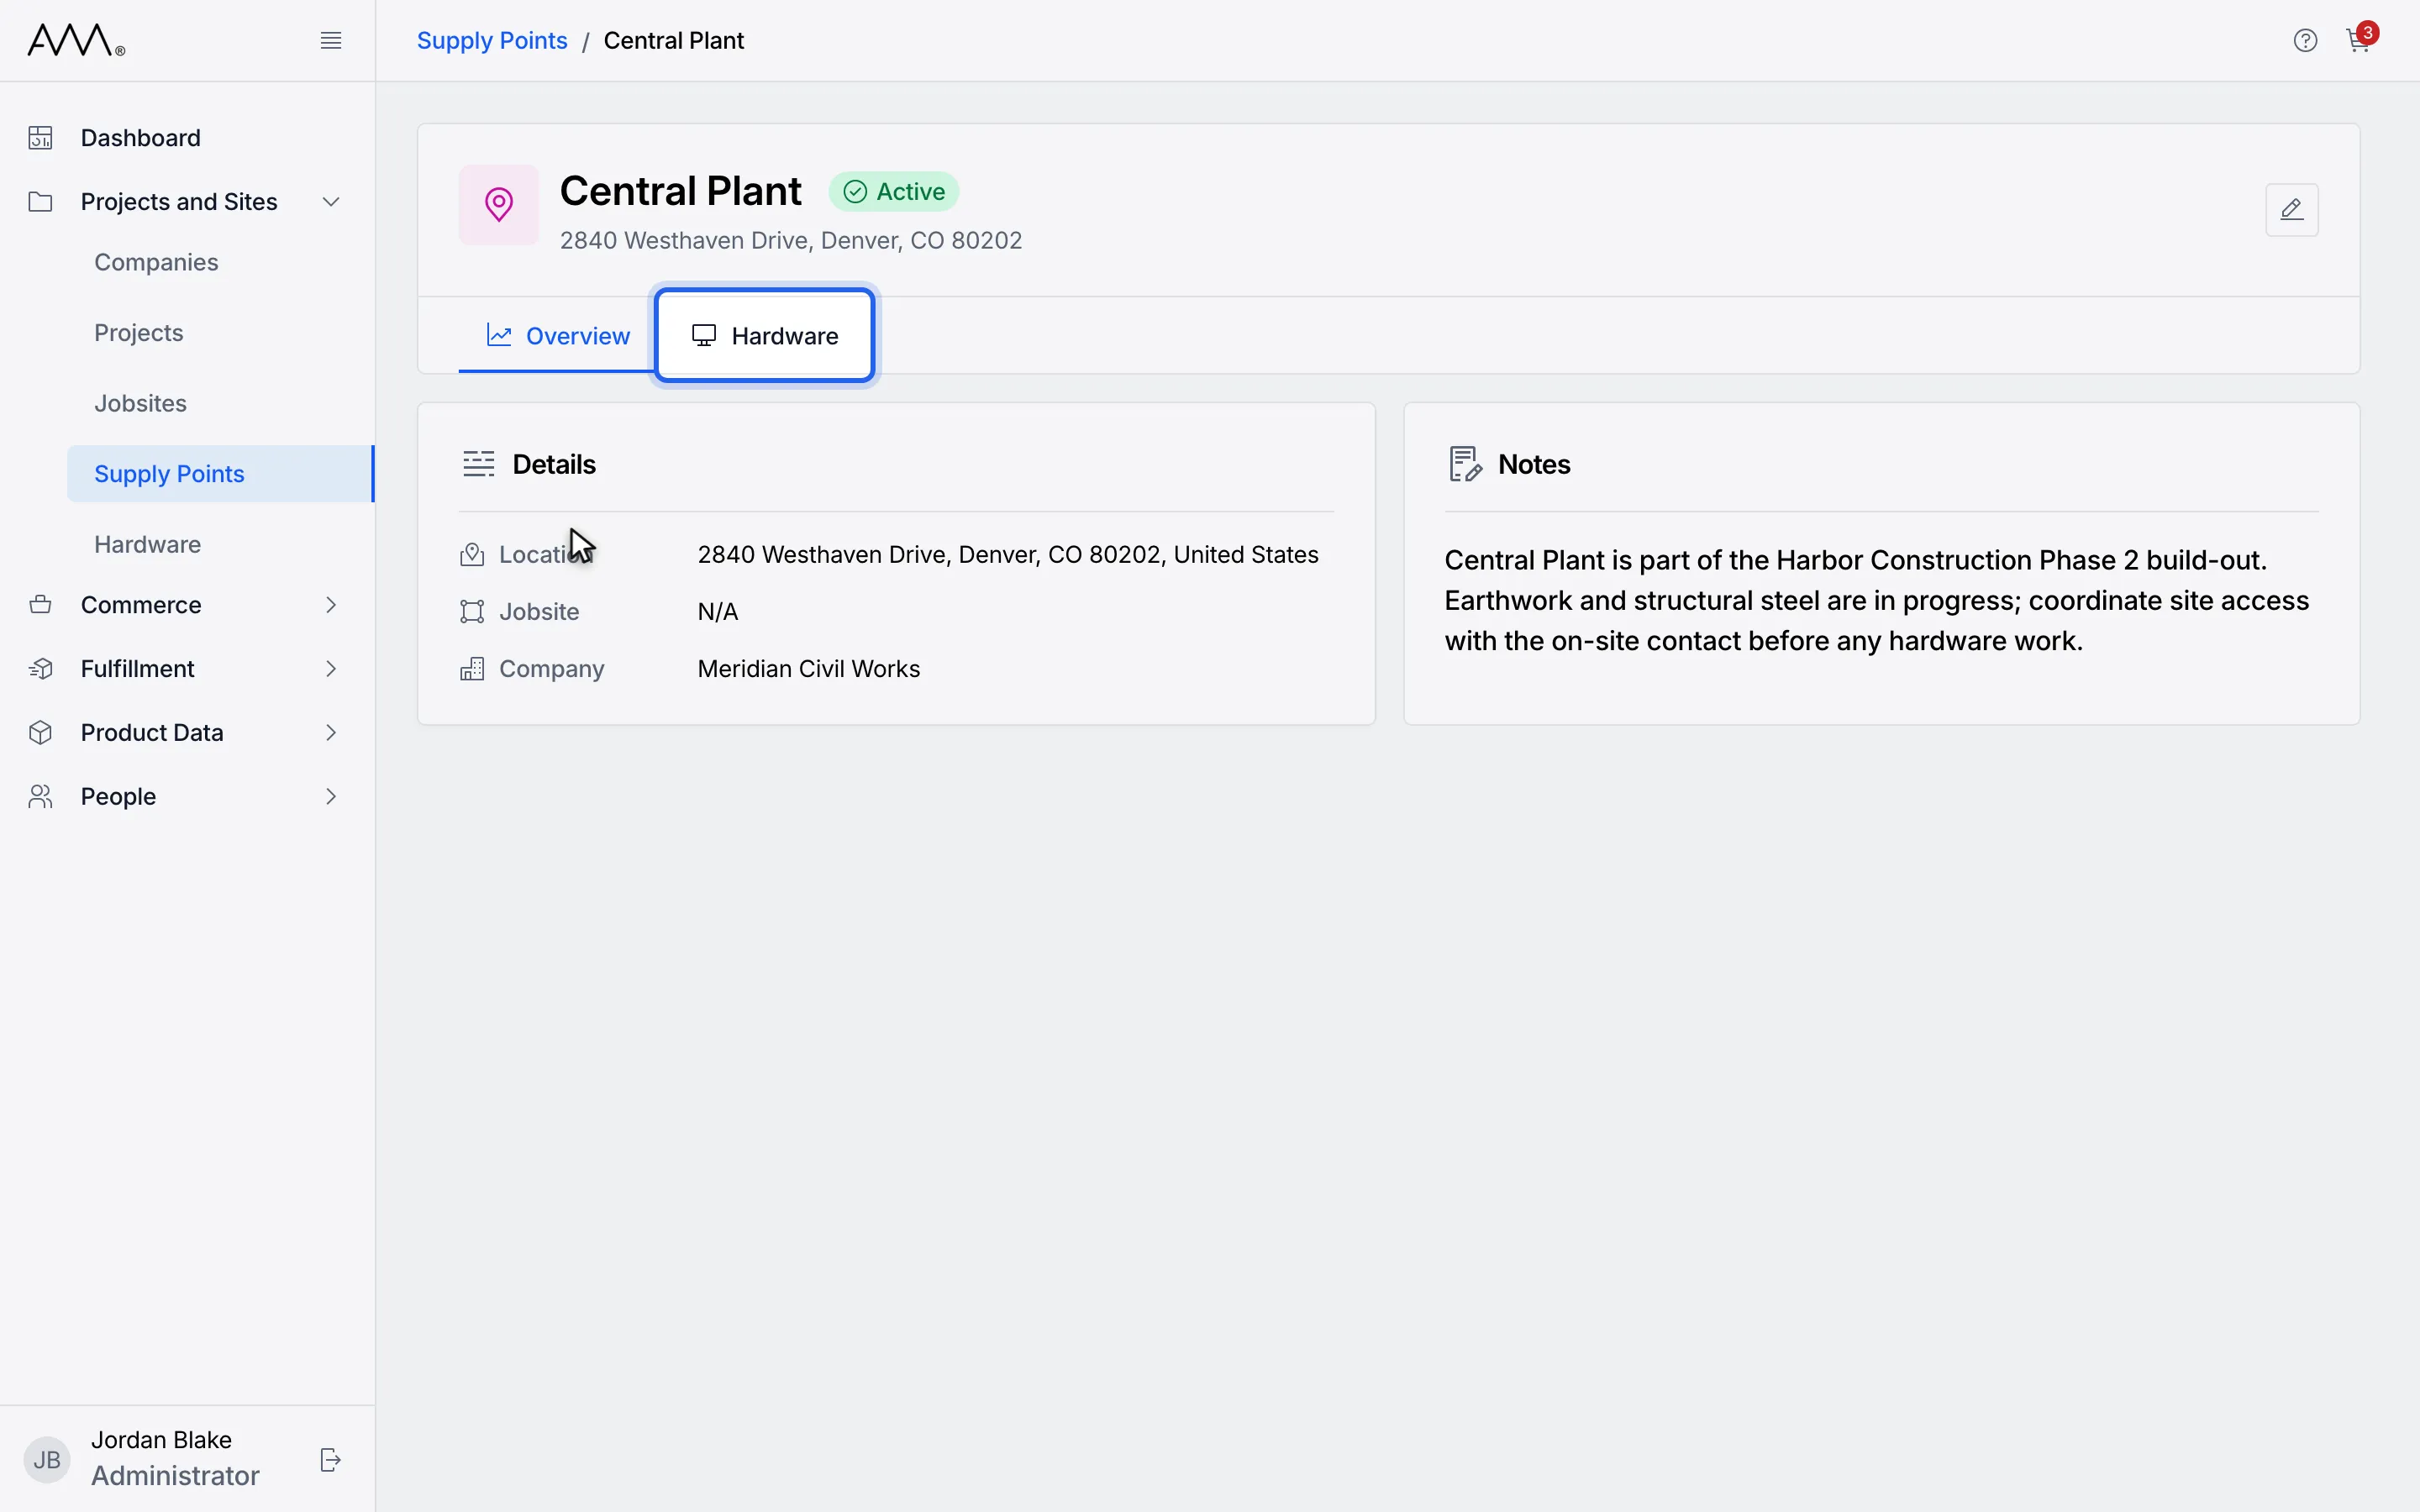
4Click the Hardware tab.
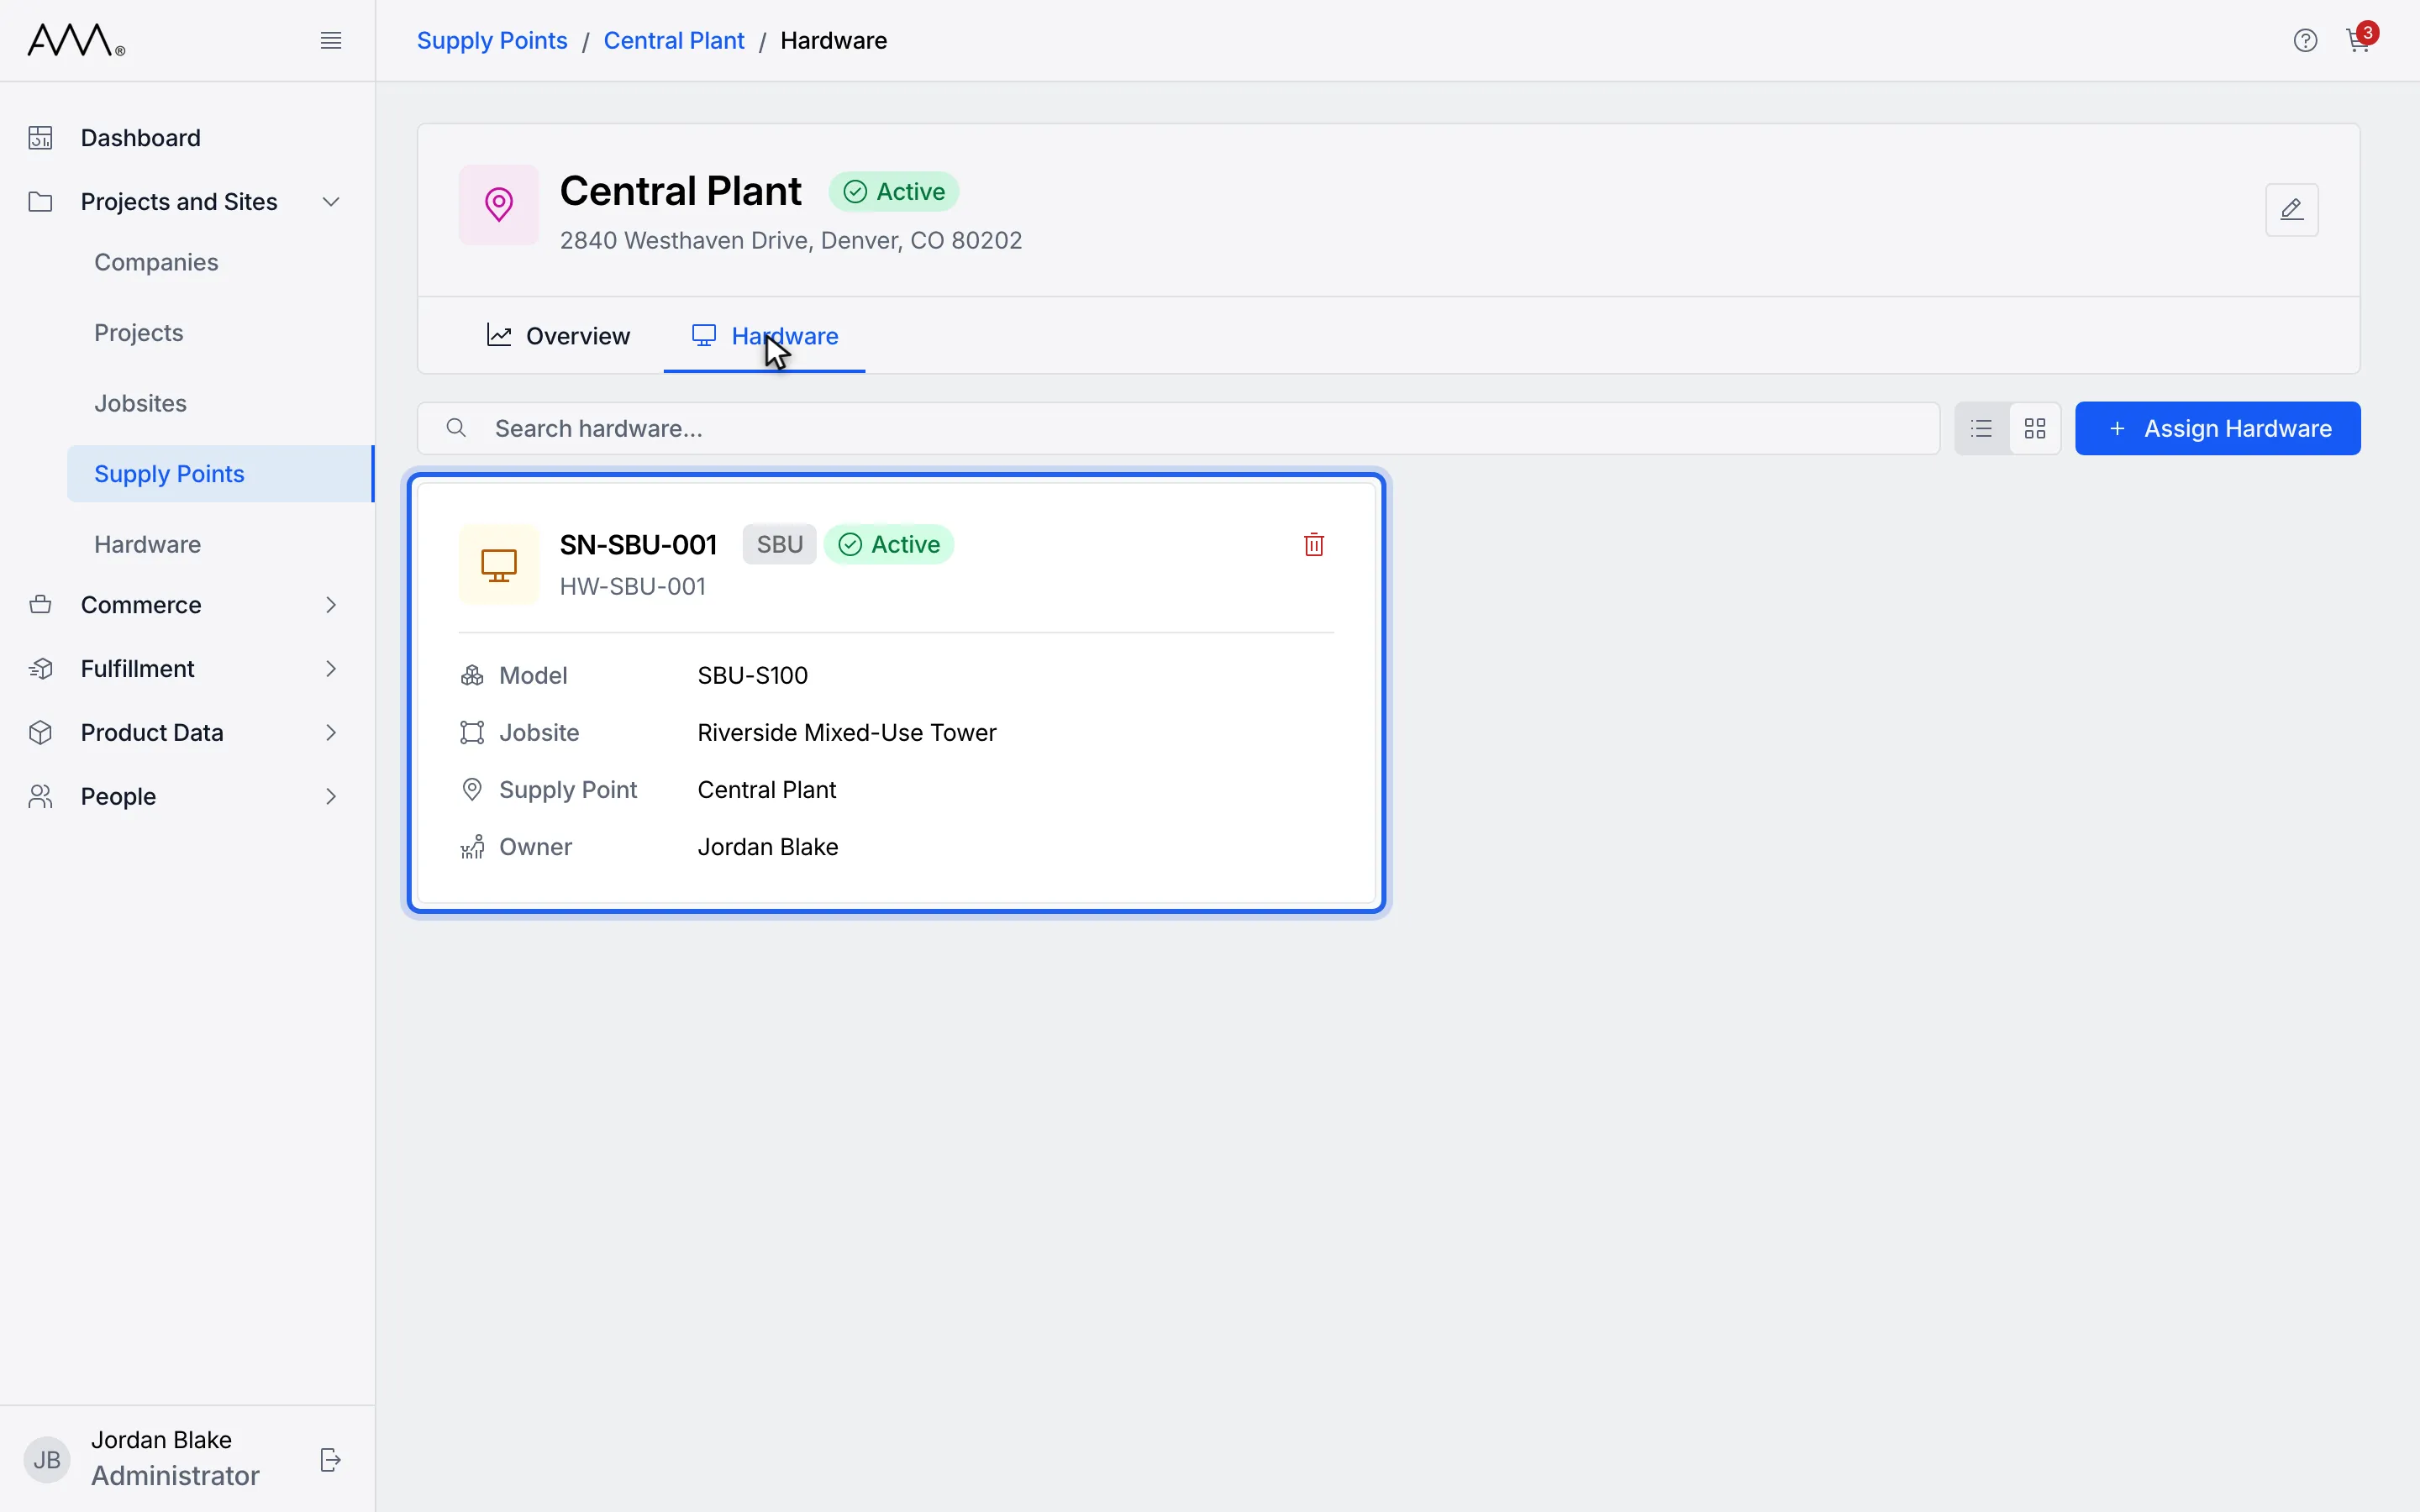
5The card shows the serial, type, status, model, jobsite, supply point and owner.
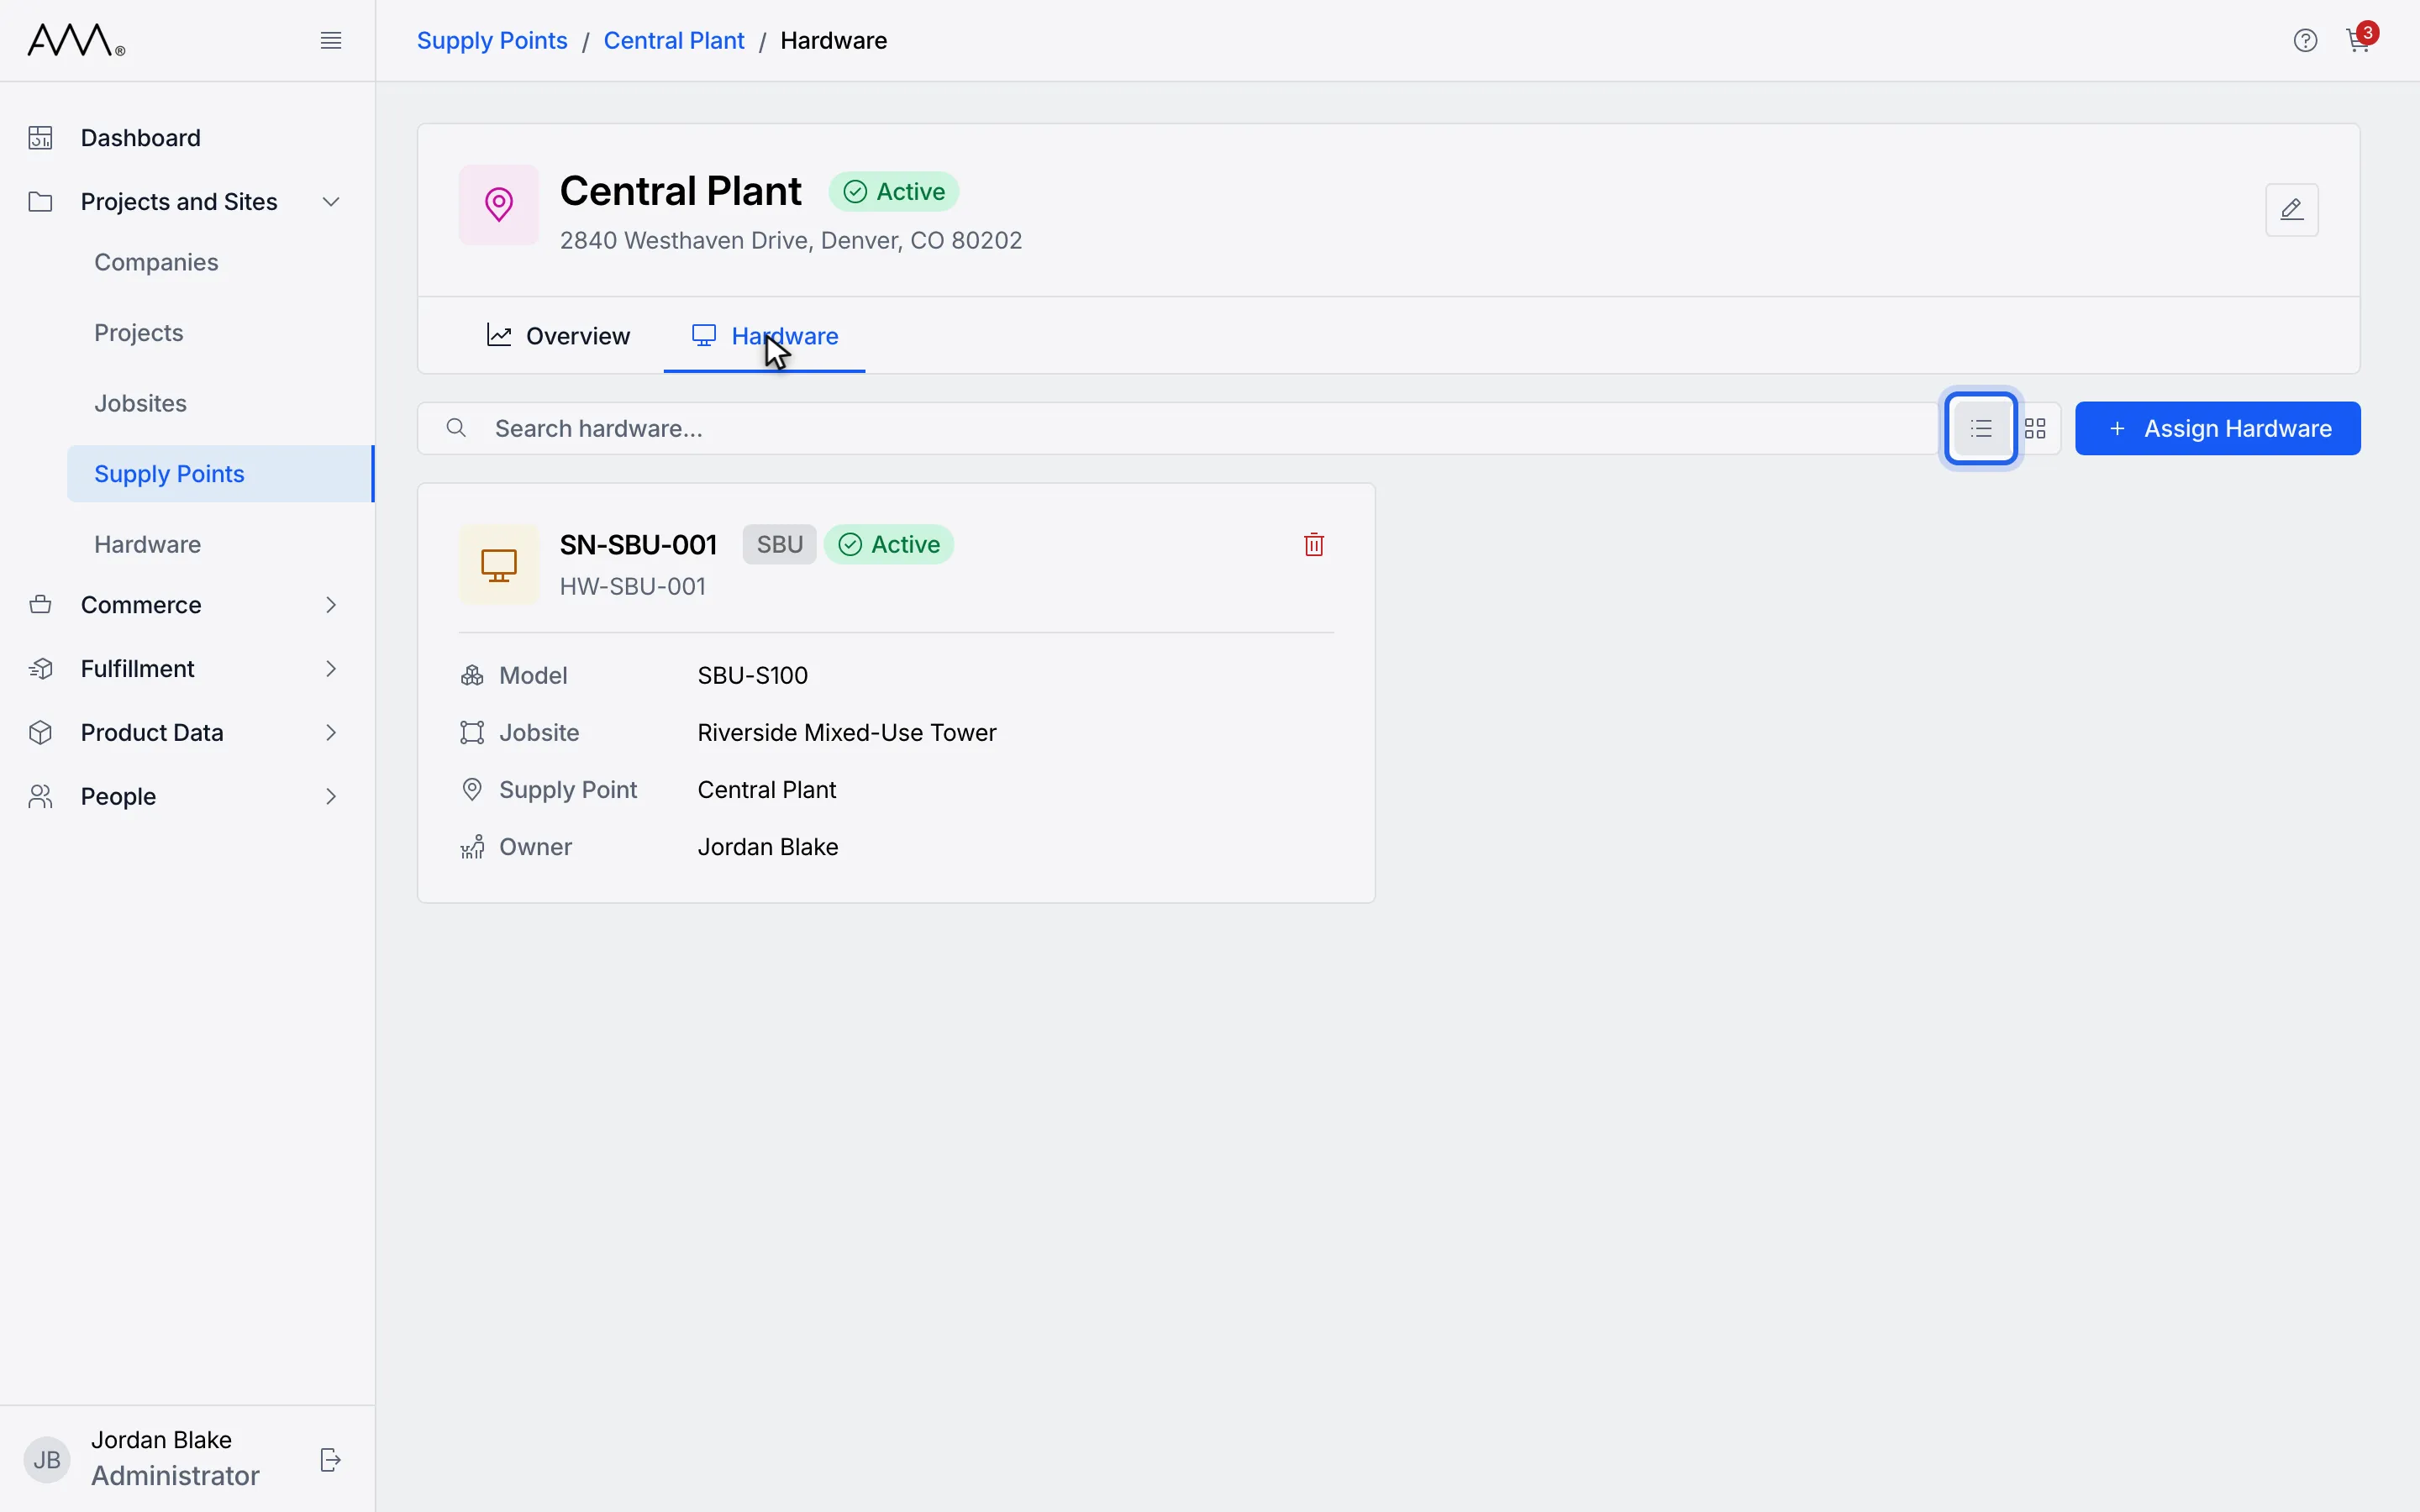
6Switch to List view to see the same details as a table.
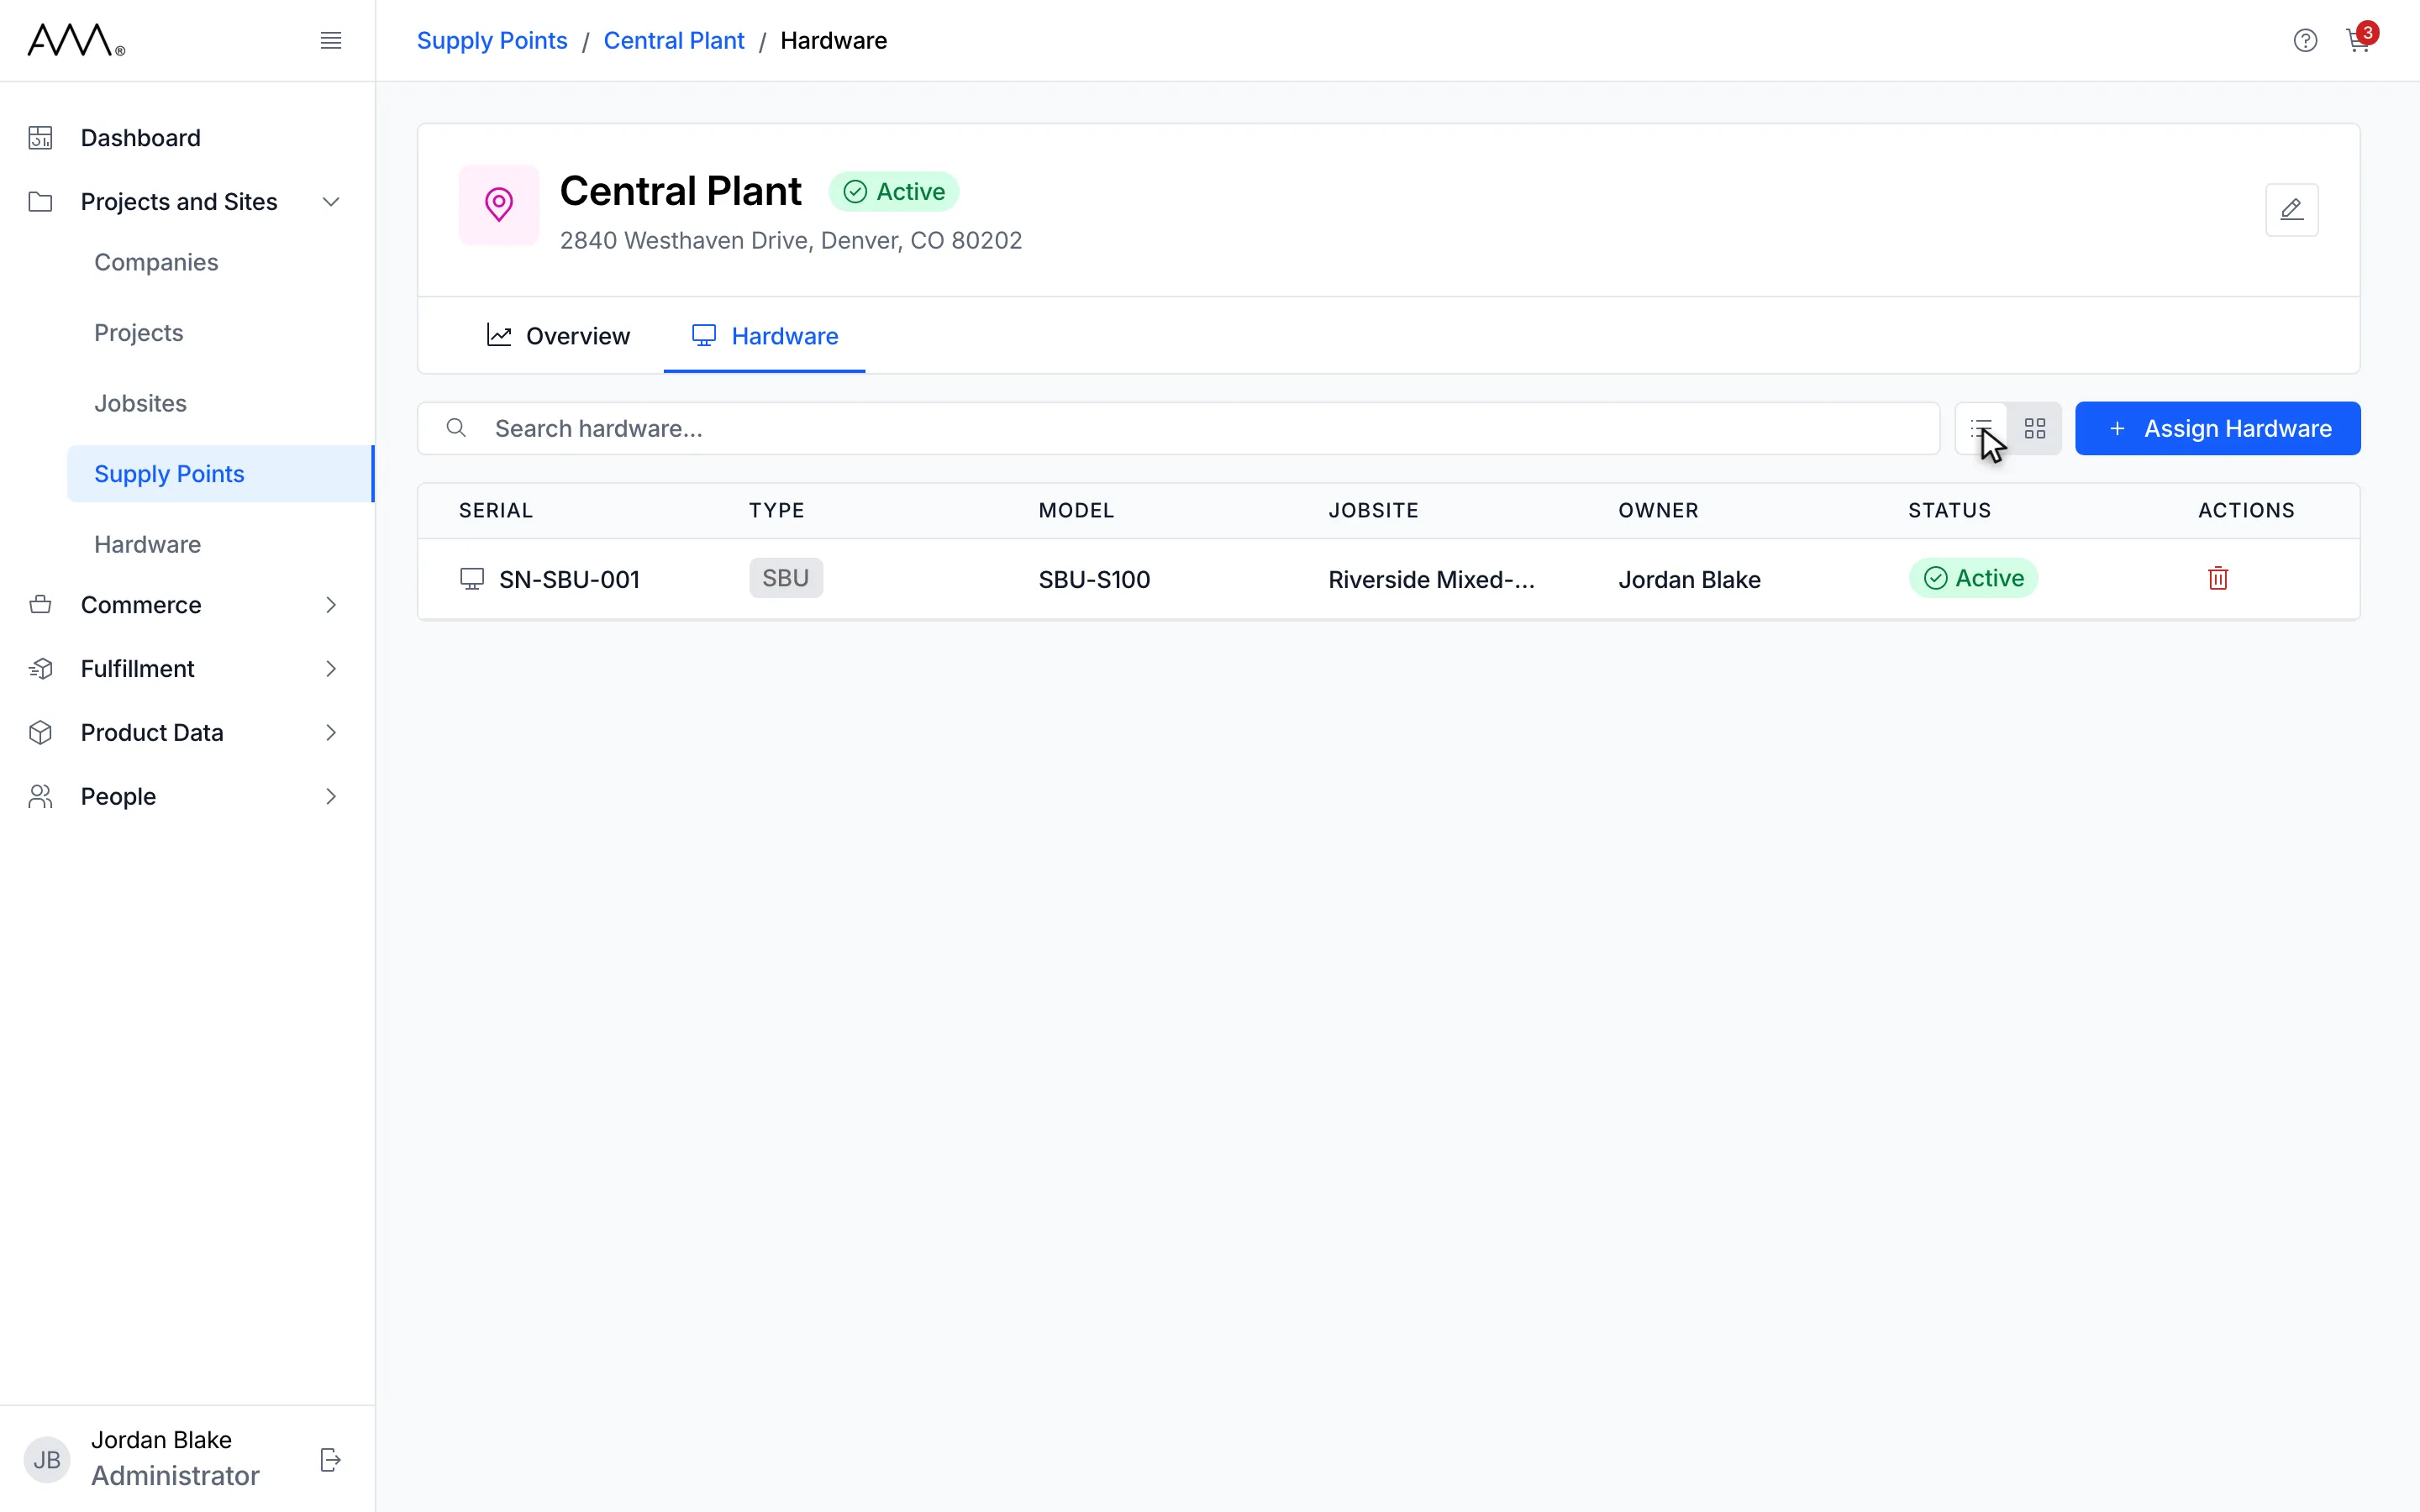
7The Hardware tab lists the unit assigned to this supply point.
Watch this as a video (view the hardware on a supply point)
What the tab shows
Section titled “What the tab shows”- Search hardware… filters by serial number, hardware ID, type, model or owner.
- A hardware status is one of Available, In Progress, Active or Inactive.
- A supply point with nothing assigned reads No Hardware Assigned with the hint Check the spelling or try removing filters.
- If the hardware cannot be loaded, the tab reads Couldn’t load hardware with Something went wrong loading this supply point’s hardware. Try again.
Changing the assignment
Section titled “Changing the assignment”Assign Hardware opens a dialog that lists the units not yet on any supply point. When the supply point already has a unit, the dialog is titled Replace Hardware and asks you to confirm that the current unit will be unassigned. The remove icon on the card, or in the Actions column, unassigns the unit after the Unassign Hardware from Supply Point? confirmation. These tasks are described in the Hardware section.