Add a jobsite
Add a jobsite when work starts at a new location group and you want to assign supply points to it and refer to it from quotes and sales orders.
-
In the sidebar, open Projects and Sites and choose Jobsites.
-
Click Add Jobsite. The Create New Jobsite dialog opens.
-
Optionally, under Company, type part of the company name.
-
Pick the company from the suggestions.
-
Enter the Jobsite Name.
-
Optionally type the Location. If address suggestions appear as you type, pick one to fill in the full address.
-
Open the Status list. New jobsites start as Planning.
-
Choose a status.
-
Optionally add a Jobsite Description.
Field Required What to enter Company No Start typing and pick a company from the suggestions. Jobsite Name Yes Up to 200 characters. Location No An address, up to 300 characters. Status Yes Planning, Active, On Hold or Inactive. Jobsite Description No Free text, up to 2000 characters. -
Click Create Jobsite.
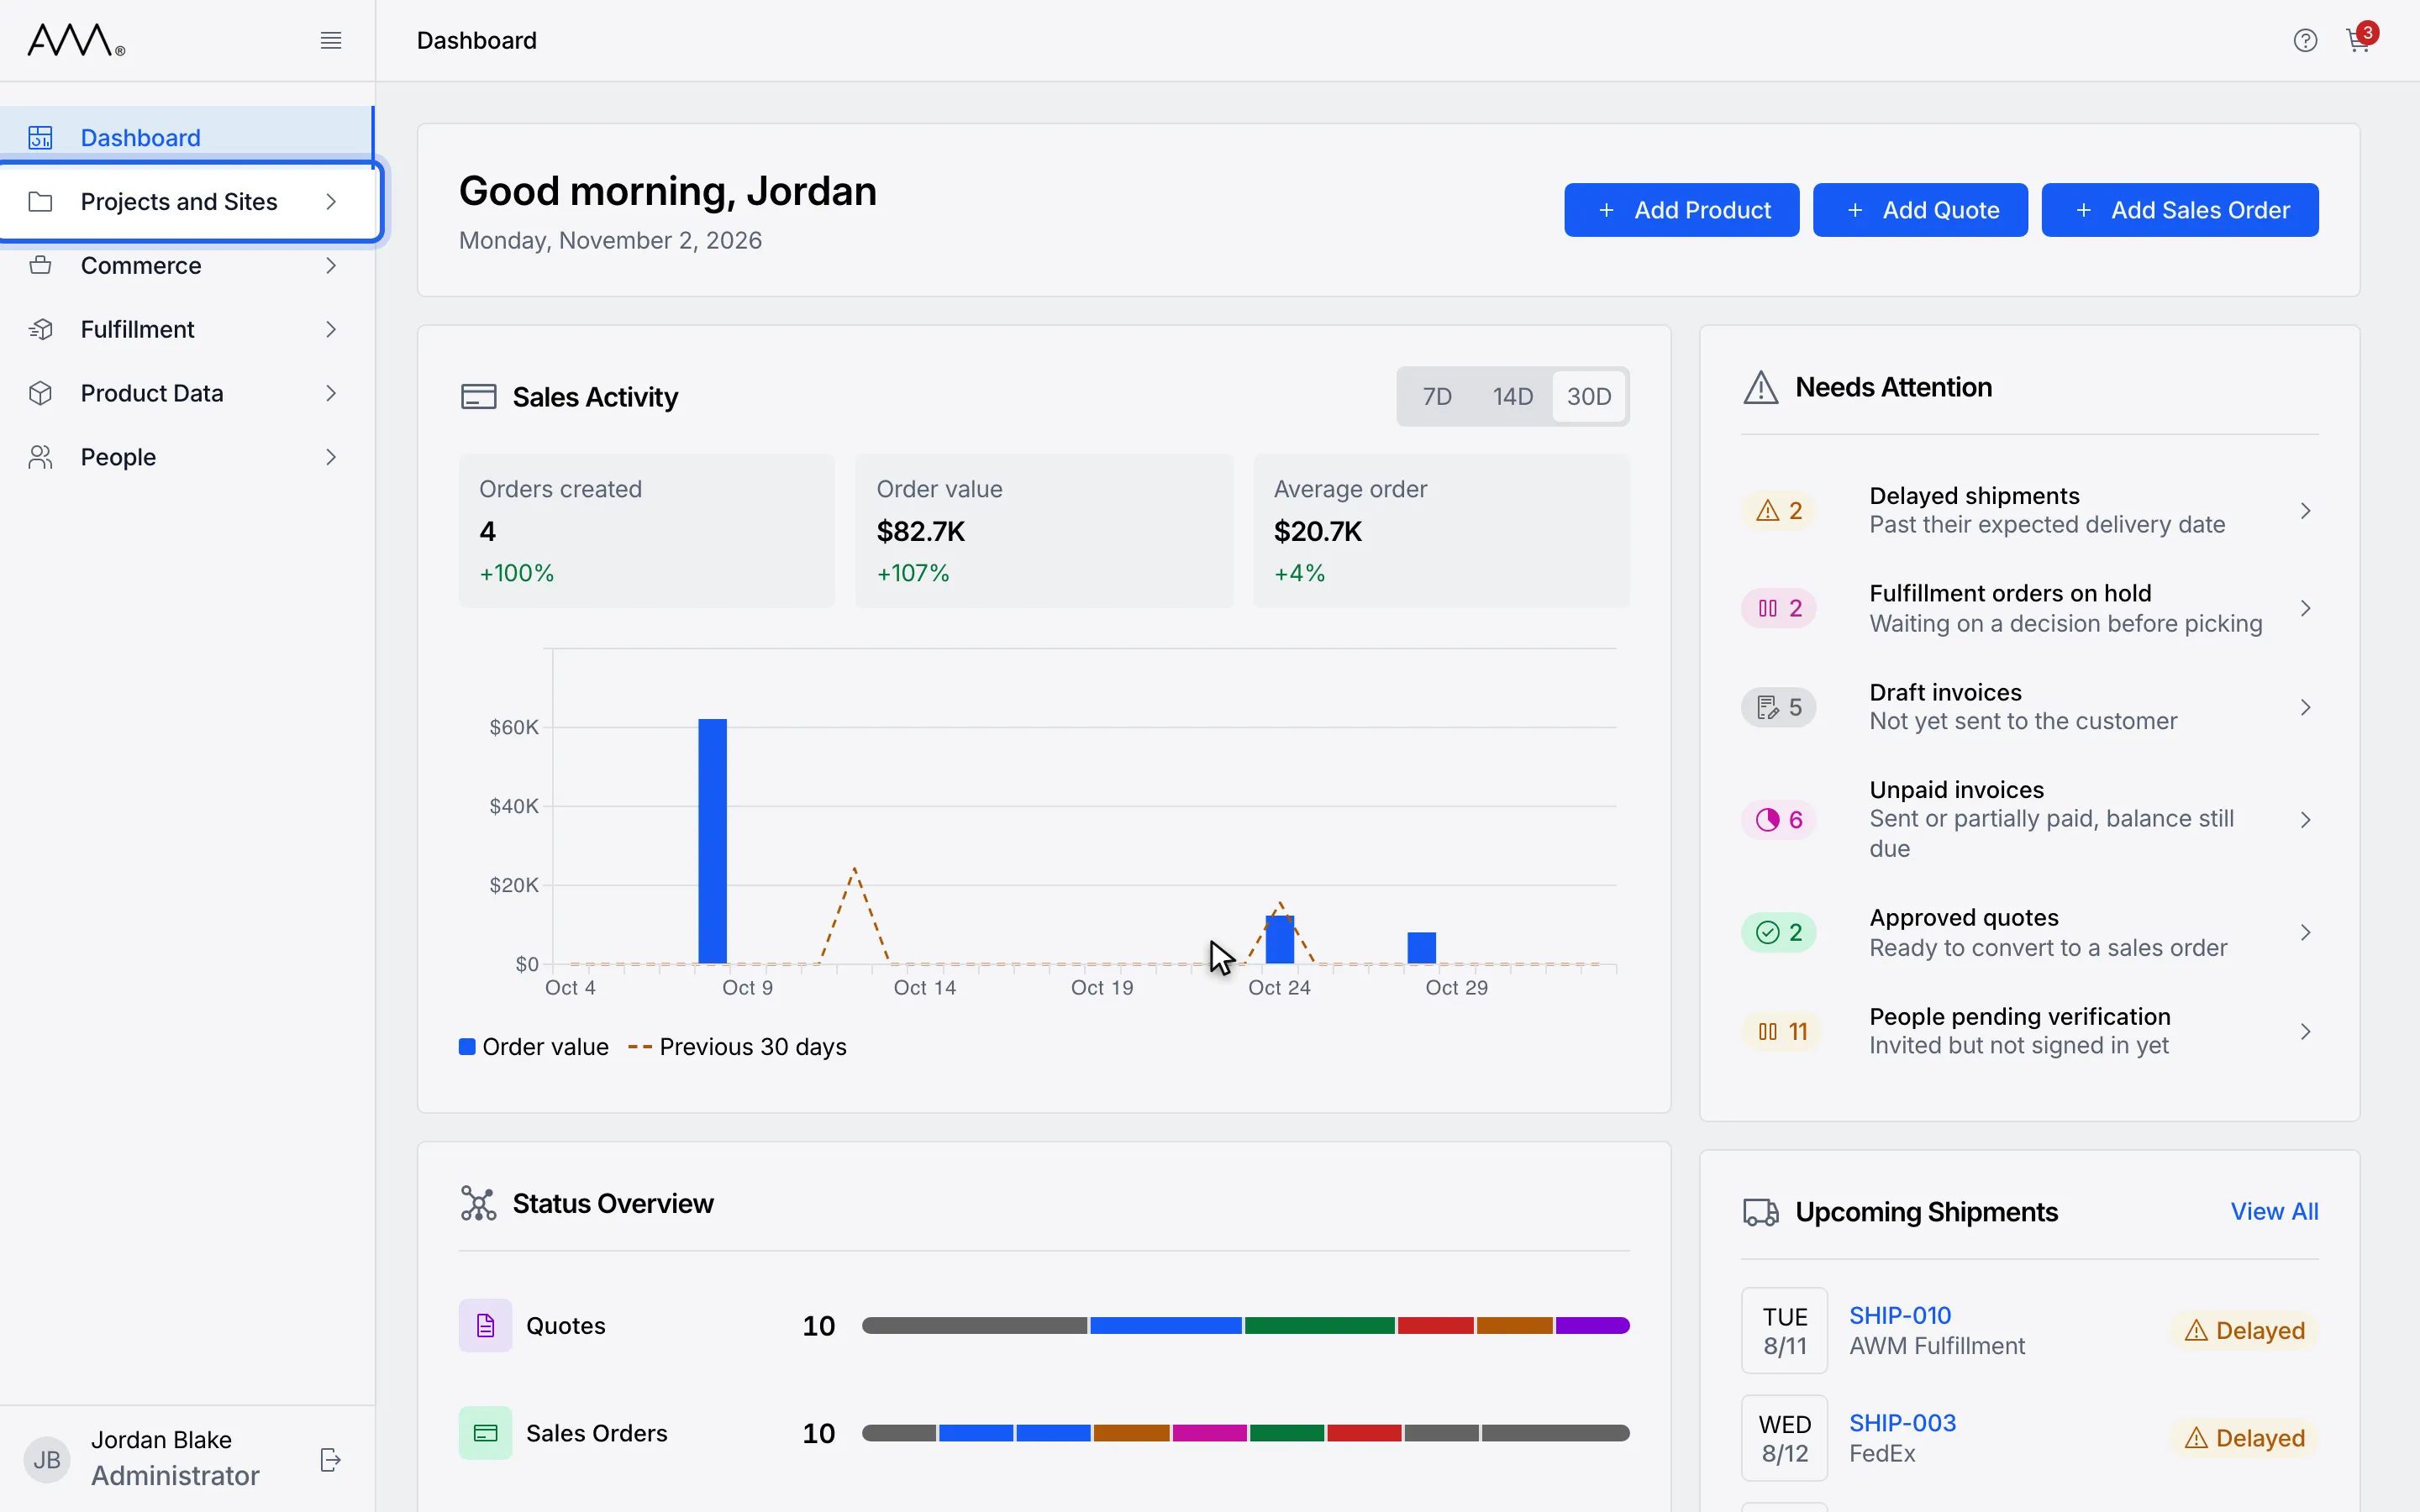
1In the sidebar, open Projects and Sites.
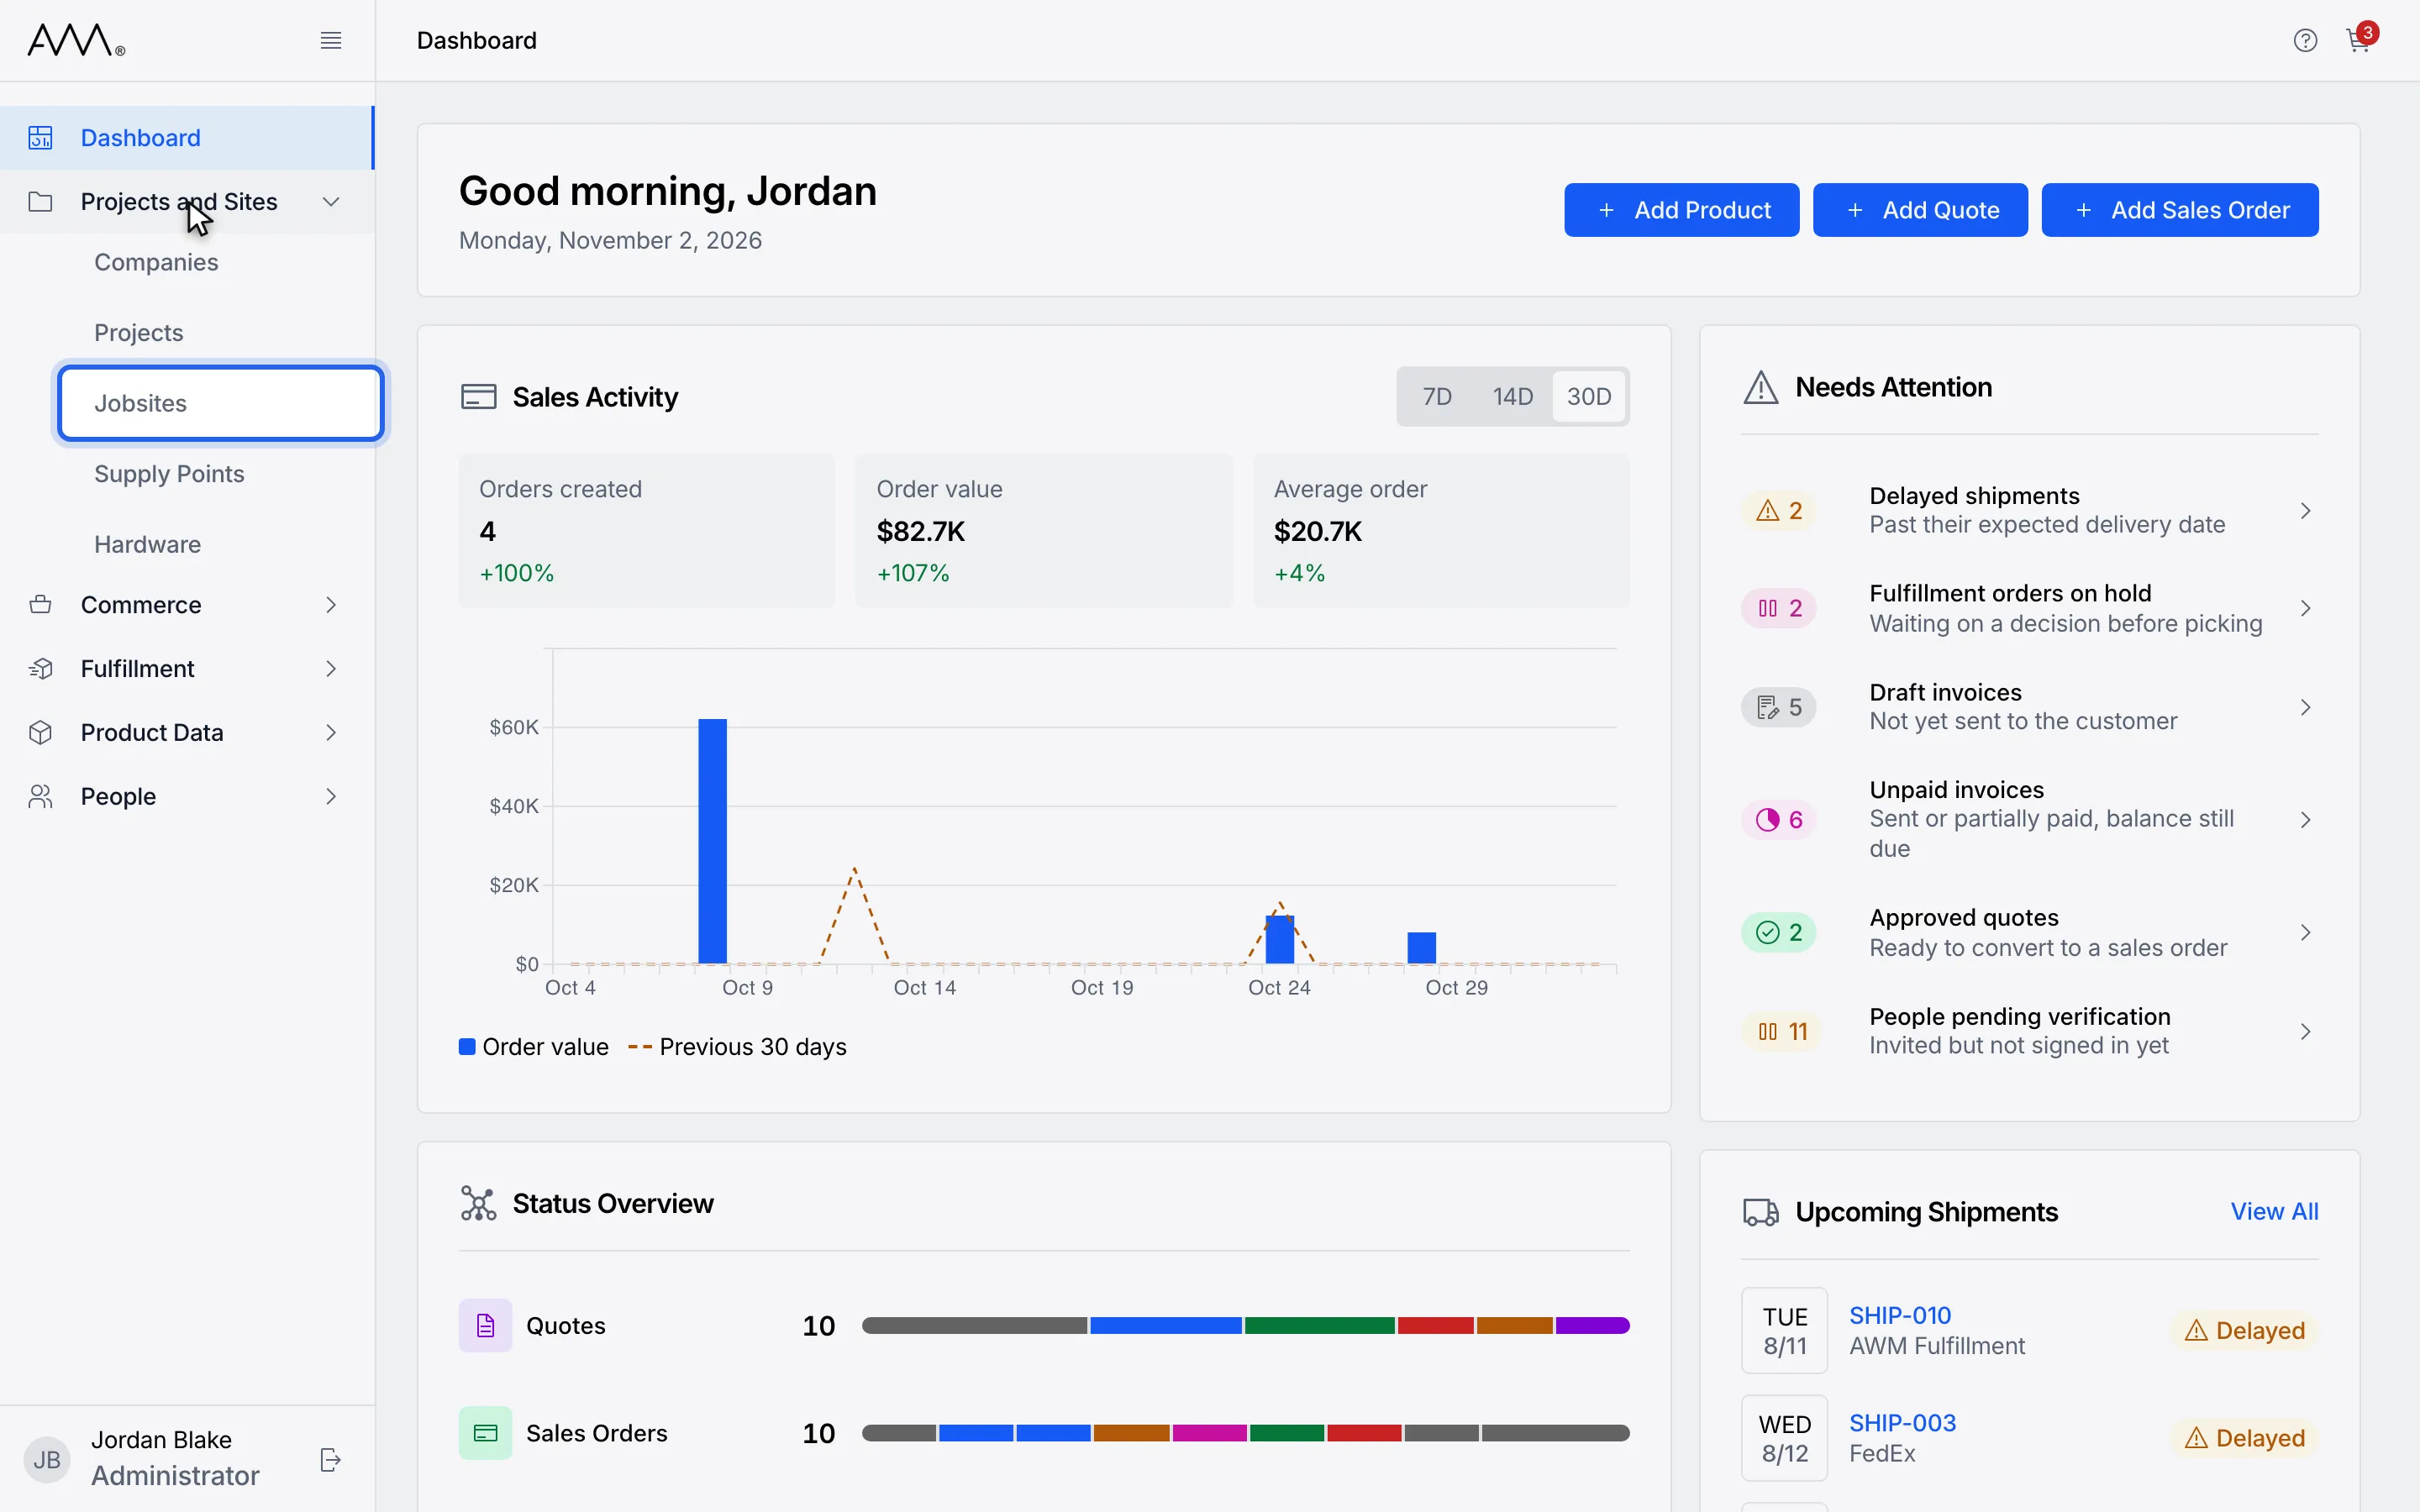
2Choose Jobsites.
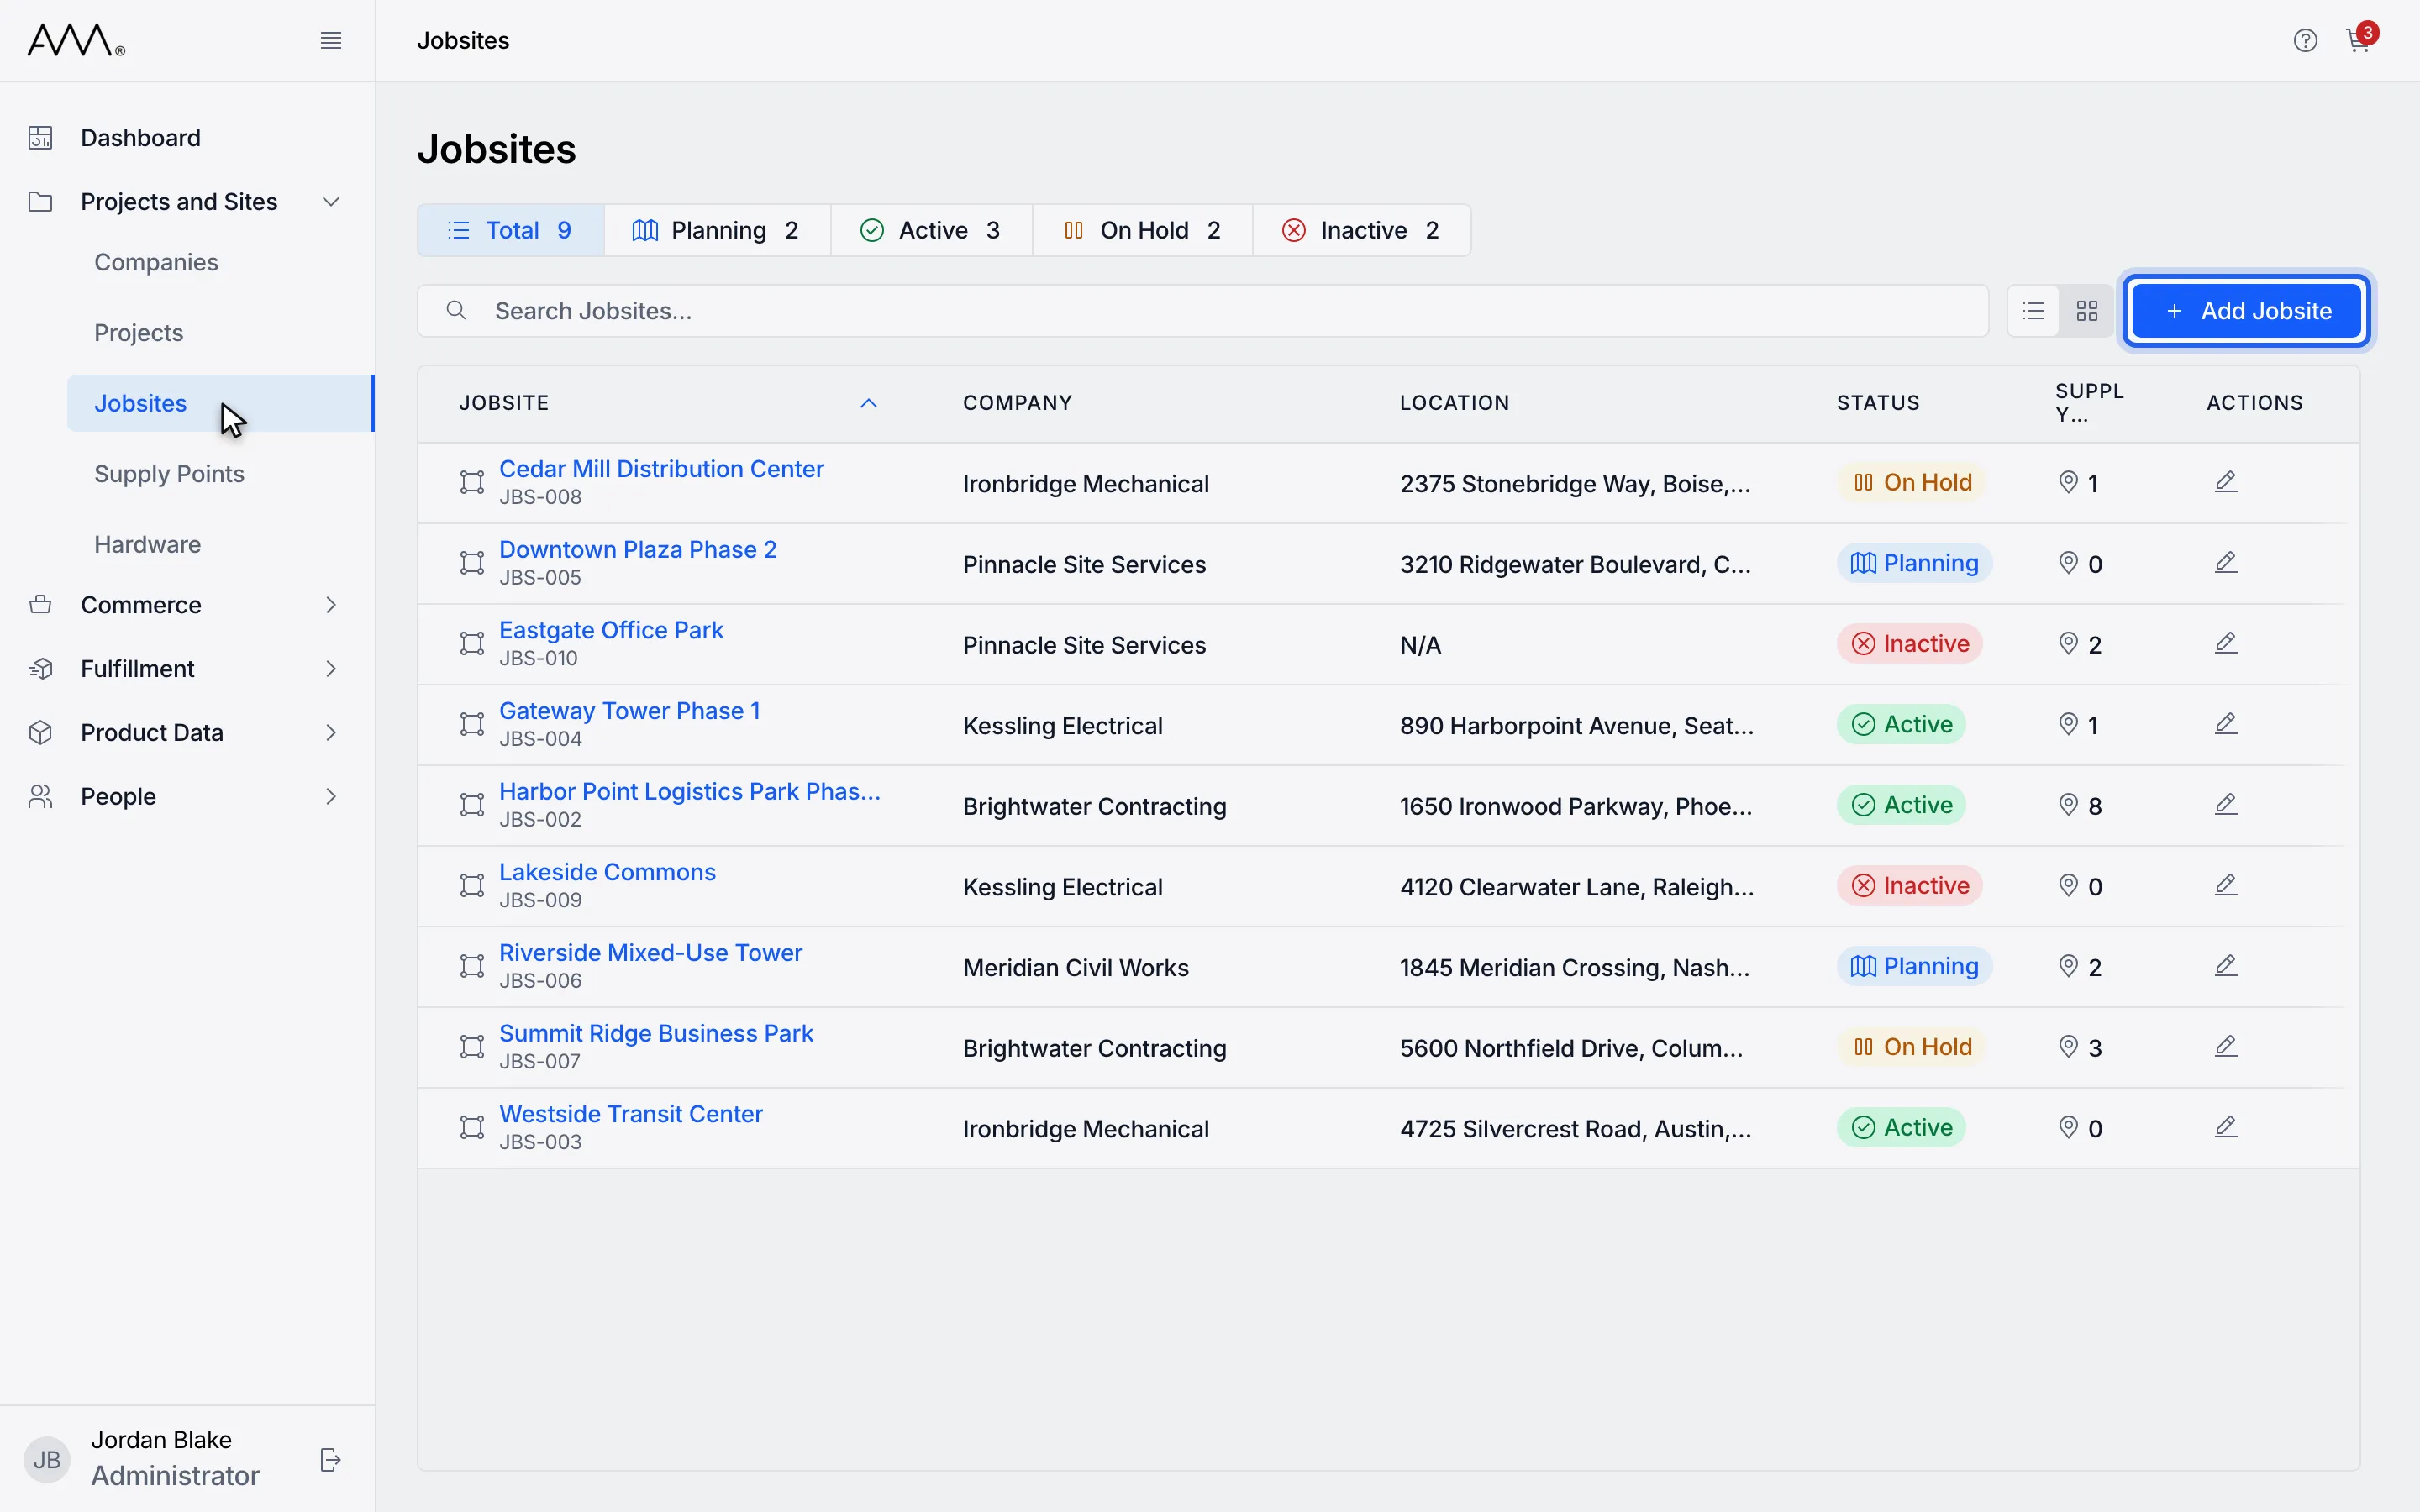
3Click Add Jobsite.
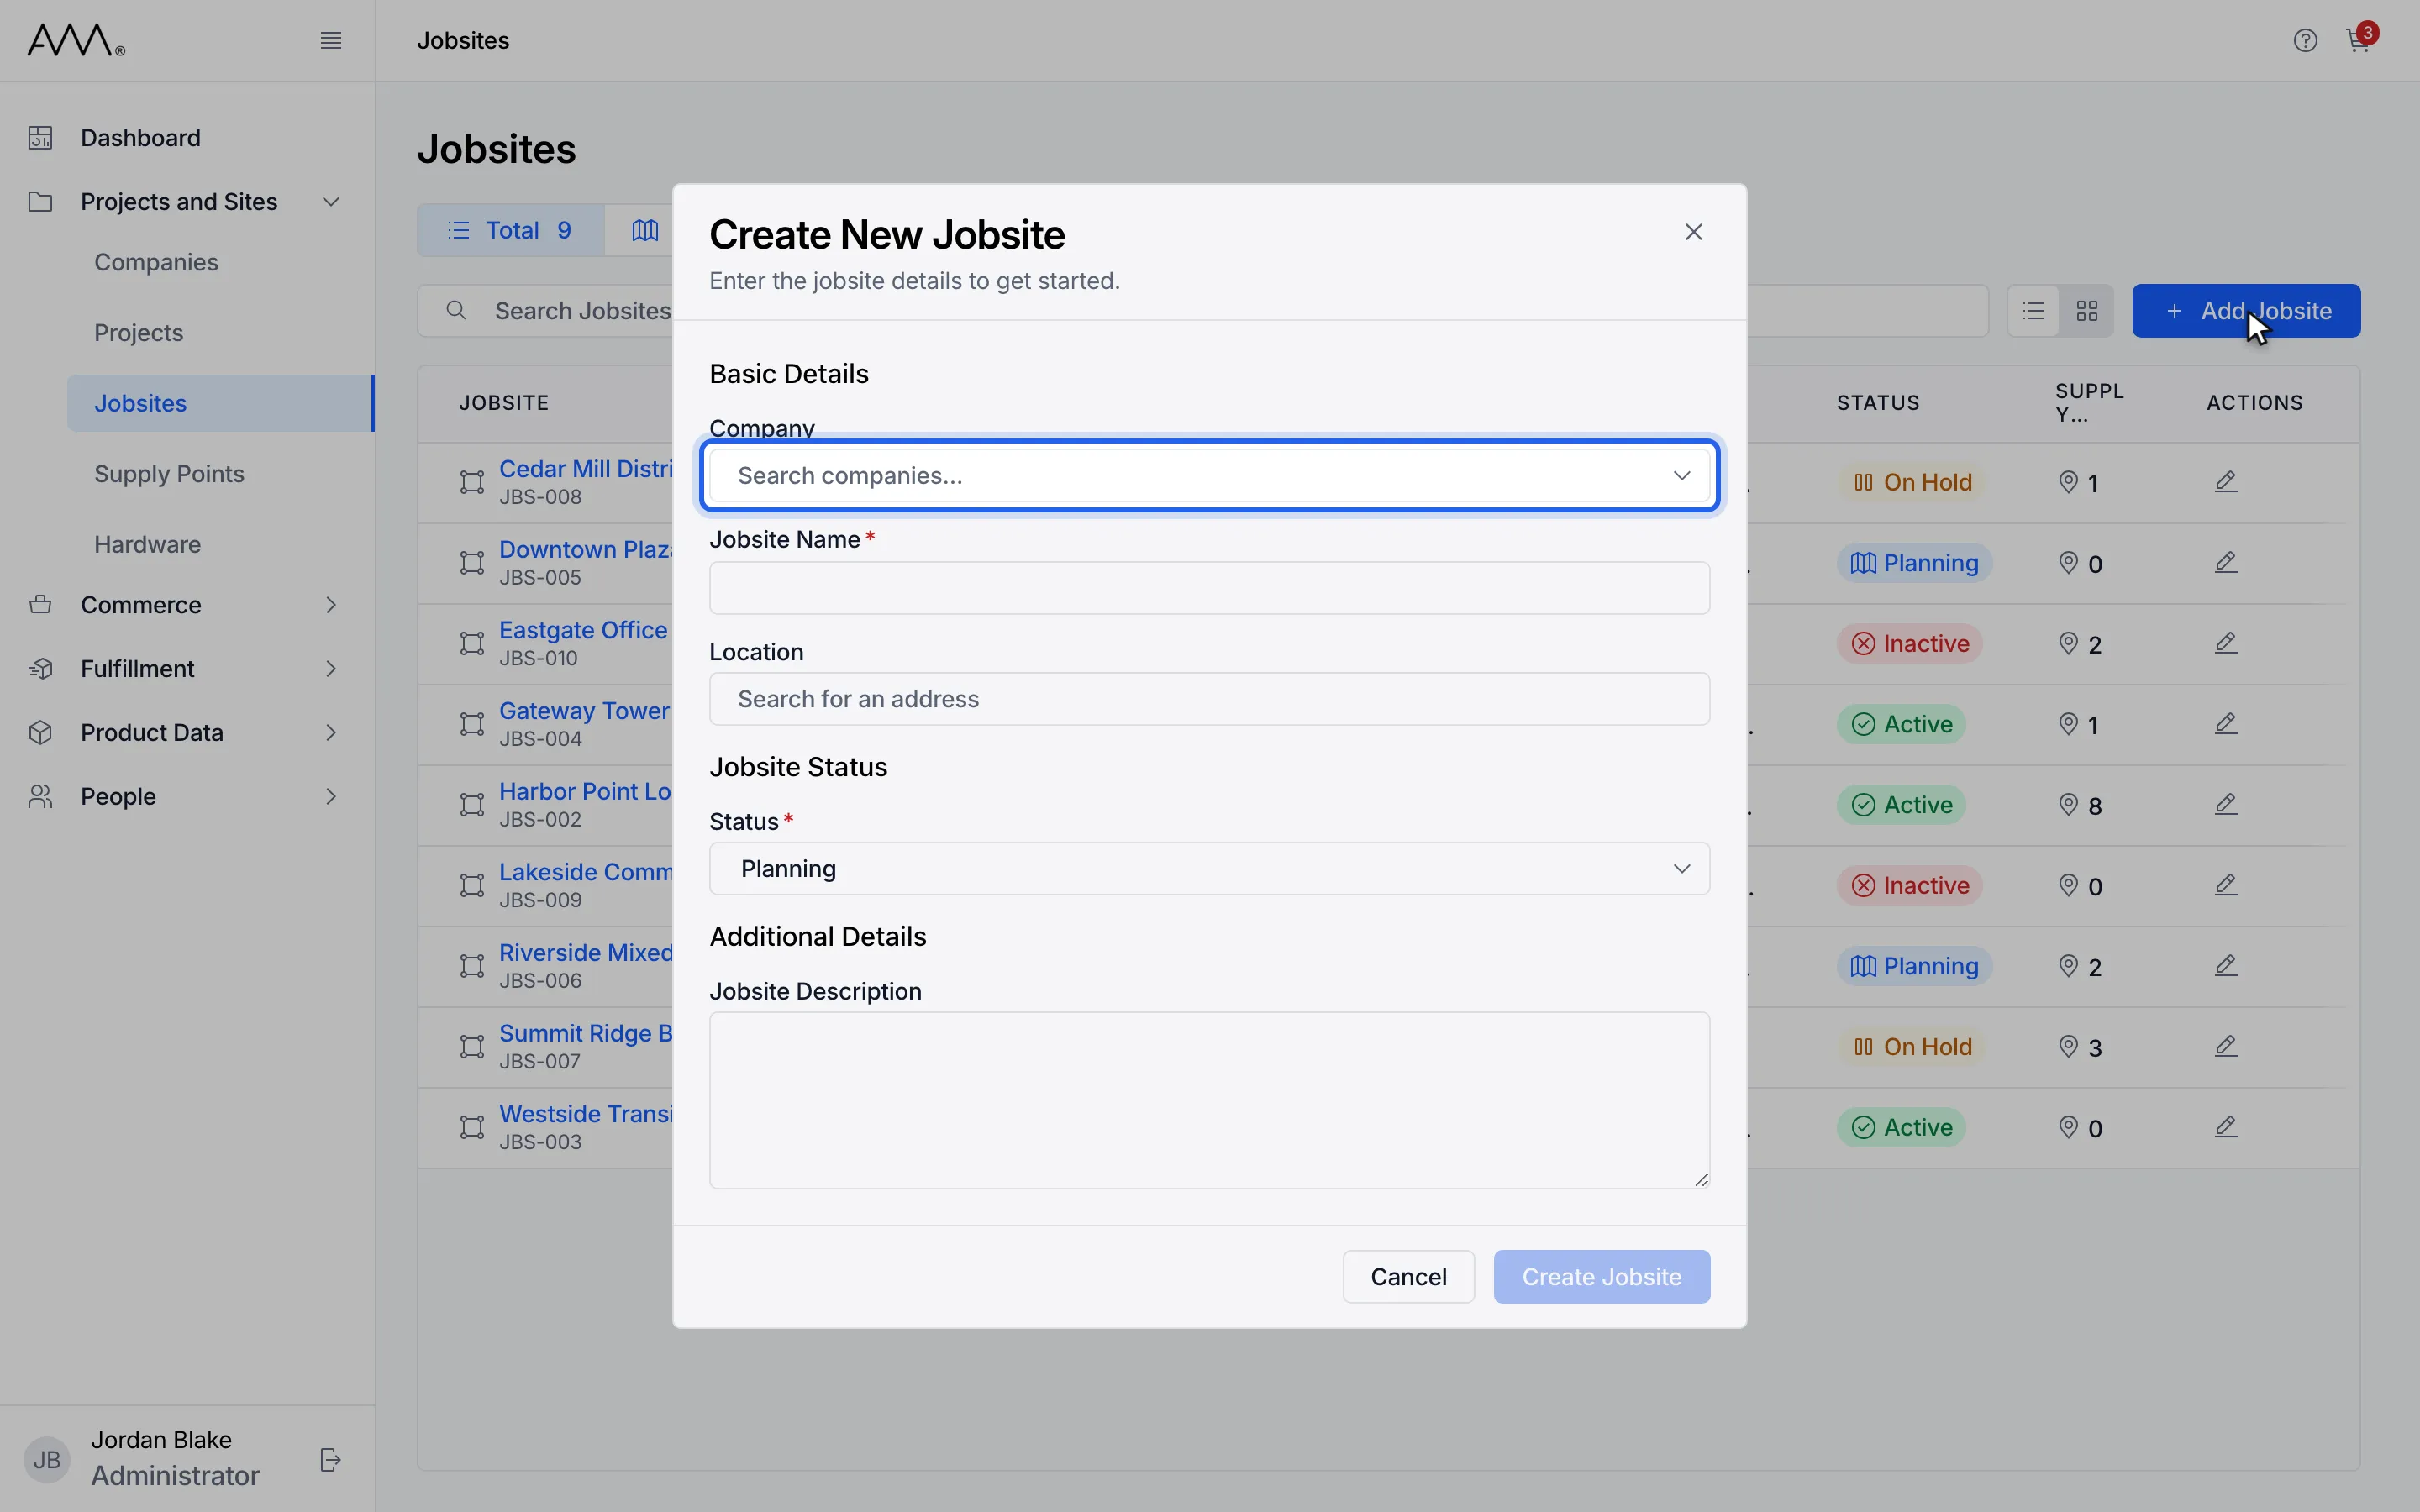
4Optionally, under Company, type part of the company name.
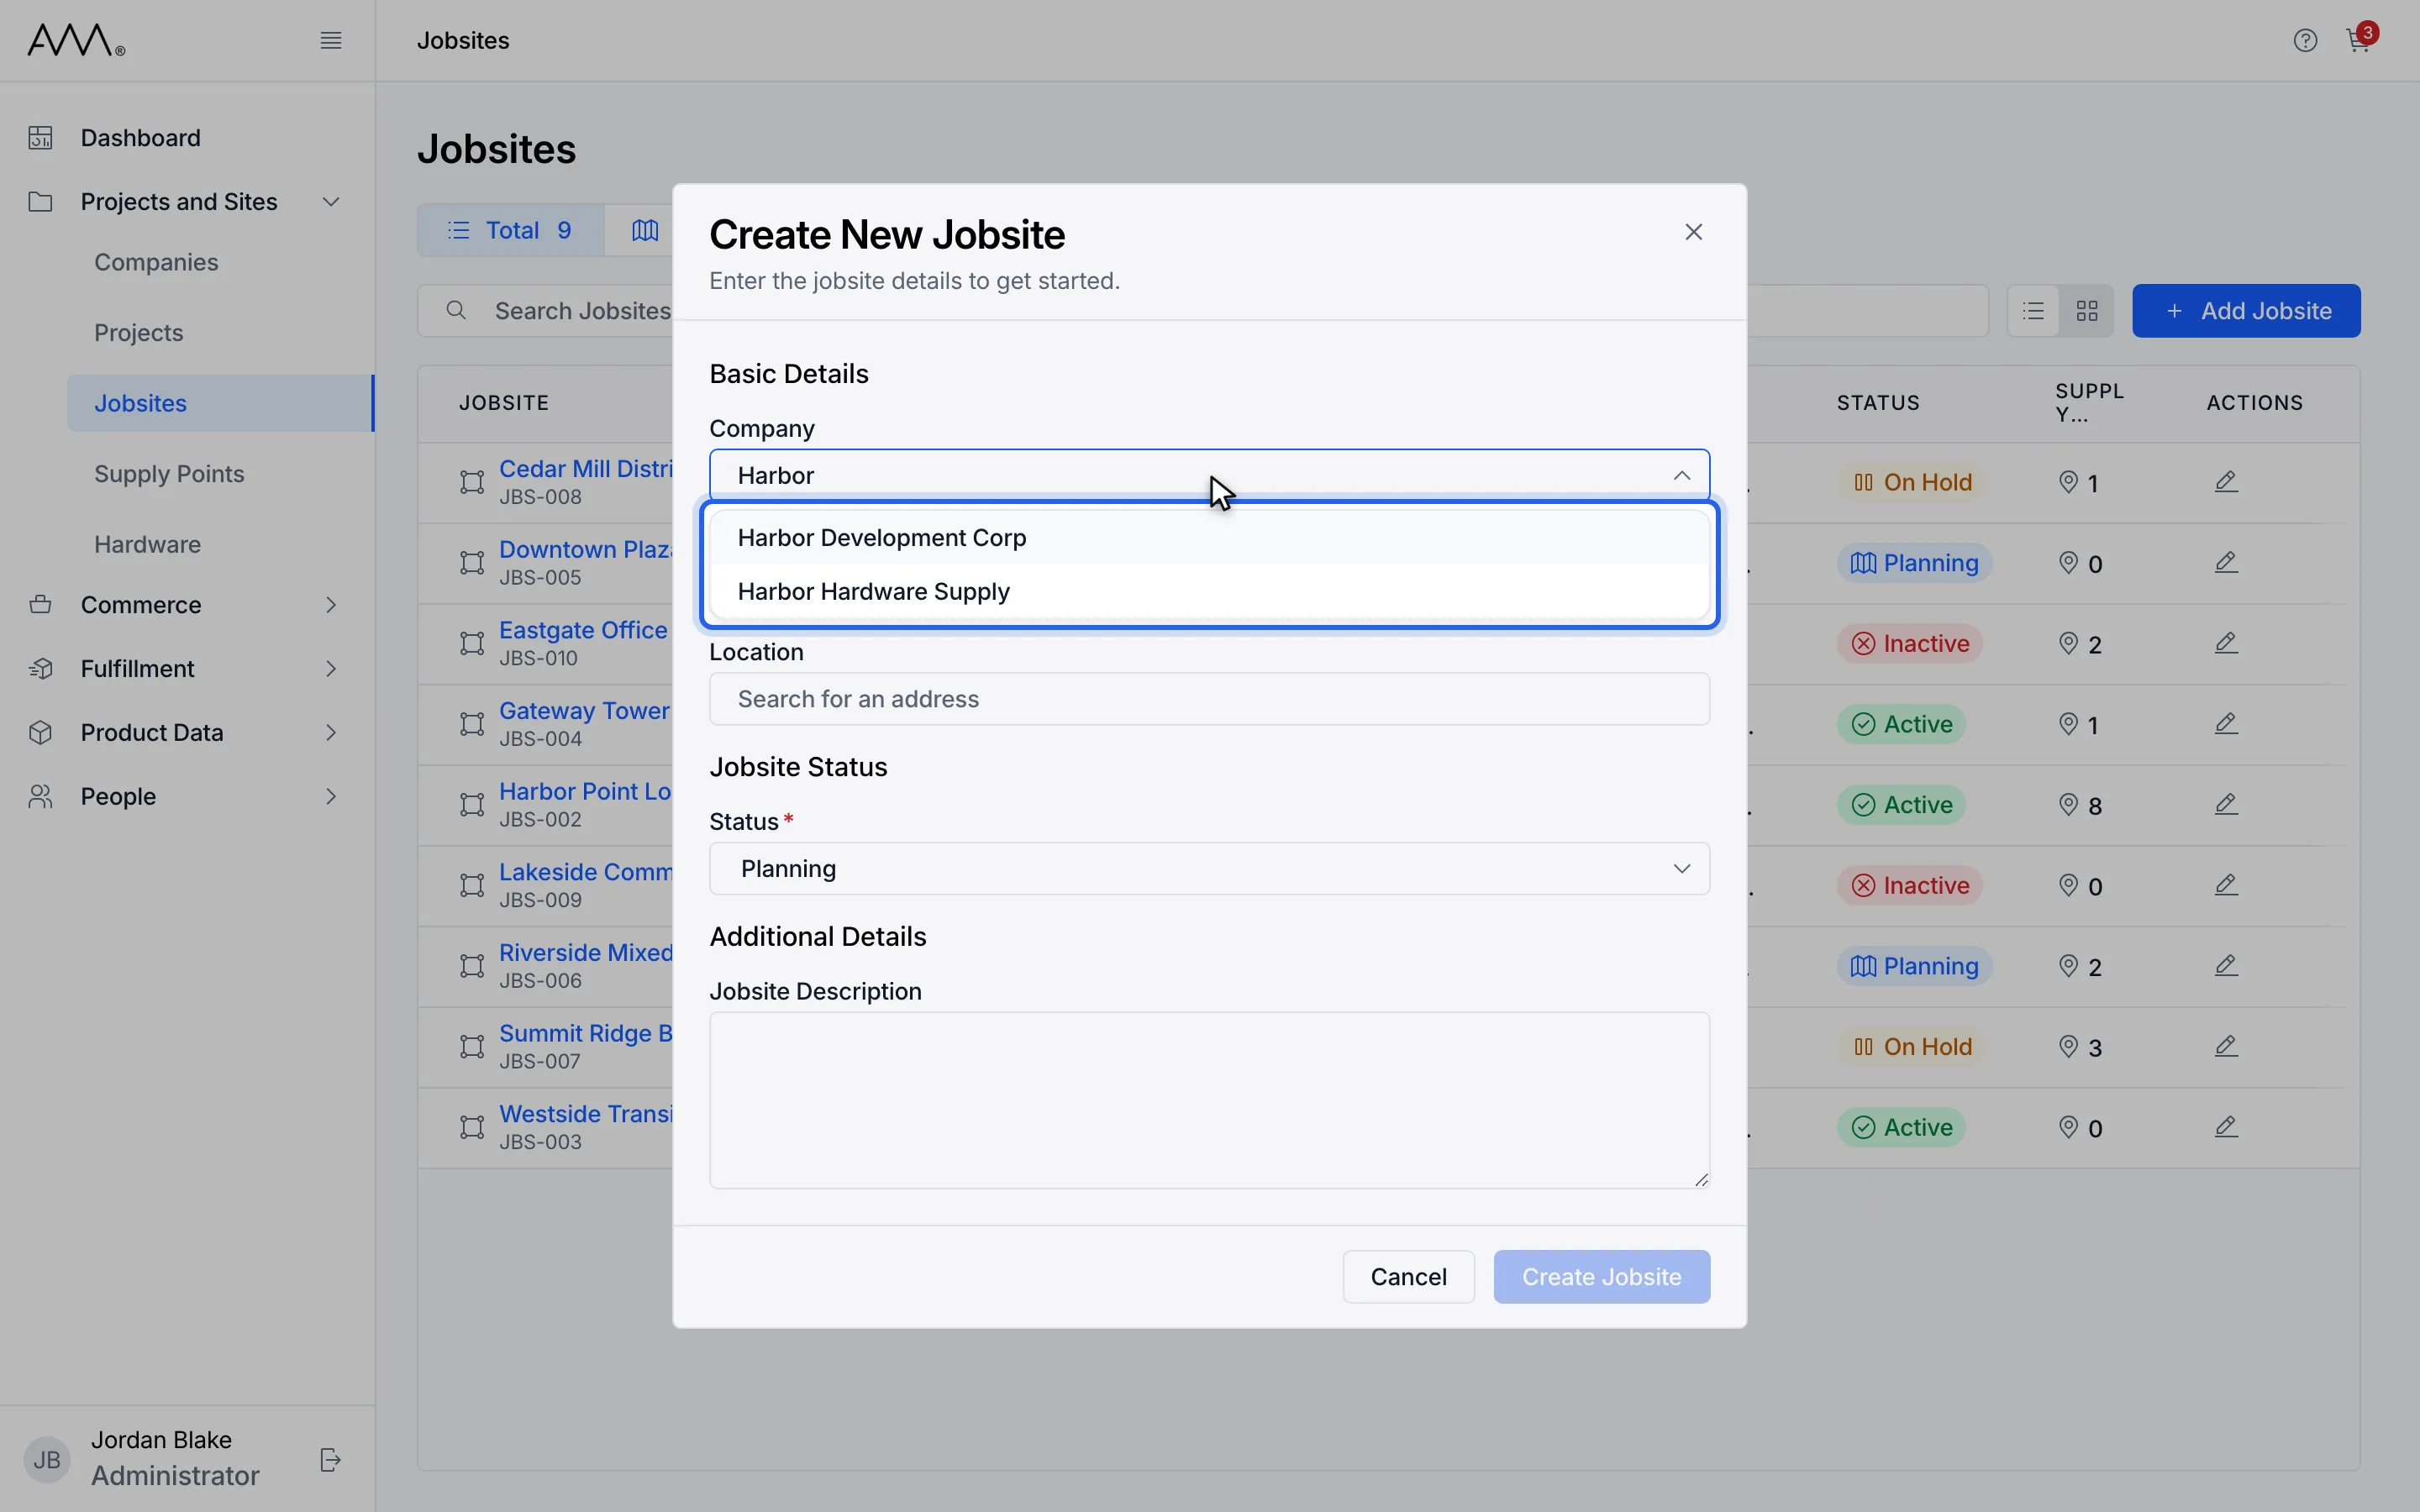
5Pick the company from the suggestions.
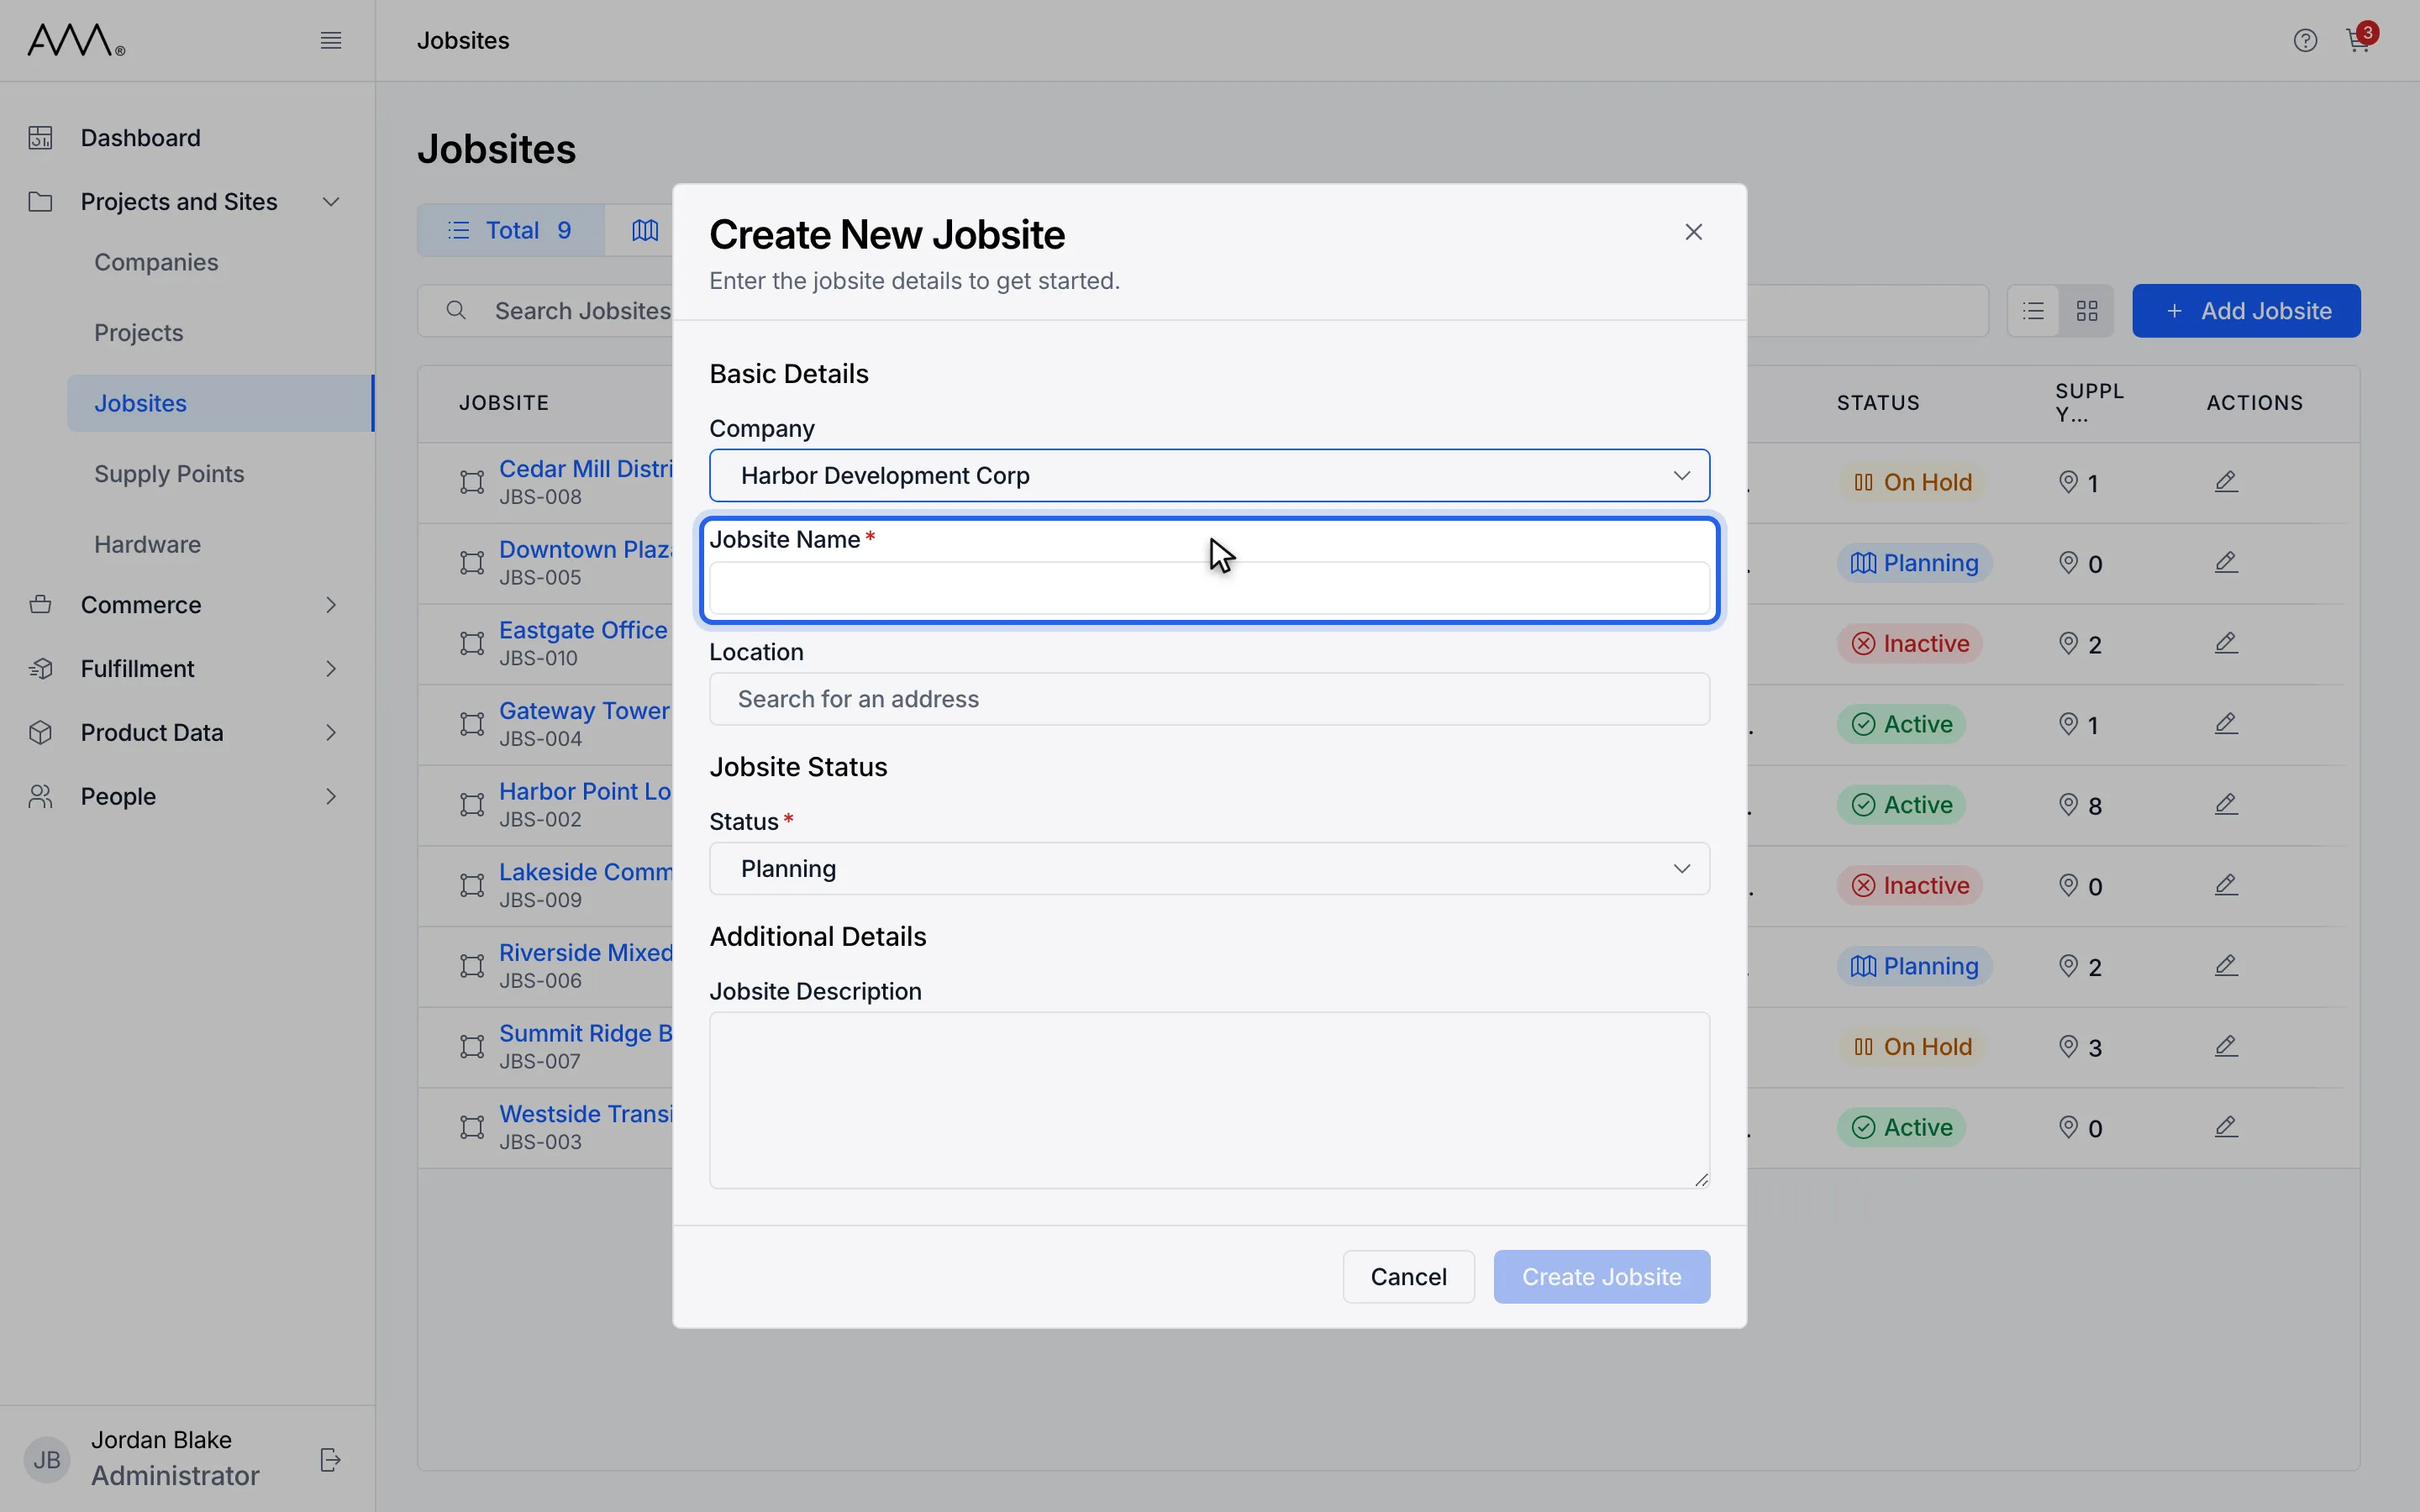
6Enter the Jobsite Name.
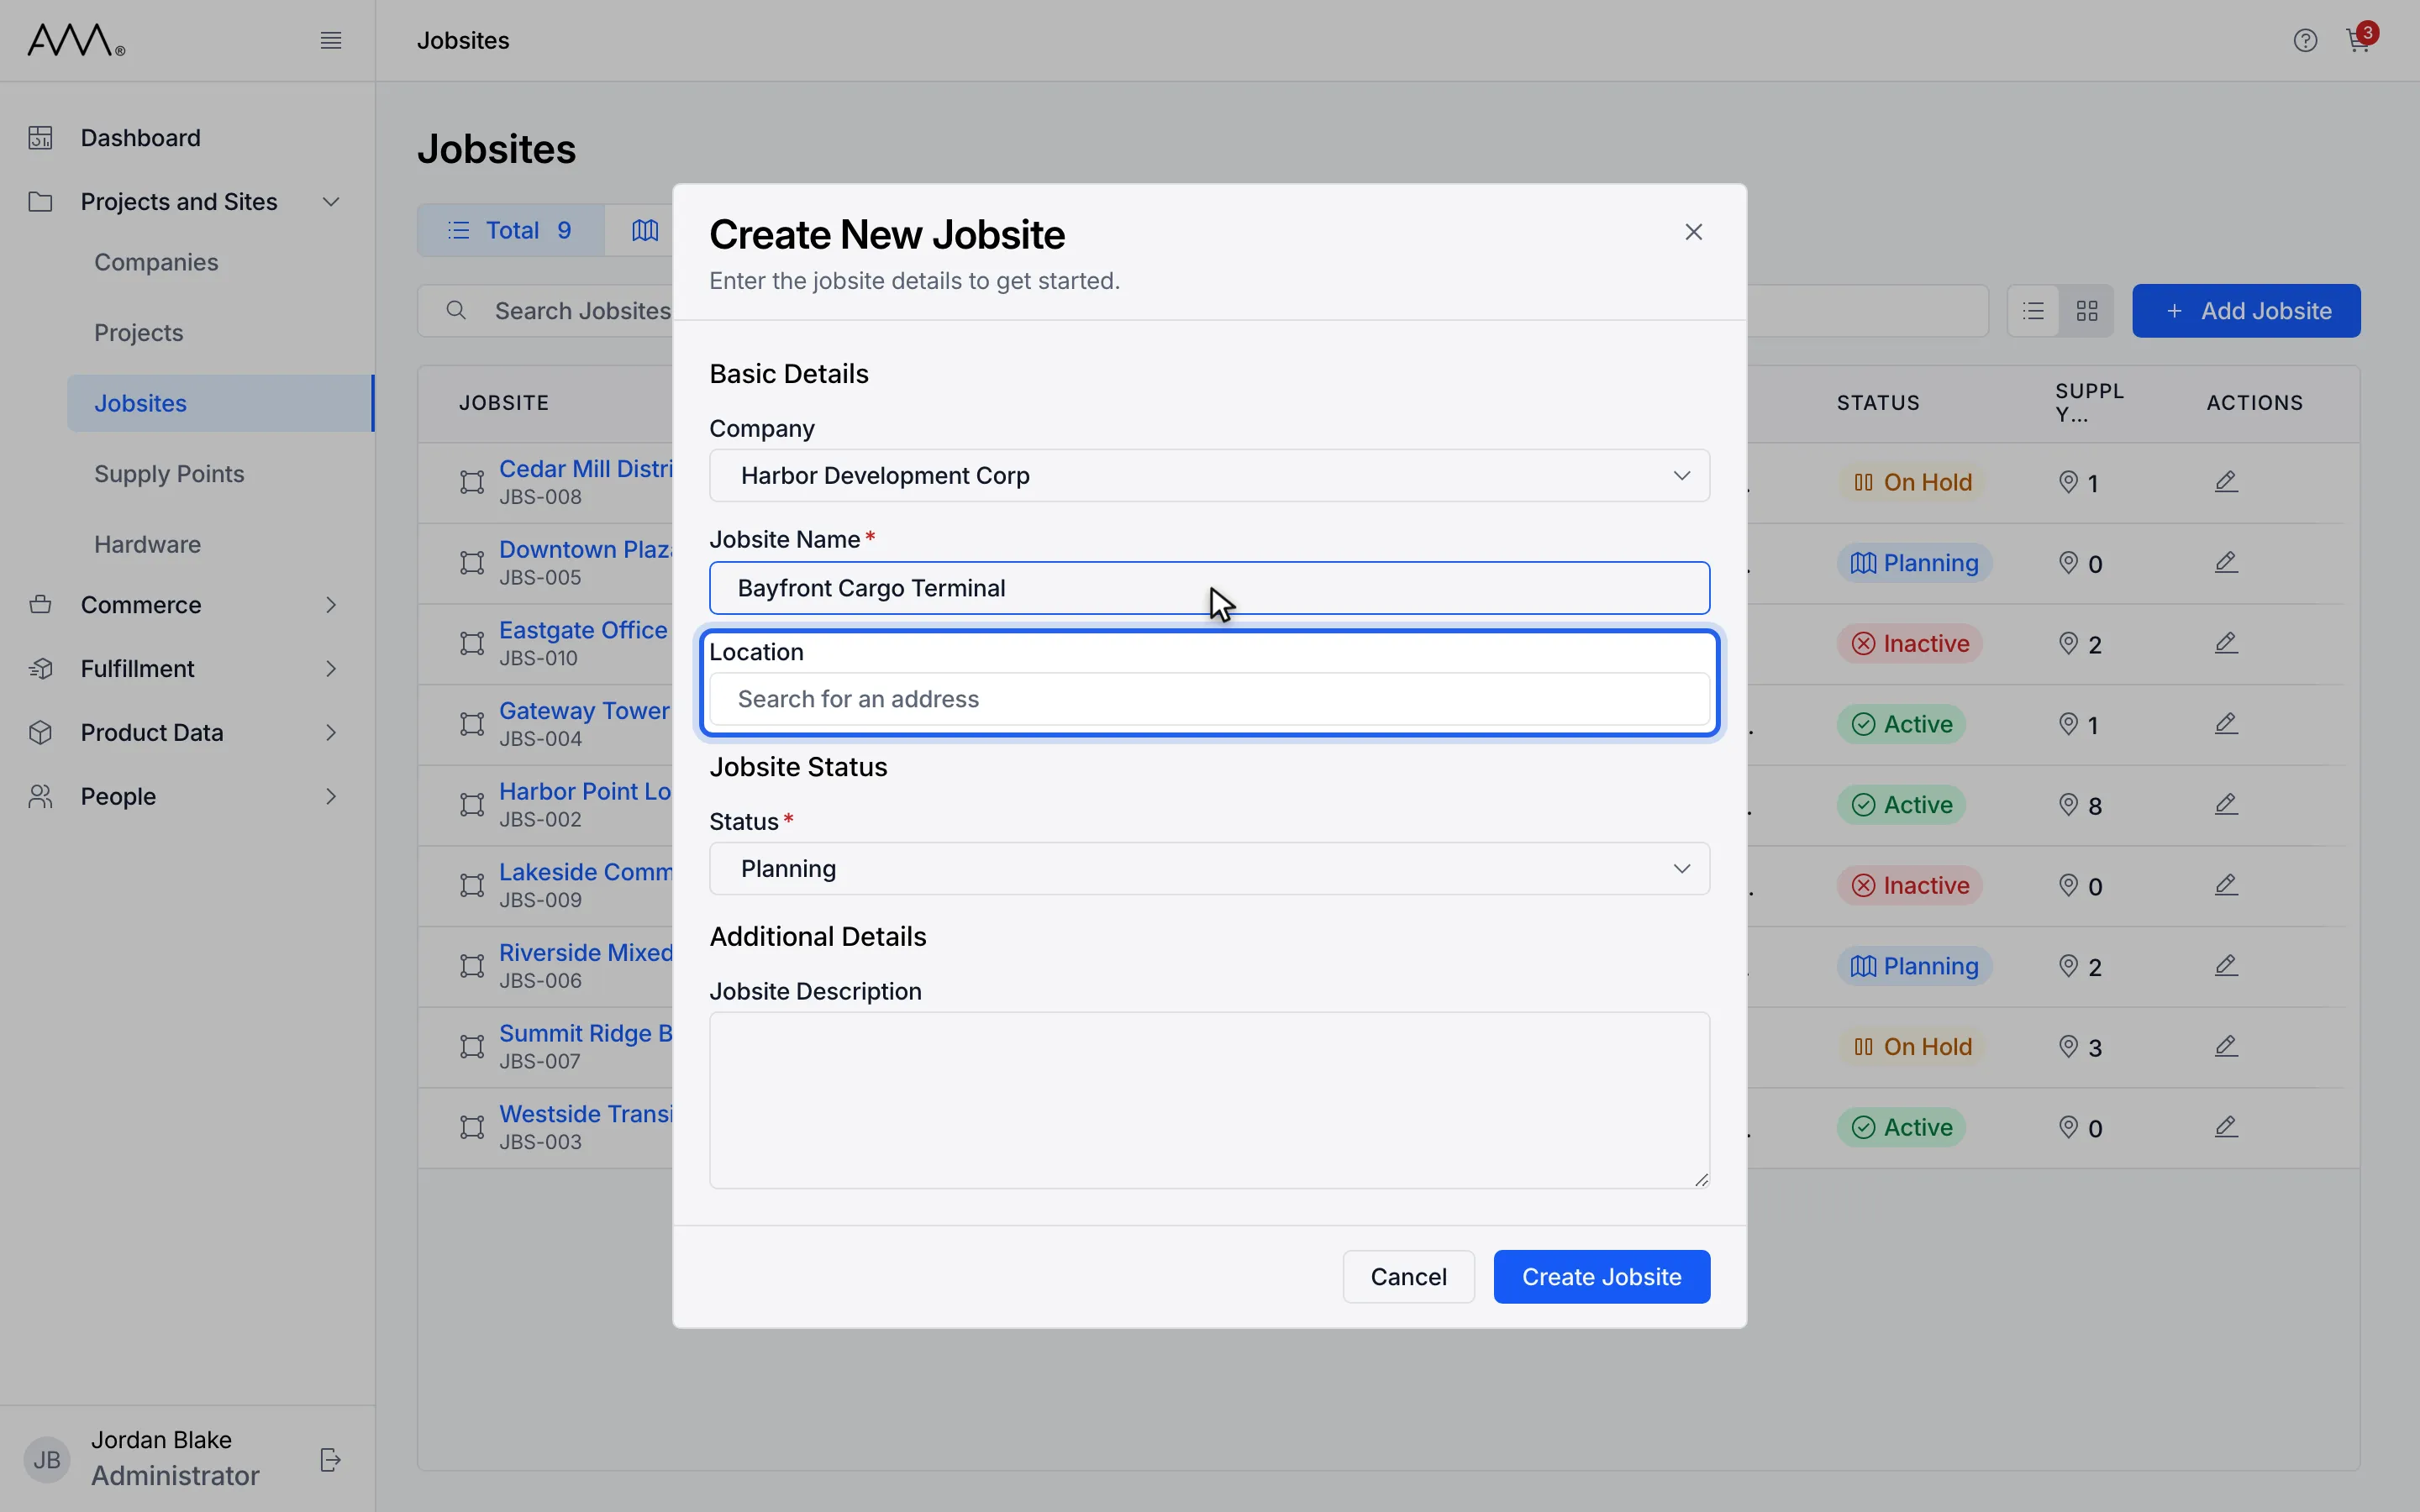
7Optionally type the Location, or pick an address suggestion if one appears.
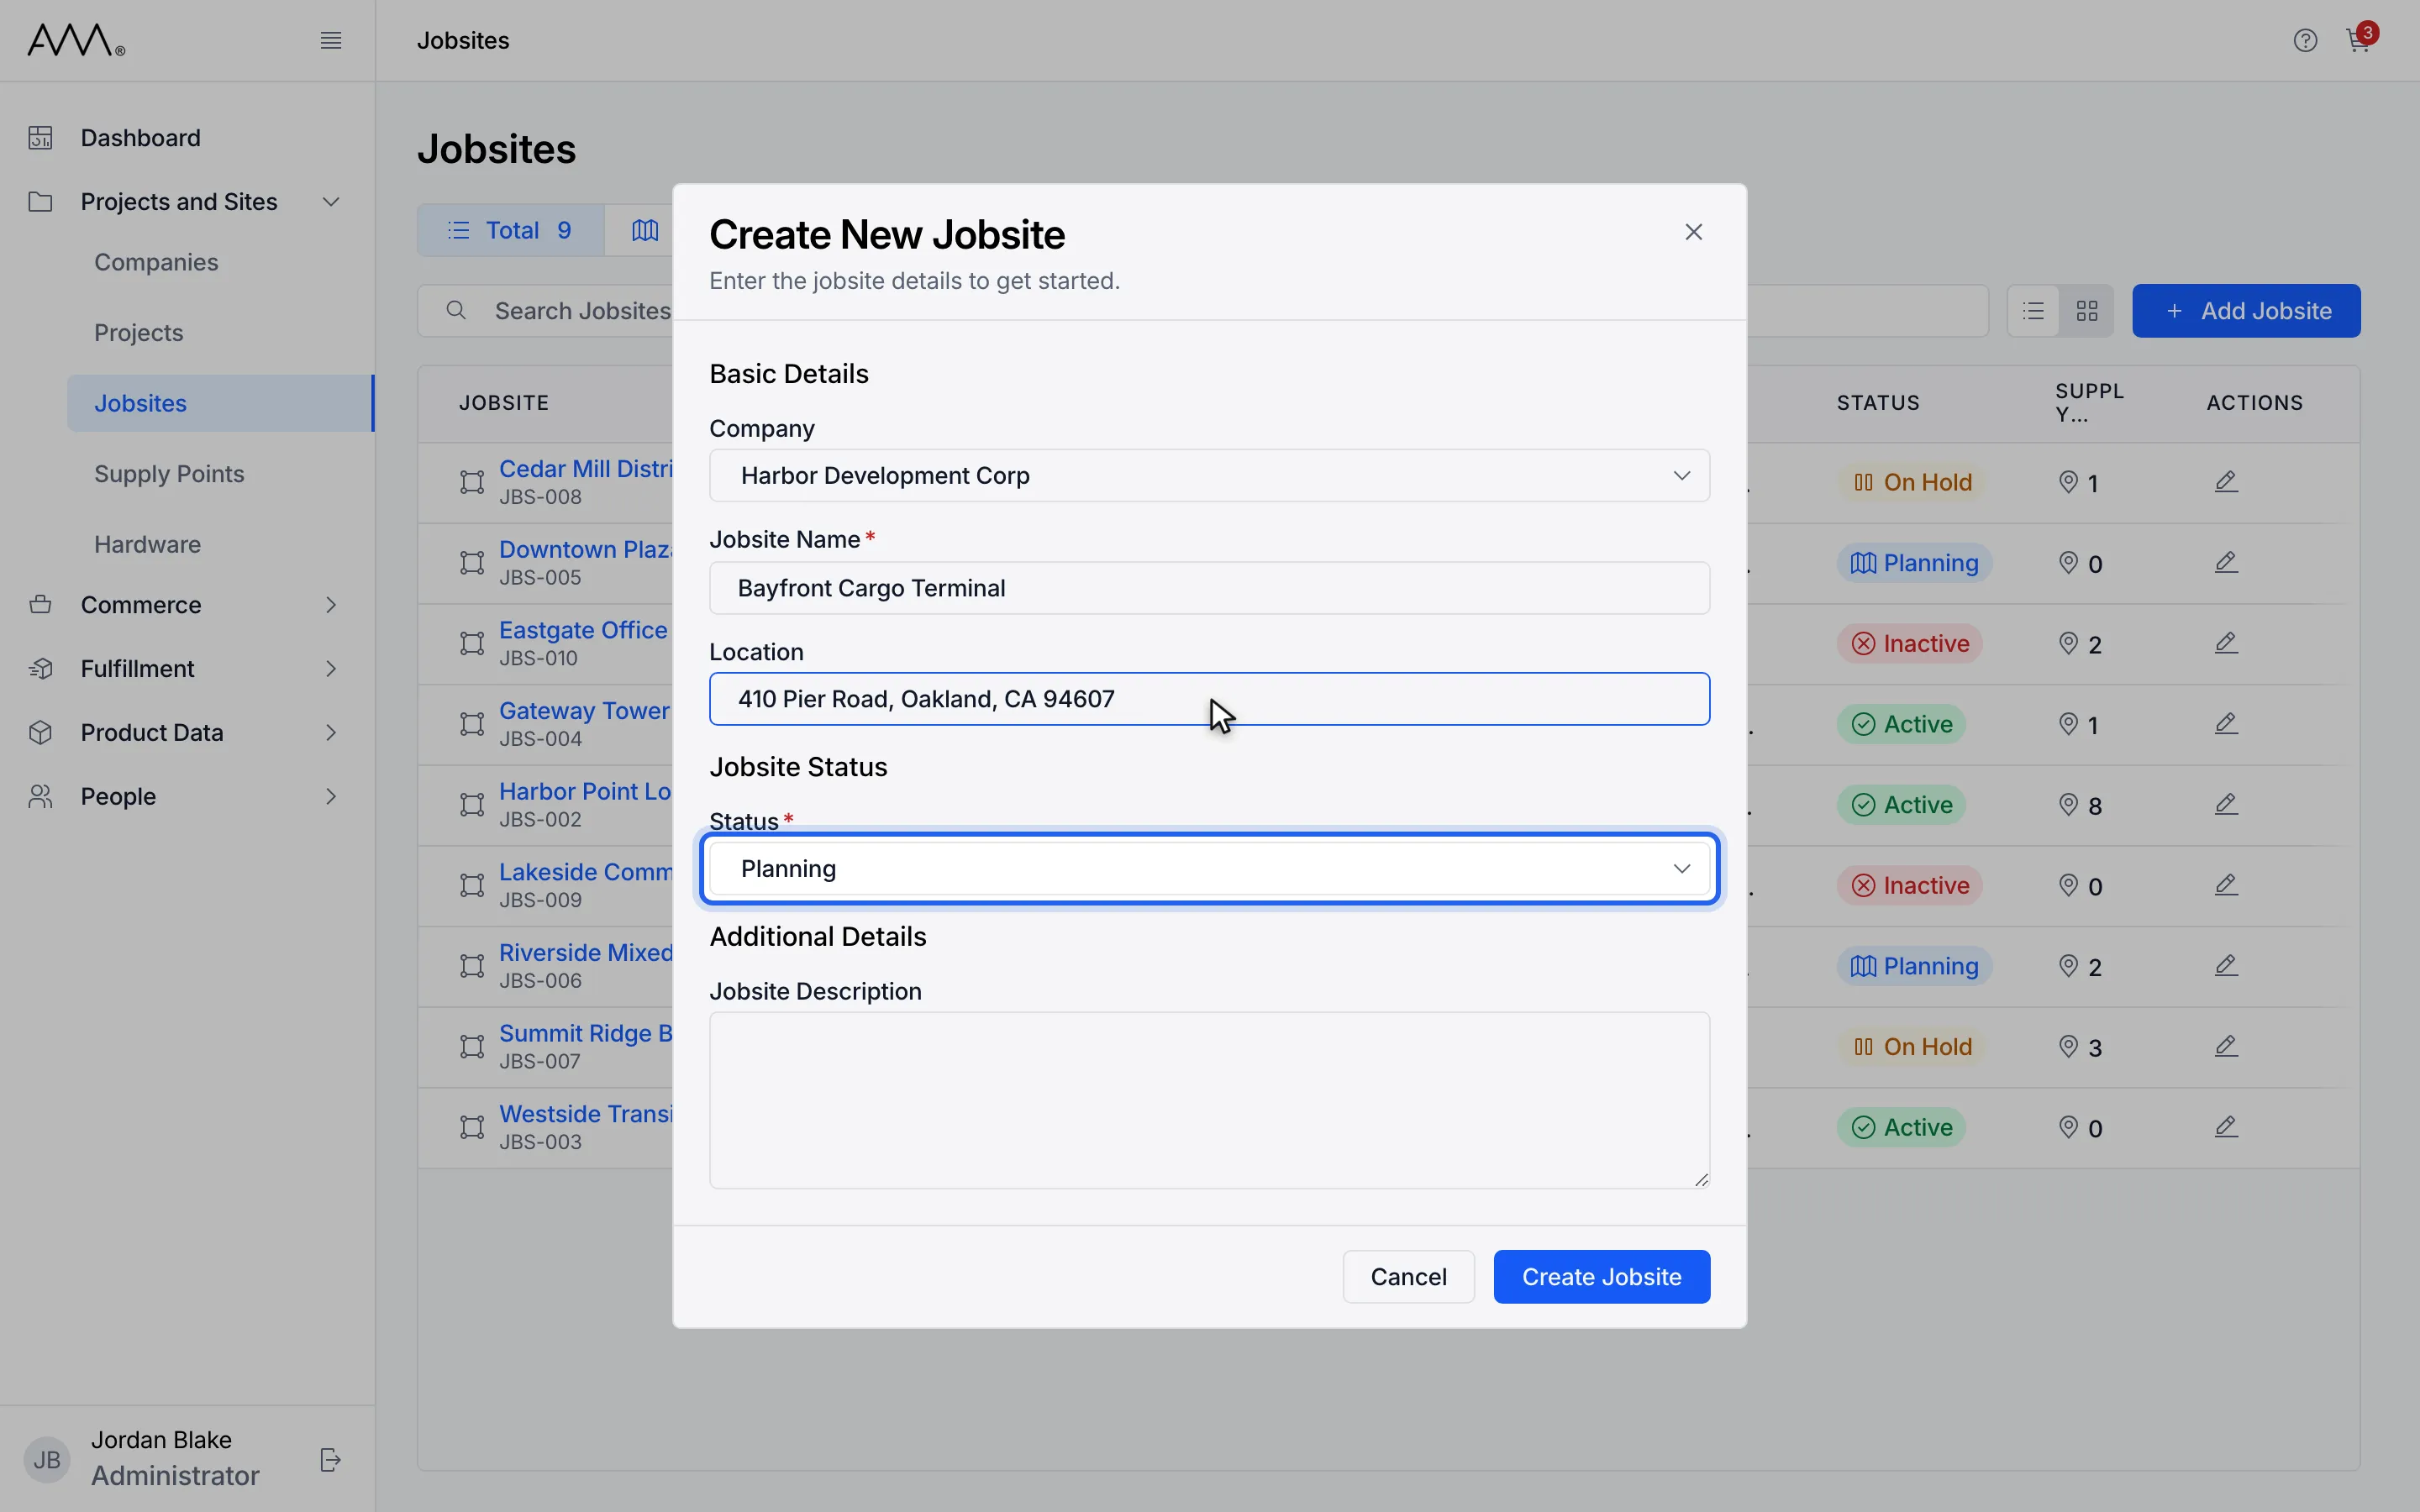
8Open the Status list. New jobsites start as Planning.
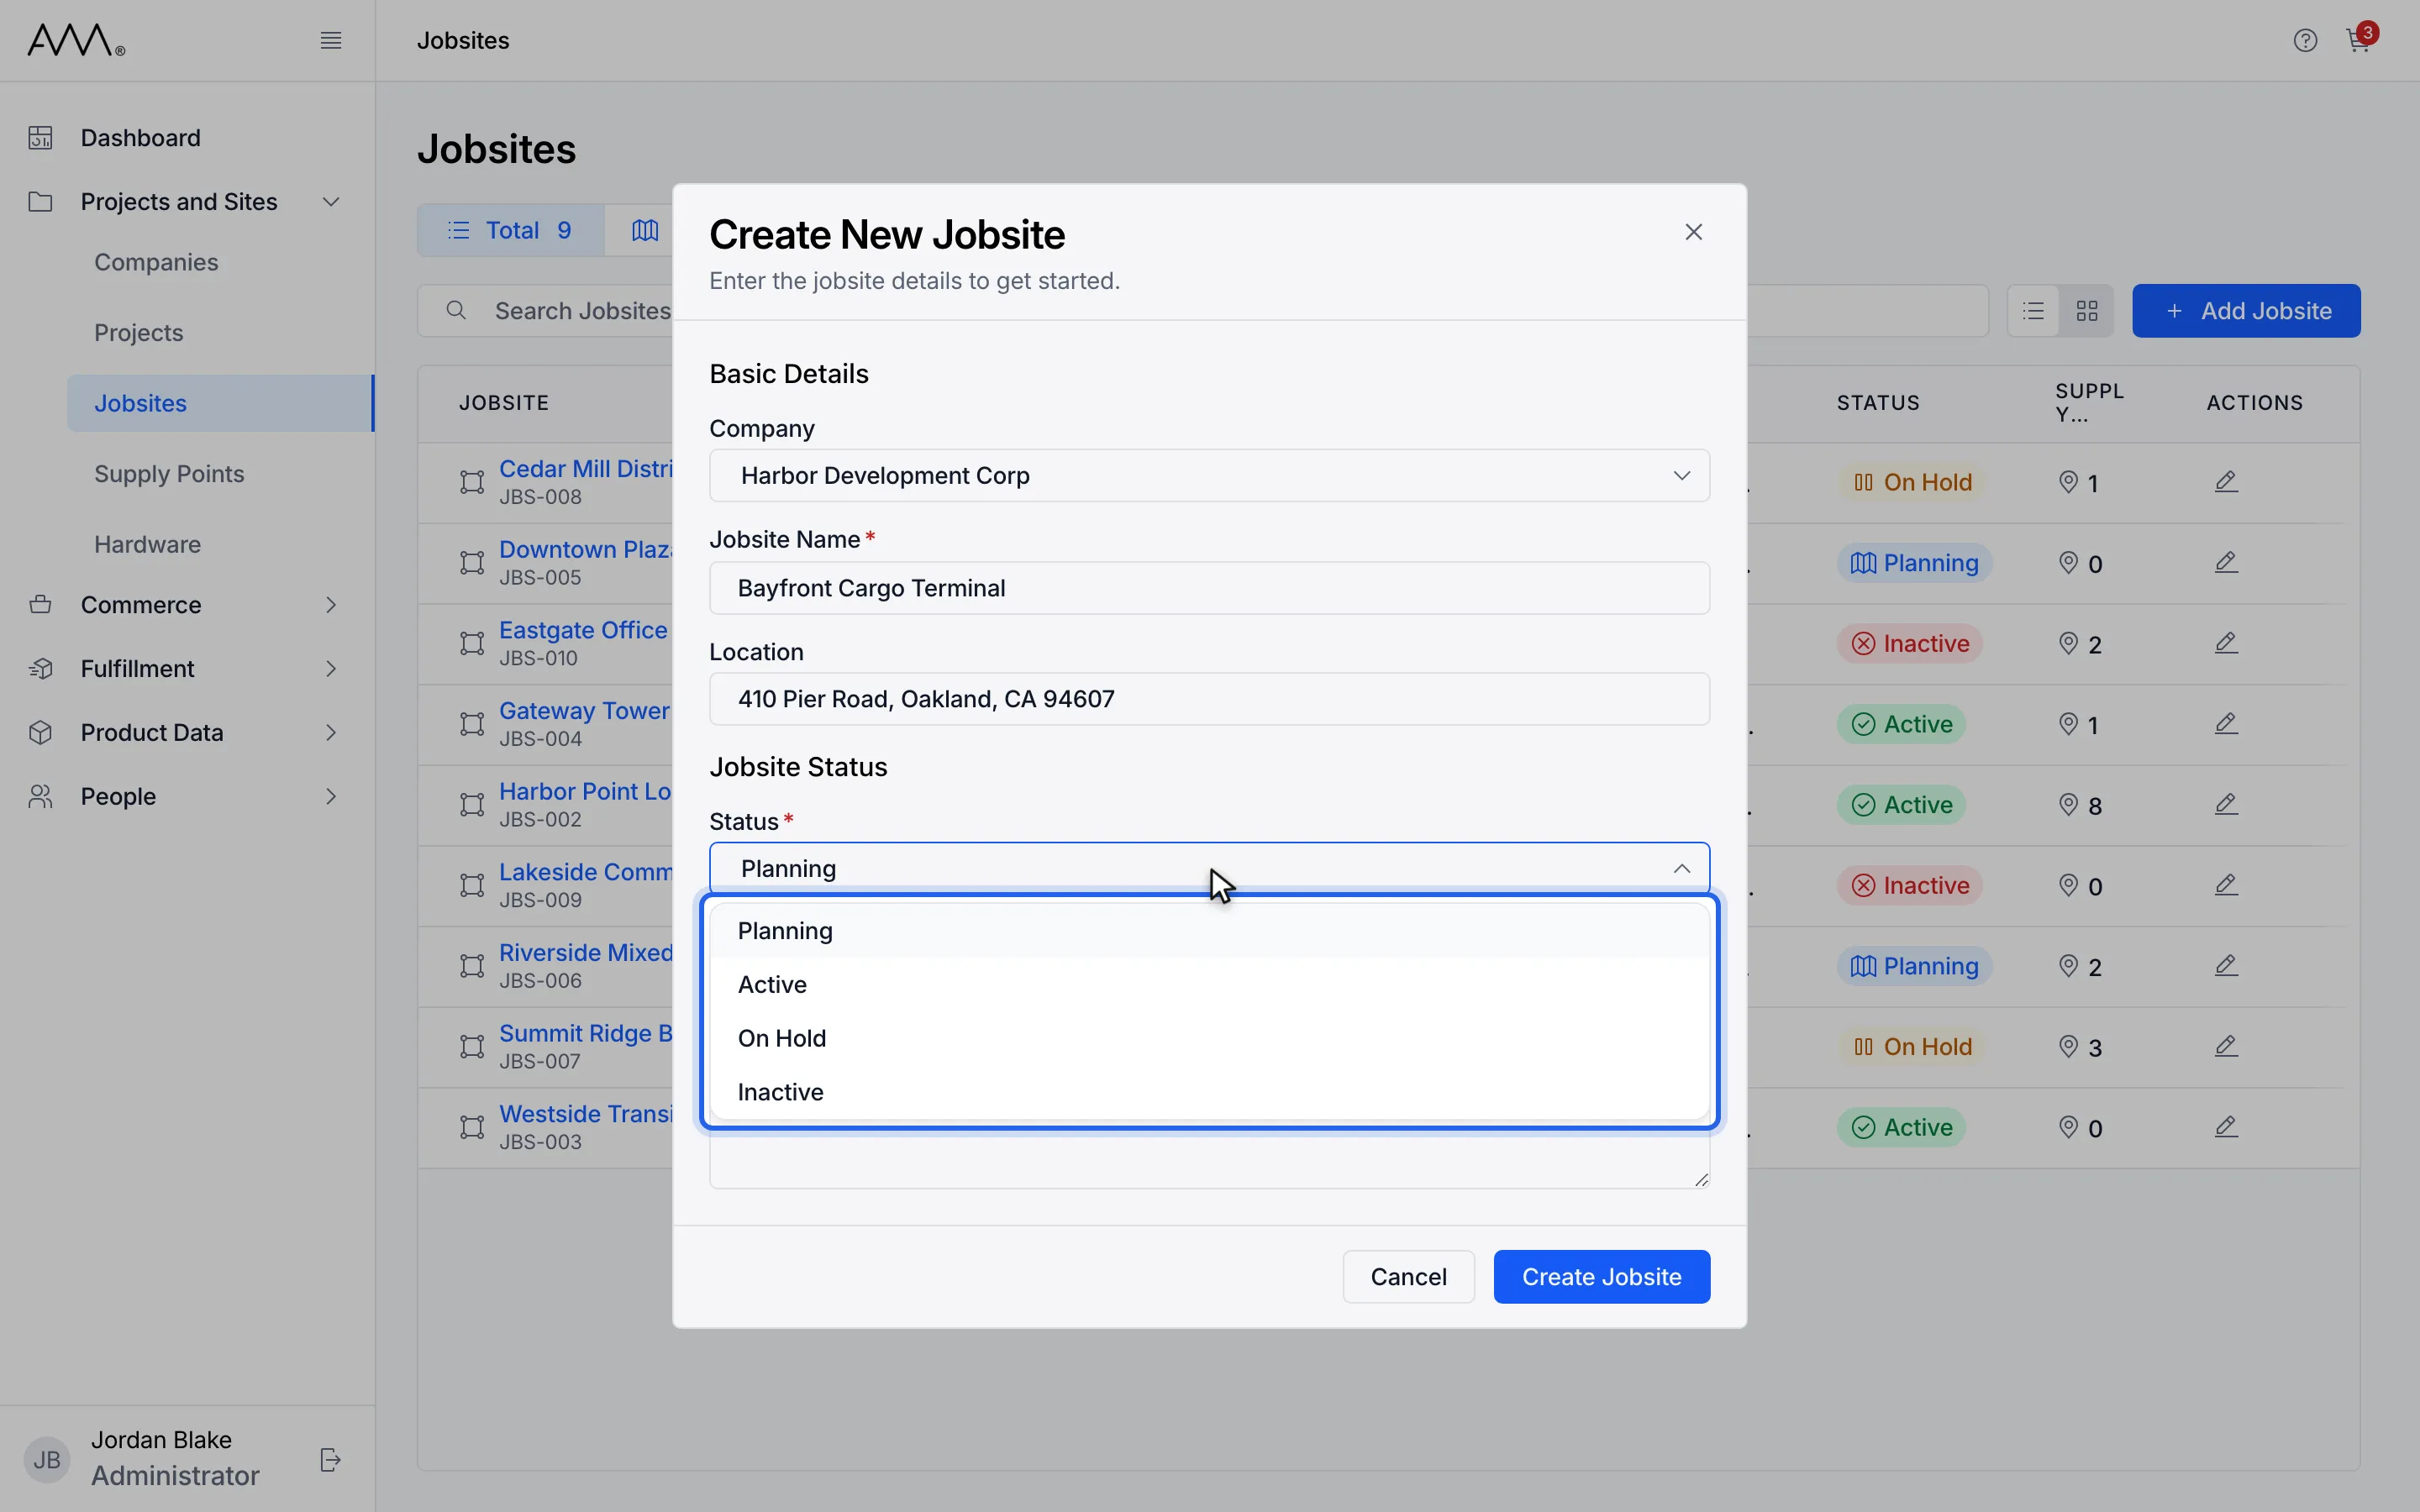
9Choose a status.
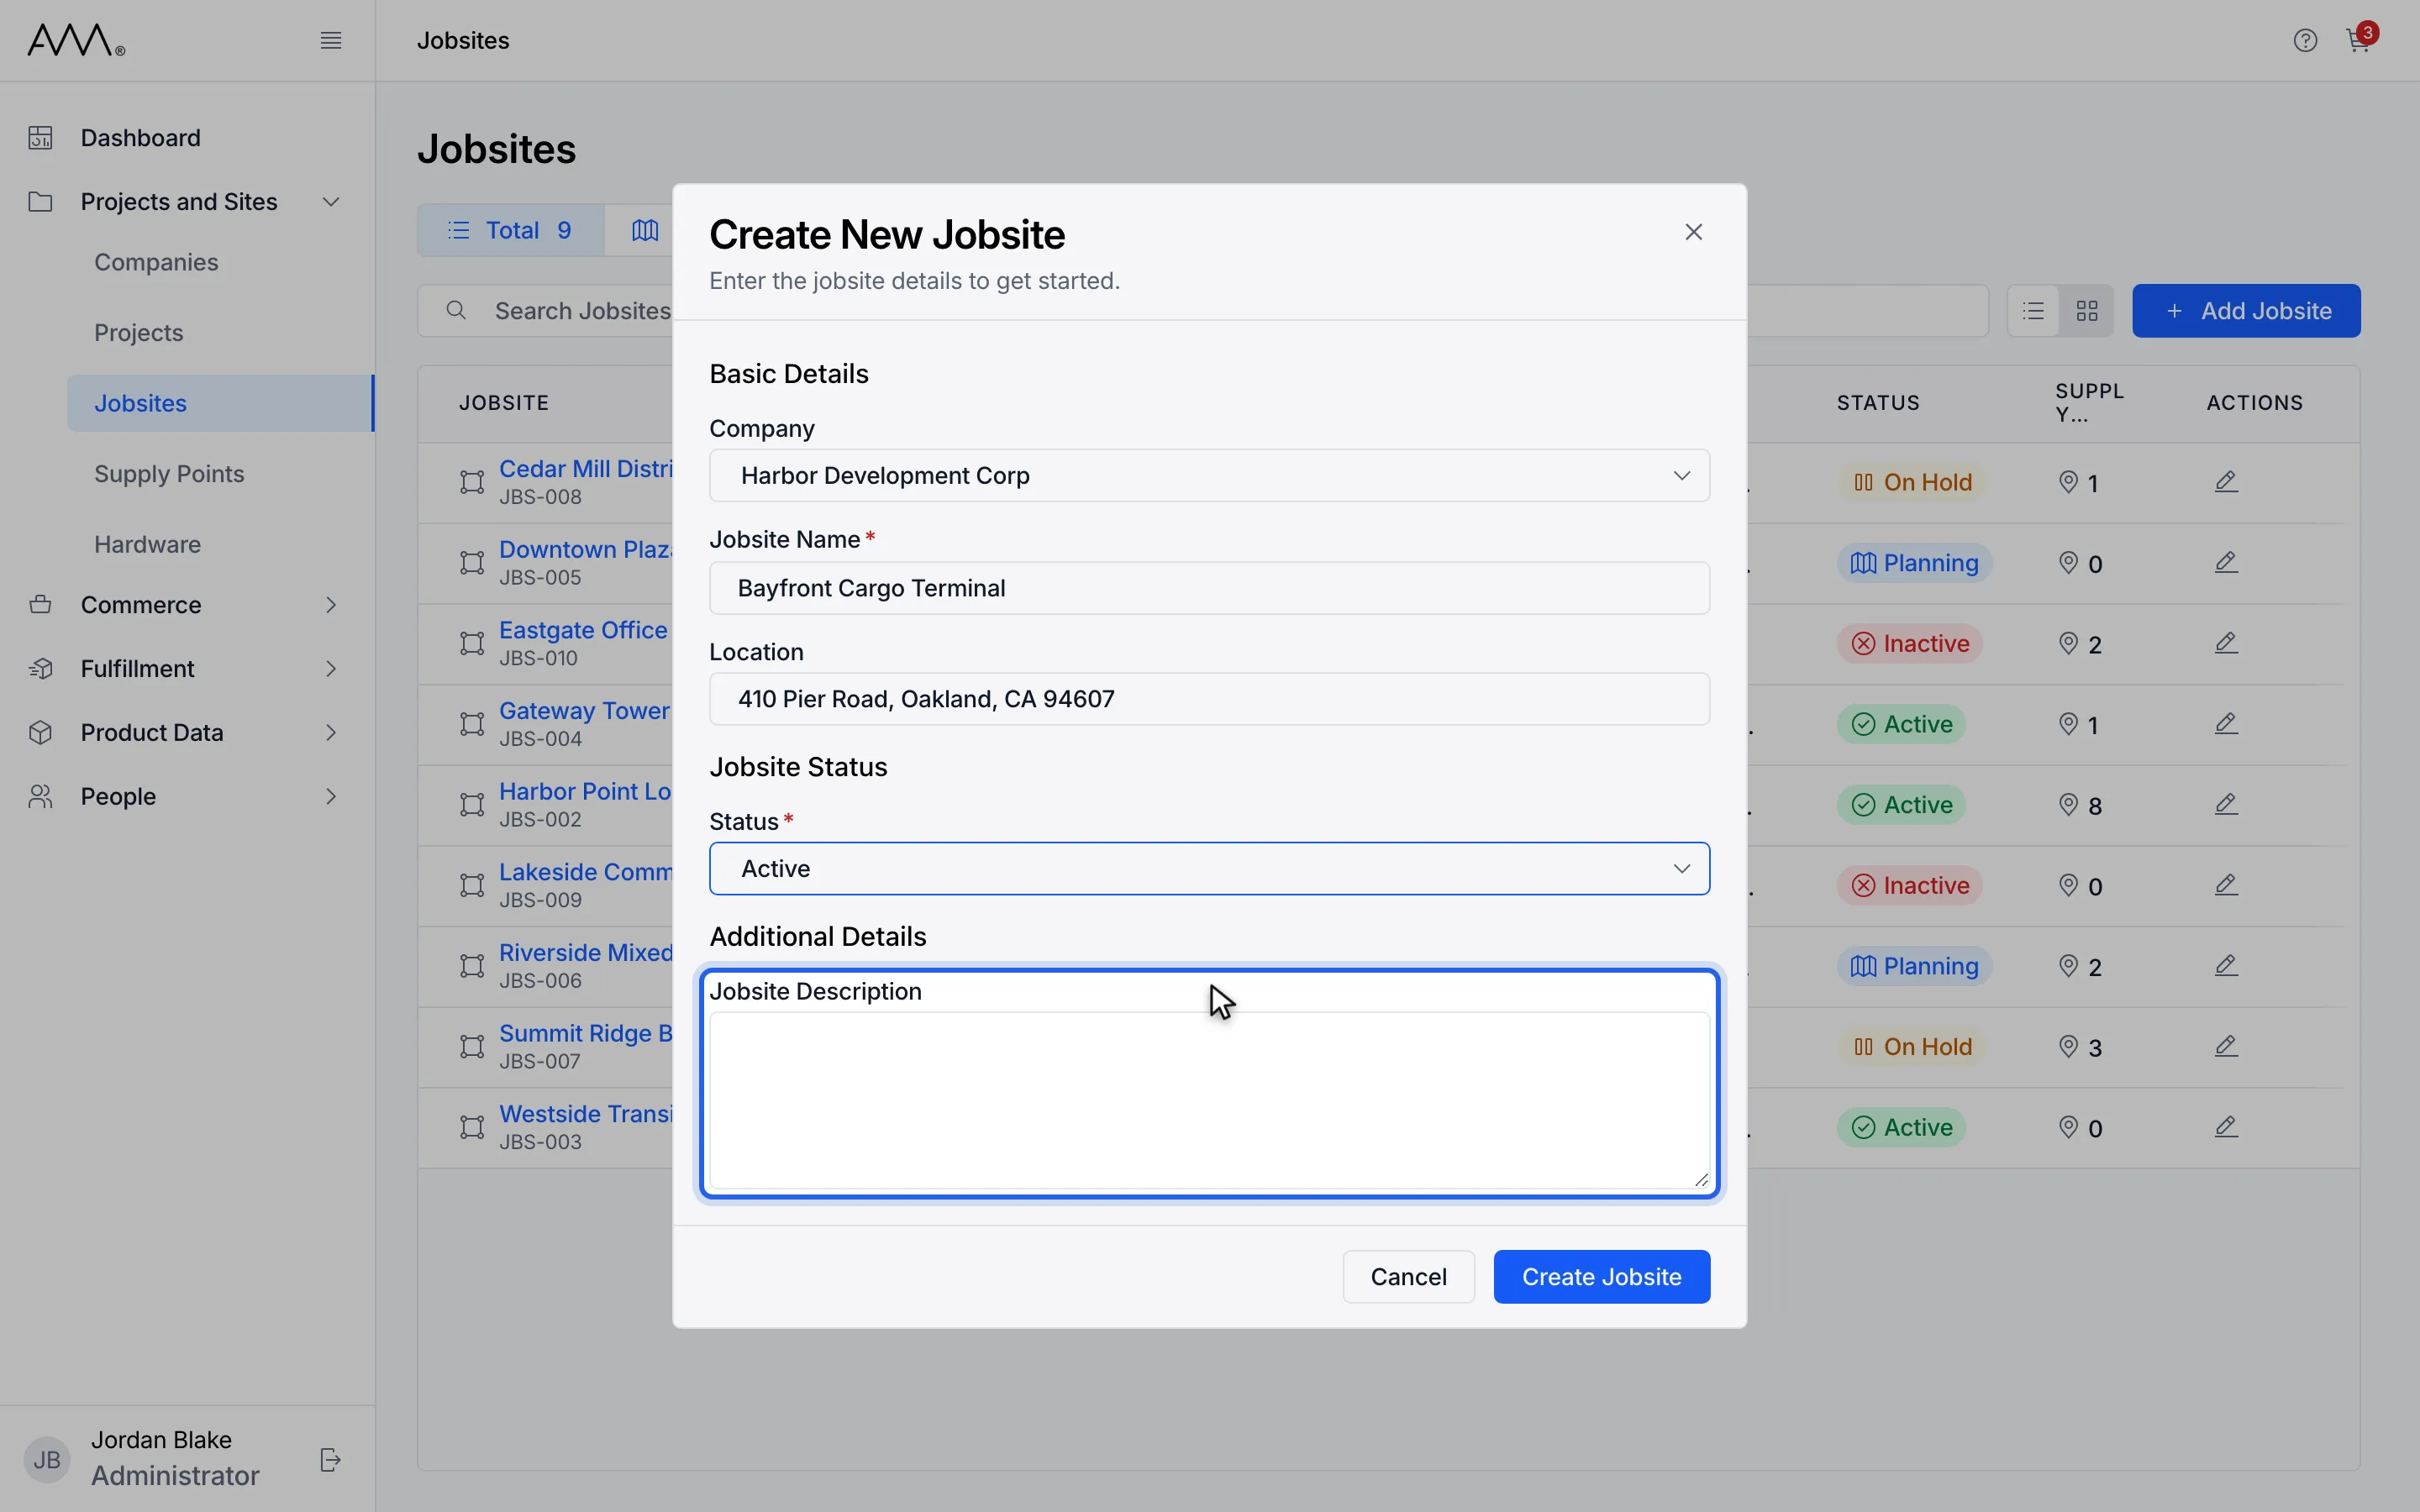
10Optionally add a Jobsite Description.
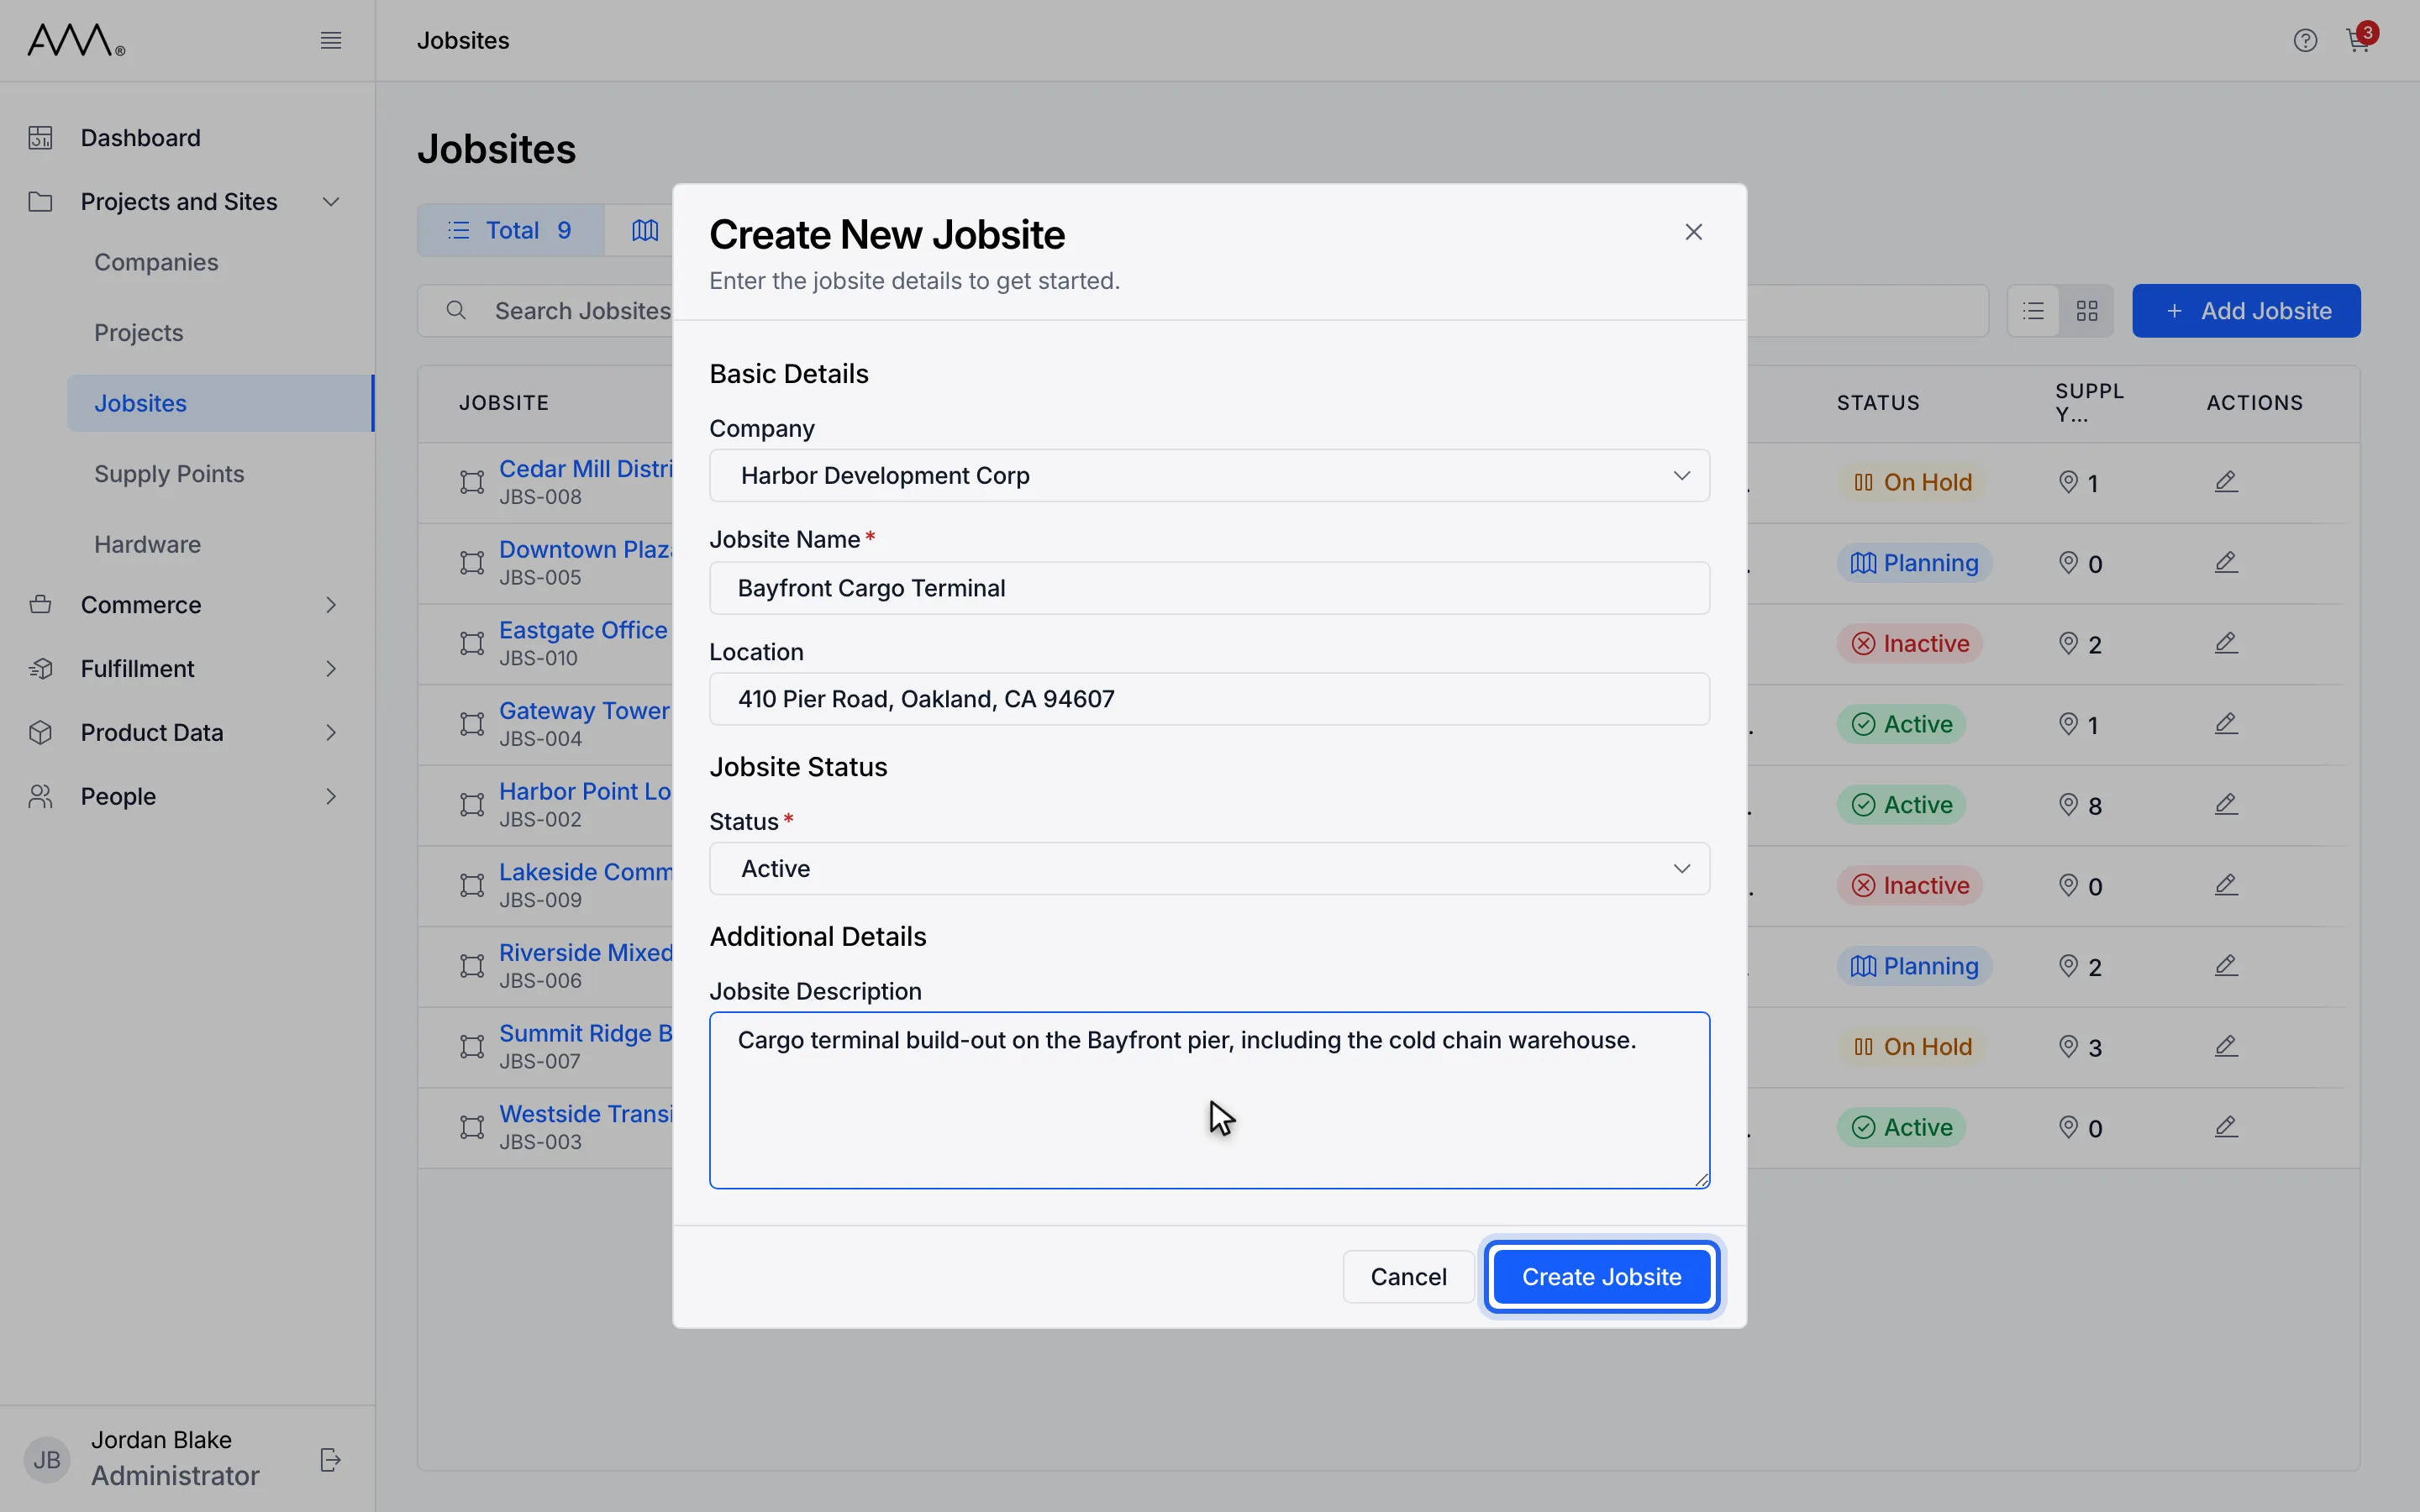
11Click Create Jobsite.
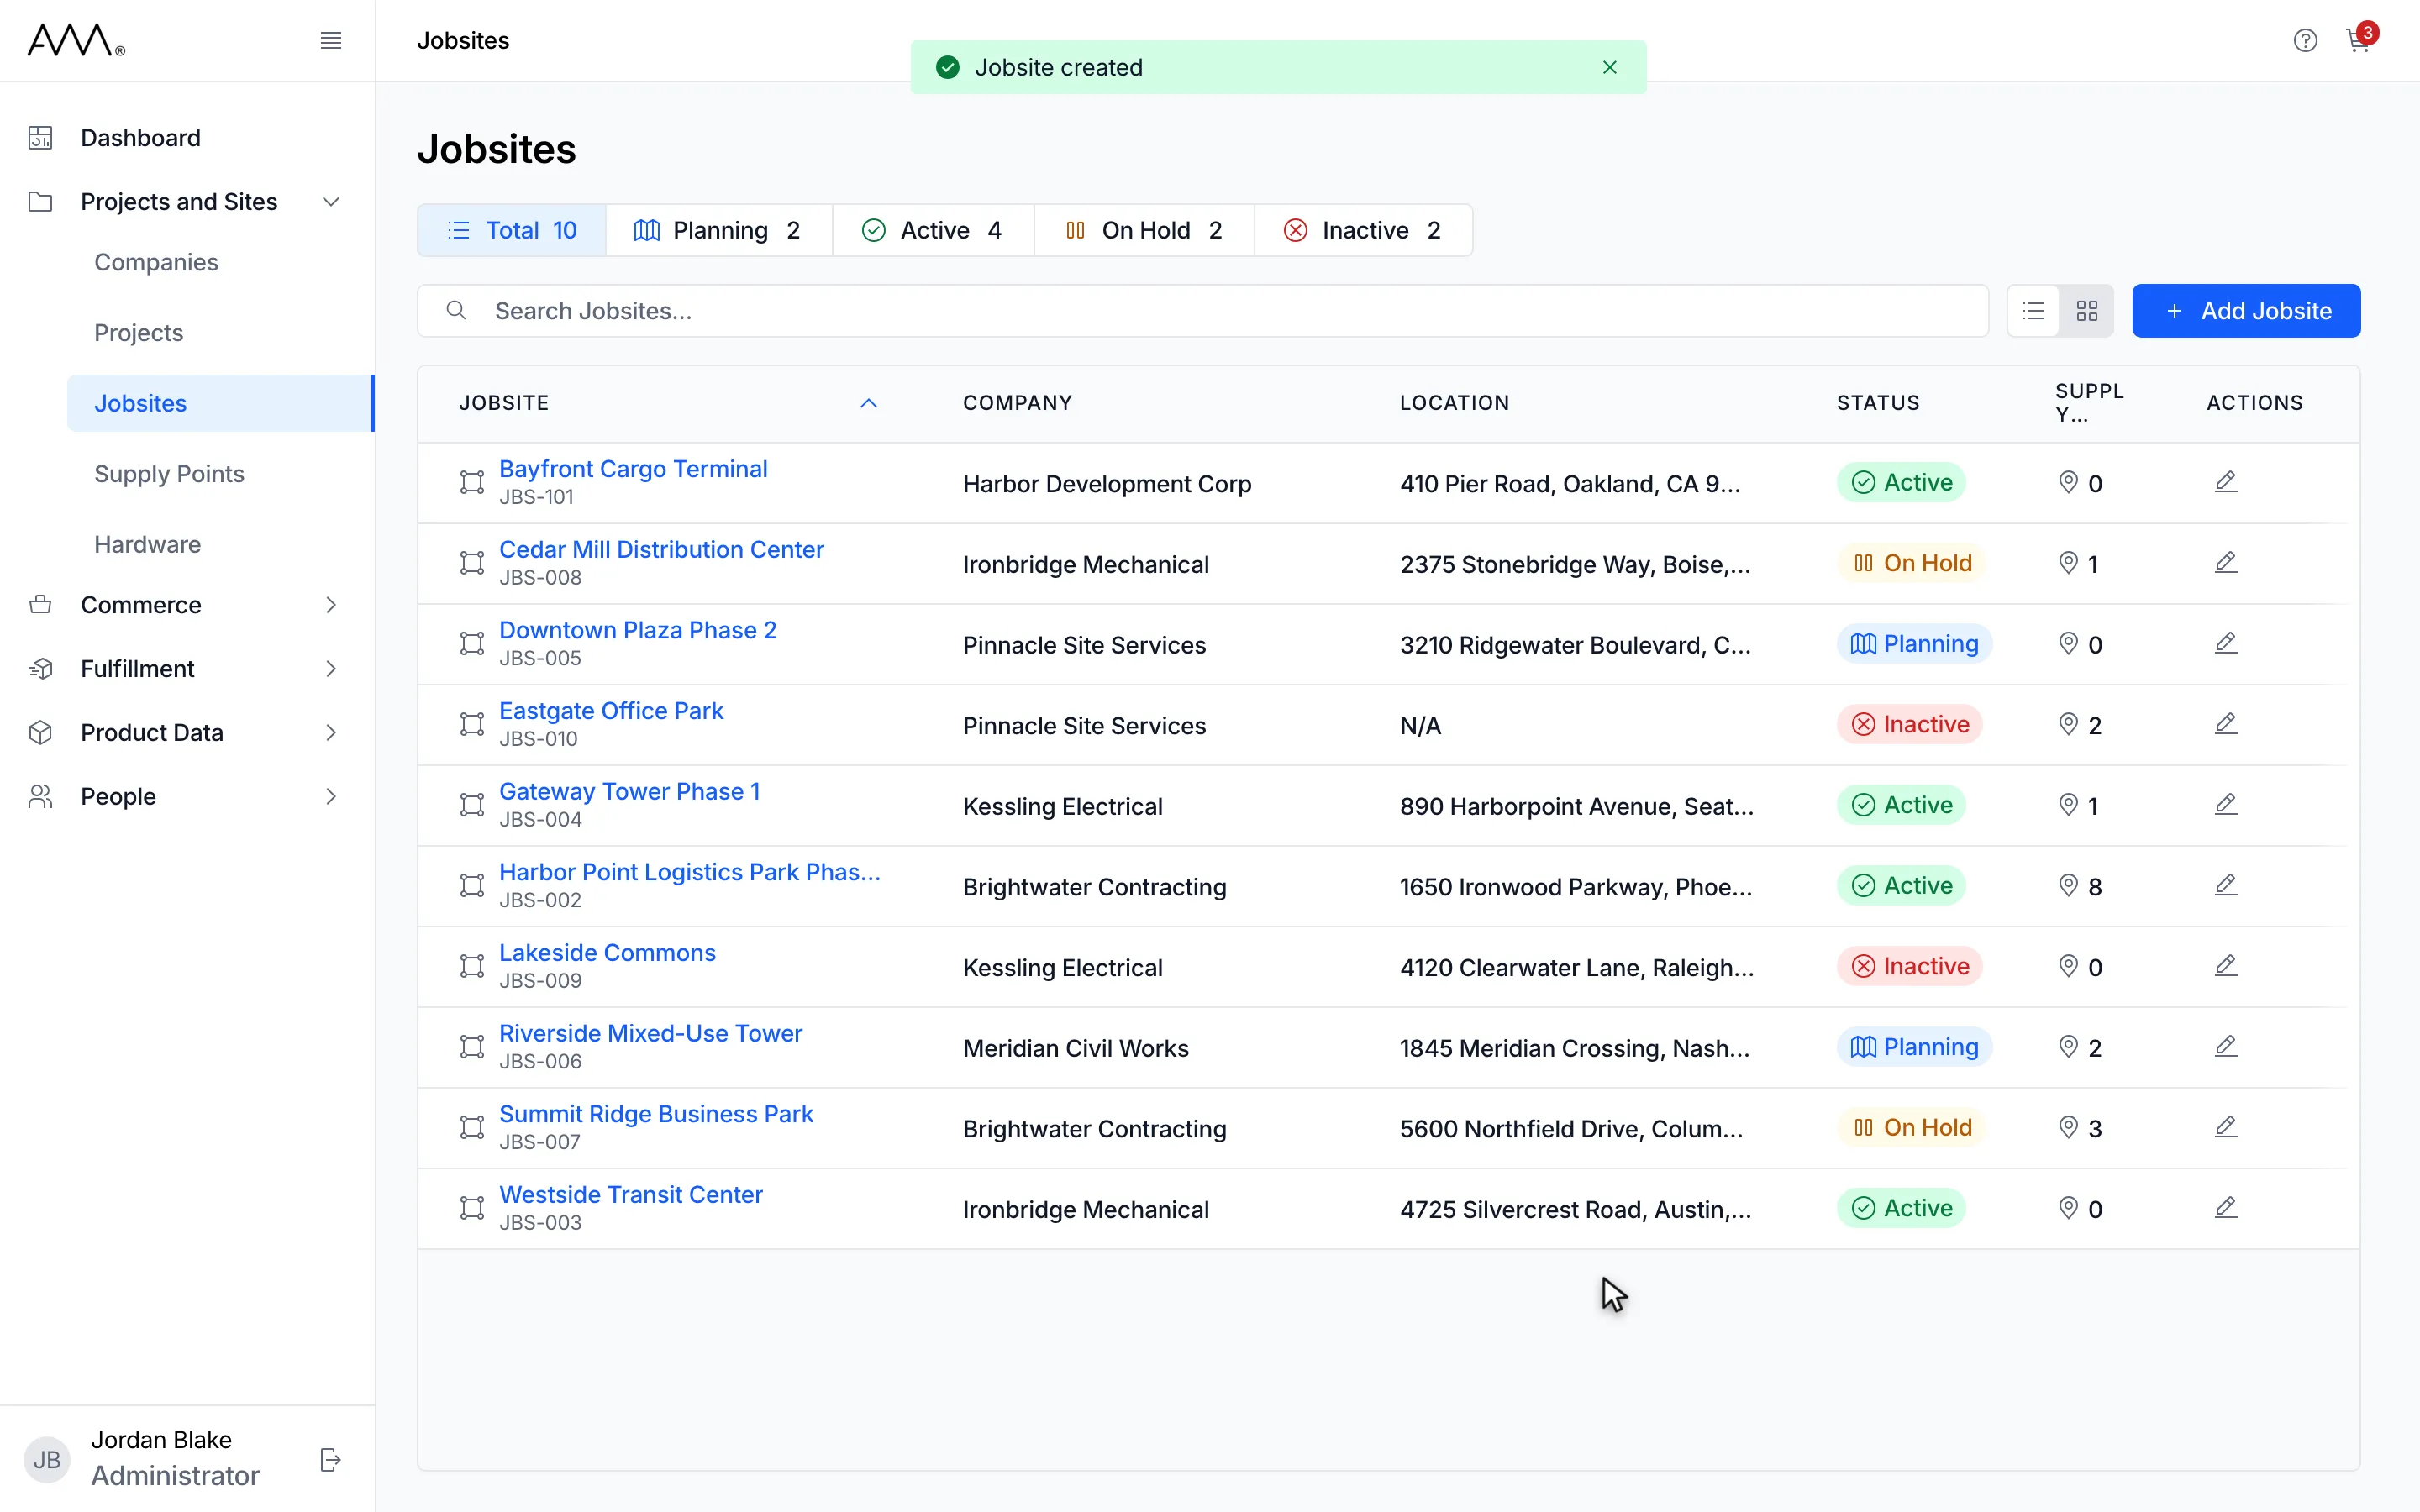
12A Jobsite created message appears and the new jobsite is first in the list.
Watch this as a video (add a jobsite)
What happens next
Section titled “What happens next”A Jobsite created message appears, the dialog closes and the new jobsite is listed in its alphabetical place with 0 supply points. The status counts update. Open the jobsite and use its Supply Points tab to assign supply points.
Create Jobsite stays disabled while a field is invalid. Messages such as Name is required or Name must be 200 characters or fewer appear under a field once you leave it. If saving fails, a message with the reason appears and the dialog stays open. If you close the dialog with unsaved changes, Omni asks Discard unsaved changes?